 Save to everydaypinmeals
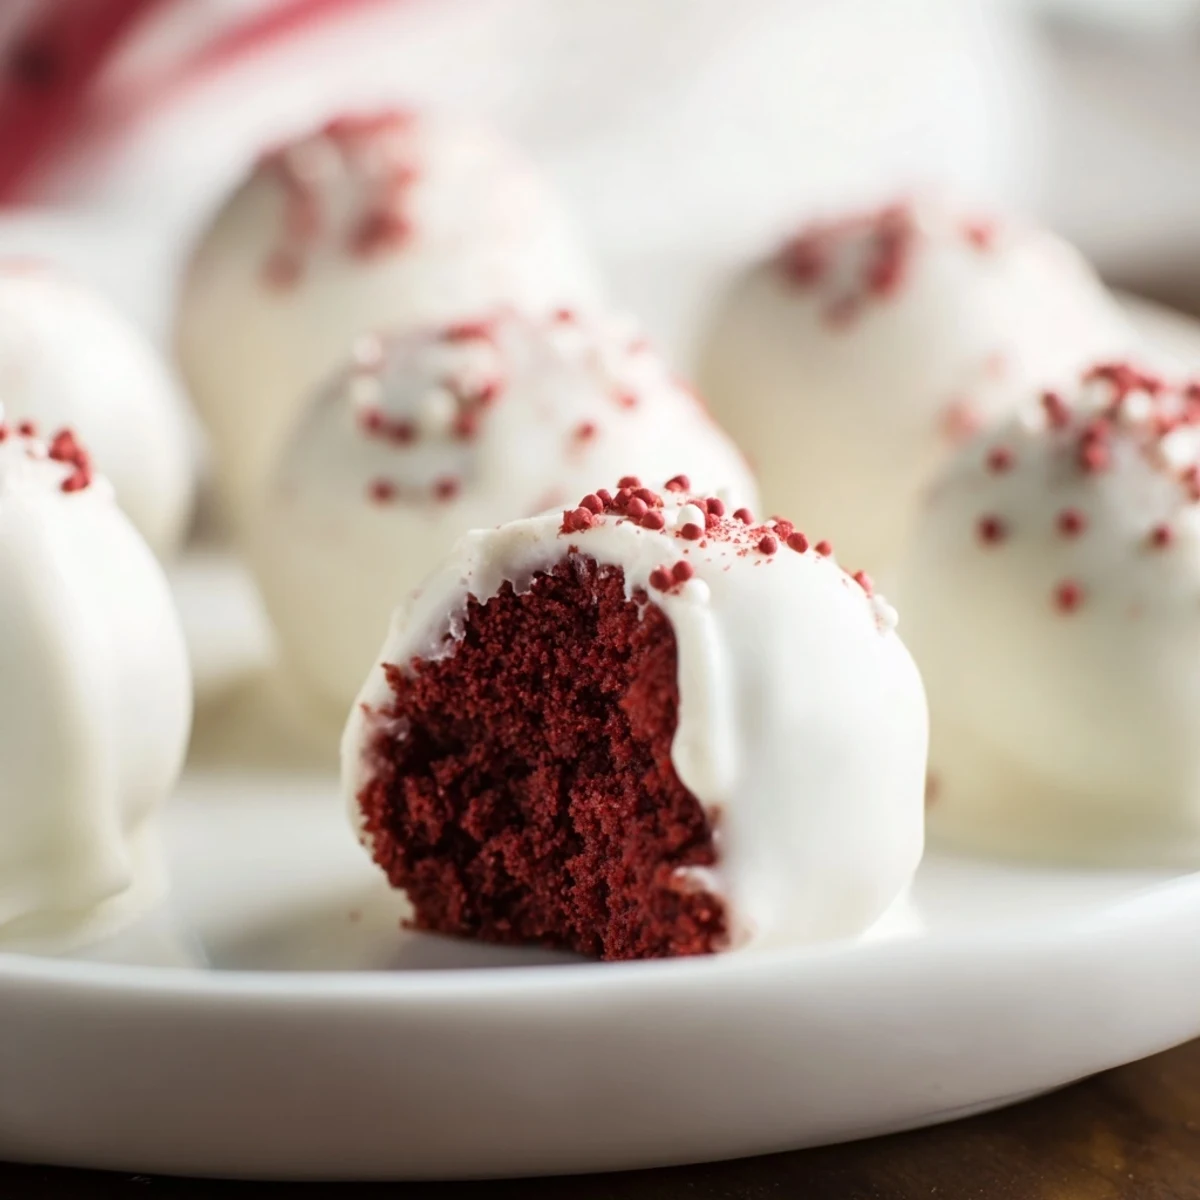
 These moist red velvet bites combine fluffy cake with a creamy cream cheese frosting, formed into small balls and coated in smooth white chocolate. The rich red color and velvety texture contrast perfectly with the sweet, silky coating. Chilled and decorated with optional sprinkles, these treats deliver a colorful and festive experience ideal for gatherings or gifts. The preparation involves baking a tender red velvet base, mixing with frosting, shaping, and dipping in white chocolate for a satisfying finish.
The first time I attempted cake pops, I ended up with chocolate everywhere and a sad collection of lumpy spheres sliding off their sticks. But there is something deeply satisfying about transforming cake crumbs into something entirely new and whimsical. These red velvet beauties with their snow-white coating have since become my go-to for celebrations, especially when I want something that feels playful but still elegant.
I made these for my niece birthday last spring and watched a room full of adults light up when I brought out the stand. Something about food on a stick brings out the kid in everyone. The birthday girl insisted on helping dip each one, leaving us both with chocolate covered hands and matching grins.
Ingredients
- All-purpose flour: The foundation that gives structure to your cake base and prevents your pops from crumbling apart later
- Unsweetened cocoa powder: Use a good quality Dutch processed cocoa for that deep chocolate notes without overpowering the red velvet flavor
- Cream cheese: Make sure it is fully softened to room temperature or your frosting will have lumps that make shaping difficult
- White chocolate: Candy melts are easier to work with but real white chocolate tastes better, just add a teaspoon of oil if it seems too thick
- Red food coloring: Gel coloring gives a more vibrant hue than liquid without adding extra moisture to your batter
Instructions
- Bake your red velvet base:
- Preheat your oven to 350 degrees and grease an 8-inch pan, then whisk together your dry ingredients while creaming butter and sugar until fluffy. Add eggs one at a time, then mix in buttermilk, vanilla, vinegar, and that shocking red coloring before gently folding in the flour mixture. Bake for 25 to 30 minutes until a toothpick comes out clean, then cool completely because warm cake will melt your frosting.
- Make the cream cheese frosting:
- Beat together softened cream cheese and butter until absolutely smooth, then gradually add powdered sugar and vanilla until you have a creamy, spreadable consistency. Do not overbeat or the frosting might become too soft to hold your cake balls together properly.
- Combine and shape:
- Crumble your cooled cake into fine crumbs in a large bowl, then add frosting and mix with your hands until it feels like dough. Roll into 1-inch balls and place on a parchment lined tray, chilling them in the freezer for 30 minutes because cold cake pops are much less likely to slide off their sticks.
- Dip and decorate:
- Melt your white chocolate until smooth and thin with a tablespoon of oil if needed, then dip the tip of each stick into chocolate before inserting halfway into each chilled ball. Dip each cake pop into the chocolate, gently tap off excess, and add sprinkles immediately before the chocolate sets. Stand them upright in a styrofoam block and let them firm up completely.
 Save to everydaypinmeals
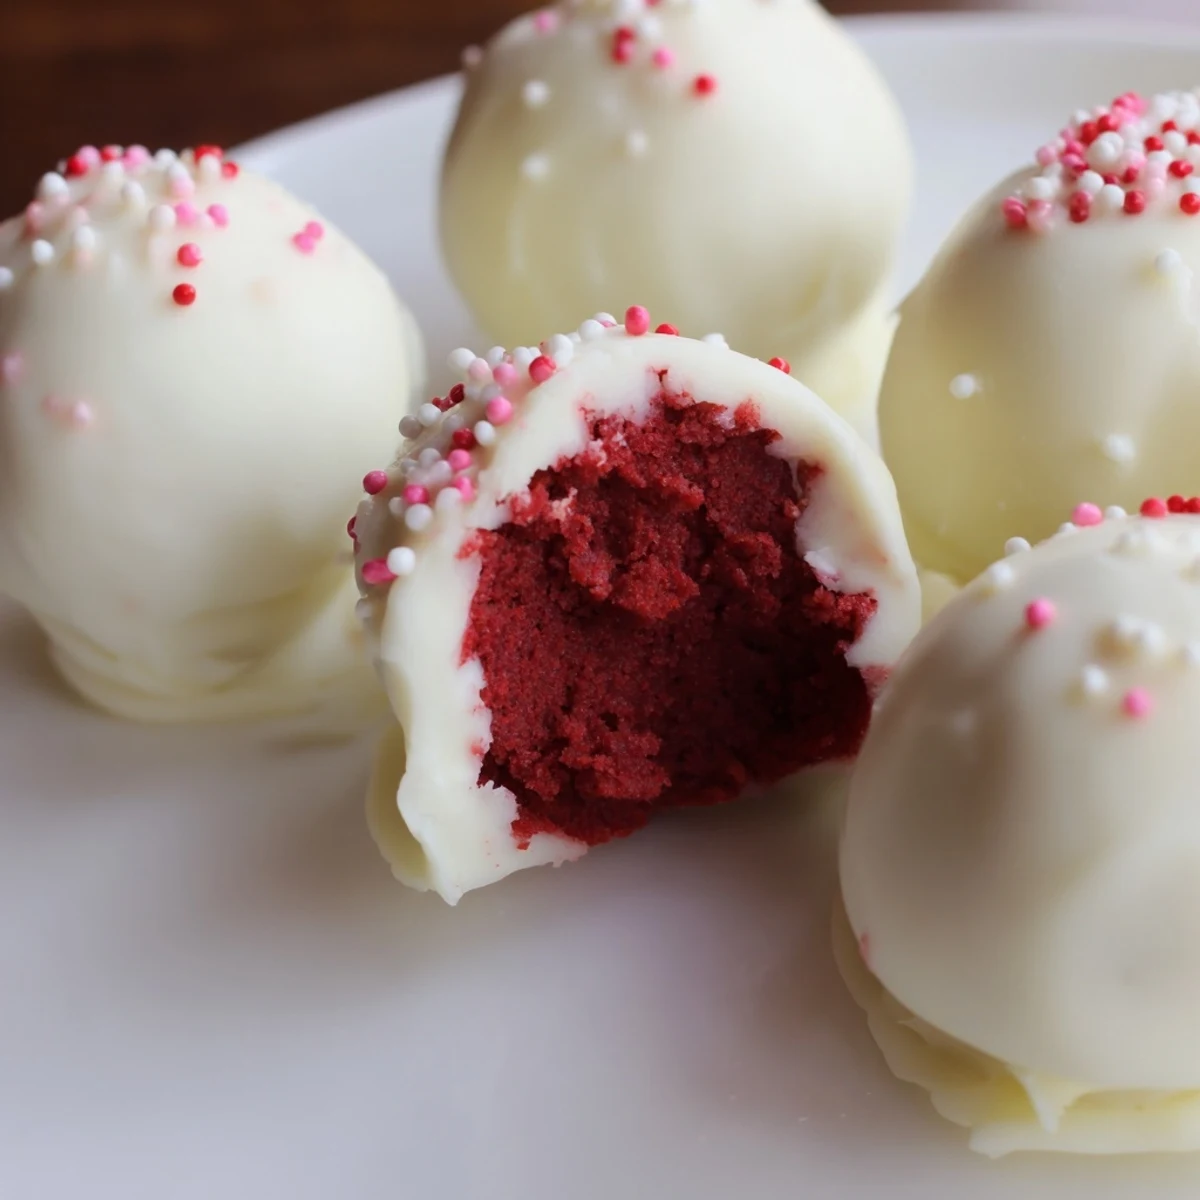
 These became a holiday tradition after I brought them to a cookie exchange and they disappeared before anyone even touched the actual cookies. Now whenever I see that distinctive red and white combination, I think of that party and how something so simple can make people so happy.
Getting the Perfect Coating
The temperature of your chocolate makes or breaks the final look. Too cold and it clumps, too hot and it slides right off your chilled cake balls. I have found that heating to 90 degrees and keeping it warm in a double boiler while dipping gives the smoothest results.
Troubleshooting Common Issues
If your cake balls keep falling off the sticks, your mixture might be too warm or you are not dipping the stick deep enough into chocolate before inserting. The chocolate acts as glue, so do not skip that step even if you are rushing.
Storing and Gifting
These actually improve after a day in the refrigerator as the flavors meld together. Package them individually in clear bags tied with ribbon, or arrange them in a decorative box with parchment between layers.
- Wrap each pop in plastic wrap if you need to transport them to prevent them from sticking together
- Let refrigerated cake pops come to room temperature for 10 minutes before serving for the best texture
- Add sprinkles immediately after dipping because white chocolate sets faster than you expect
 Save to everydaypinmeals
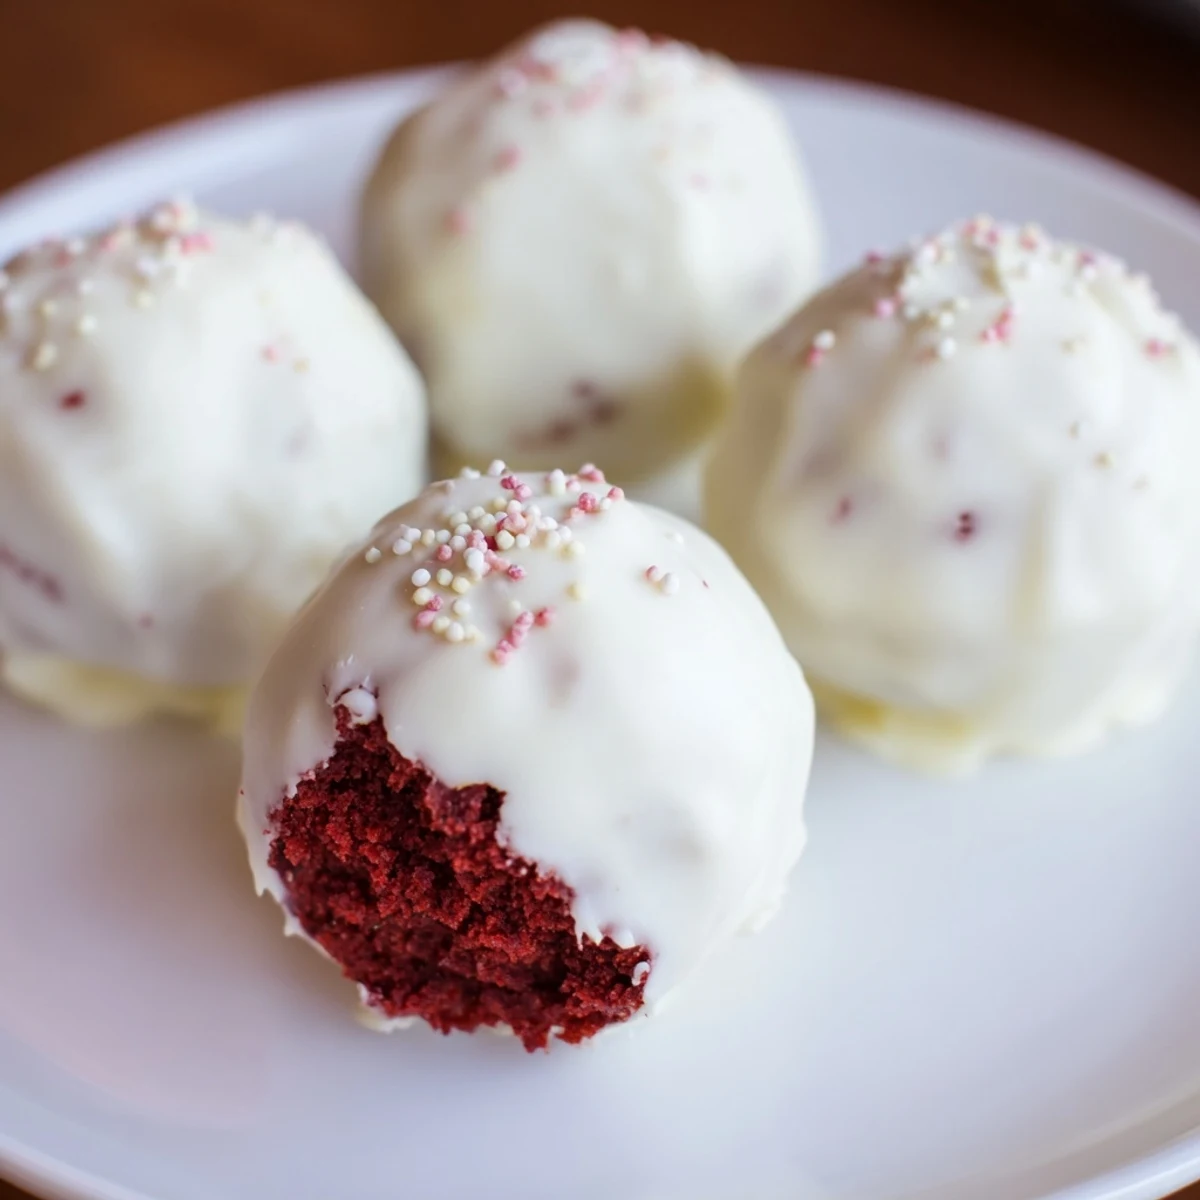
 There is something magical about taking something as ordinary as leftover cake and transforming it into these little jewels on sticks. They remind me that the best things in life often come from making something new out of what we already have.
Recipe FAQs
- → What gives red velvet its vibrant color?
-
The bright red hue comes from the addition of red food coloring combined with cocoa powder, which enhances the signature color while contributing subtle chocolate notes.
- → How do I achieve a smooth white chocolate coating?
-
Melting the white chocolate gently using a microwave or double boiler and optionally thinning it with vegetable oil ensures a smooth, even coating on the cake pops.
- → Why is cream cheese frosting used in the mixture?
-
Cream cheese frosting adds moisture and richness to the cake balls, helping bind the crumbs together while providing a tangy, creamy contrast to the sweet coating.
- → Can these treats be prepared ahead of time?
-
Yes, once coated and set, the cake pops can be stored in an airtight container in the refrigerator for up to five days without losing quality.
- → What tools are recommended for shaping and assembling cake pops?
-
Use mixing bowls, an electric mixer for frosting, cake pop sticks for assembly, parchment paper for resting shaped balls, and a styrofoam block or stand to allow the pops to set upright.