 Save to everydaypinmeals
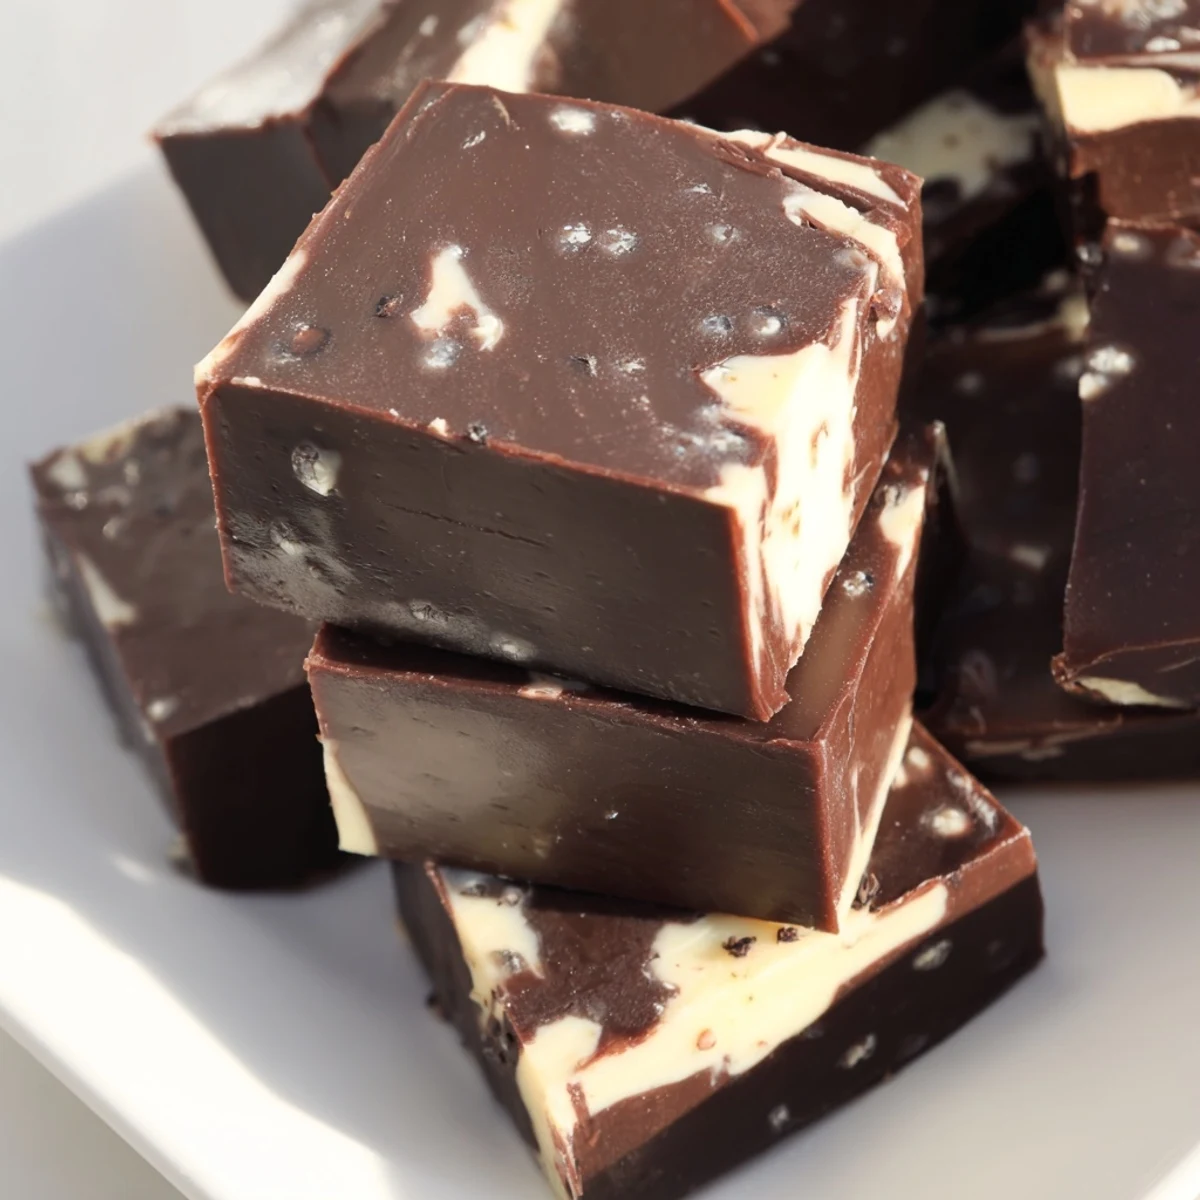
 This smooth, creamy fudge blends rich semi-sweet chocolate with notes of vanilla, coffee, and almond extract for a decadent sweet. Prepared over gentle heat, the mixture combines condensed milk and butter until silky before chilling for a perfect set. Ideal for gifting or a sweet treat, this Irish-inspired confection yields 36 squares. Enhance texture by adding chopped nuts or create a marbled design with white chocolate.
The smell of melting chocolate always pulls me into the kitchen, no matter what else I am doing. This Irish cream fudge started as an experiment one snowy afternoon when I wanted something special for neighbors dropping by. The way coffee and chocolate deepen each other is pure magic.
I brought a batch to my sister winter book club and watched three people reach for seconds. One friend said it reminded her of her grandmother who always kept a stocked candy dish. Now whenever I see that distinct foil wrapper from local shops, I know exactly what to make instead.
Ingredients
- Sweetened condensed milk: This creates the silkiest base, I tried evaporated milk once and the texture was completely wrong
- Semi-sweet chocolate chips: The sweetness level balances perfectly with the coffee notes without being cloying
- Unsalted butter: Just enough to help the mixture release cleanly from the pan later
- Instant coffee granules: They dissolve right into the warm chocolate creating that Irish cream depth
- Vanilla and almond extract: Together they mimic the complex warmth of Irish cream liqueur
Instructions
- Prep your pan:
- Butter the parchment paper lightly on both sides so the fudge lifts out effortlessly later.
- Melt together:
- Keep the heat gentle and stir constantly so the chocolate does not seize up or scorch.
- Add the magic:
- Off the heat, stir in the coffee and extracts until the aroma fills the kitchen.
- Set and chill:
- Pour evenly and refrigerate until firm, usually about two hours depending on your fridge.
 Save to everydaypinmeals
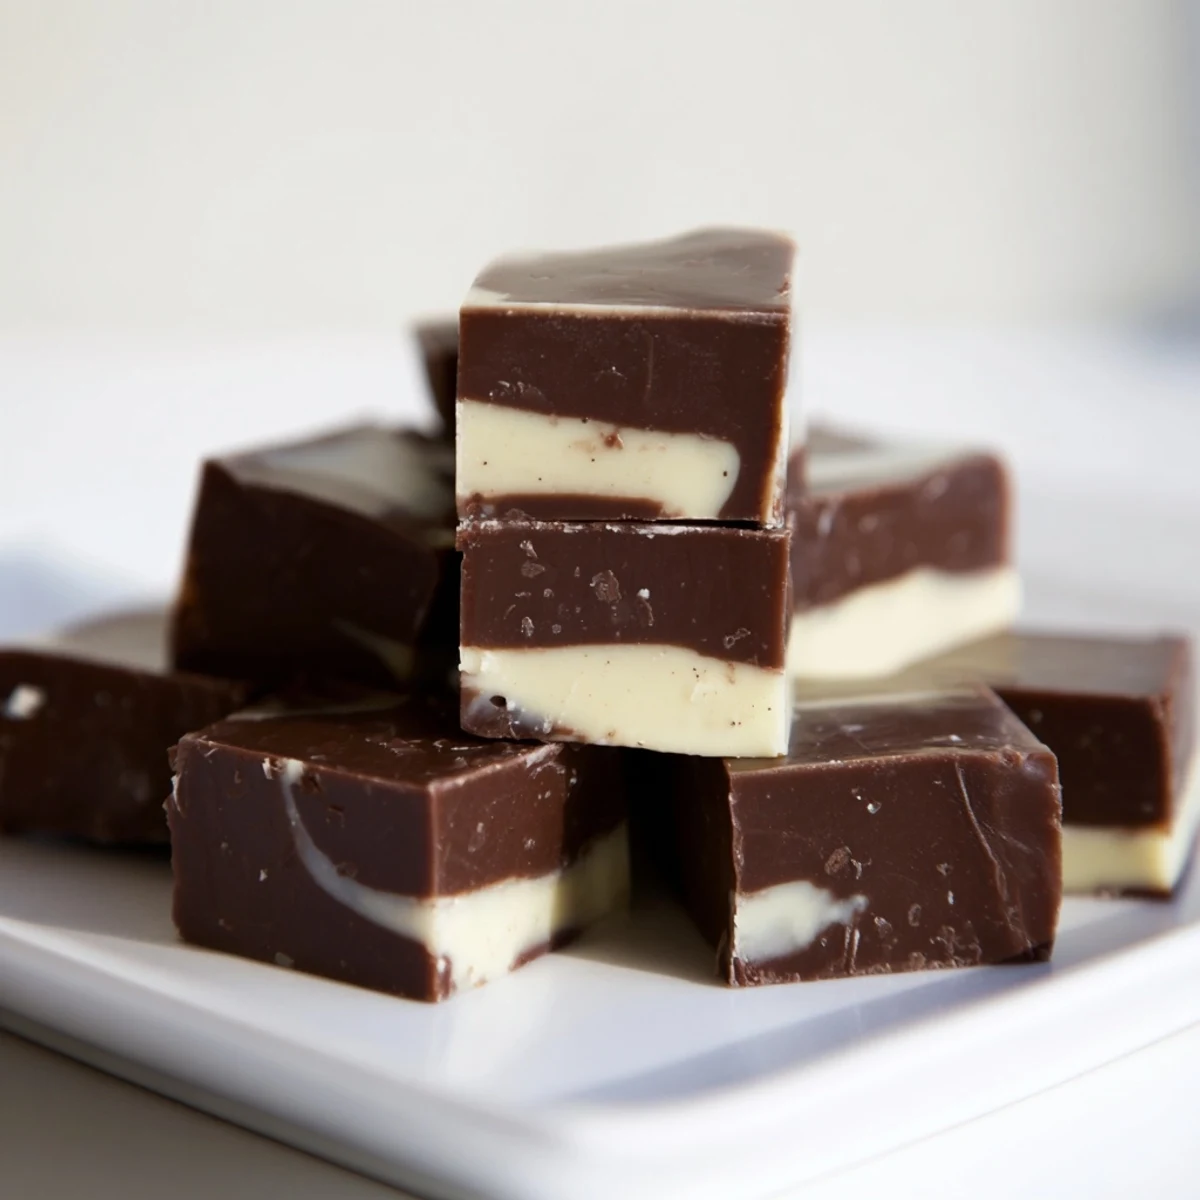
 Last December I made triple batches for holiday gifts, wrapping each square in wax paper and tying with baker twine. My brother called to say his coworkers fought over the last piece in the breakroom. There is something about handmade candy that feels extra generous.
Getting The Texture Right
Temperature control is everything with fudge. If your stove runs hot, use a heat diffuser or switch to a double boiler setup. I learned this after accidentally burning the bottom layer during a dinner party rush.
Customizing The Flavors
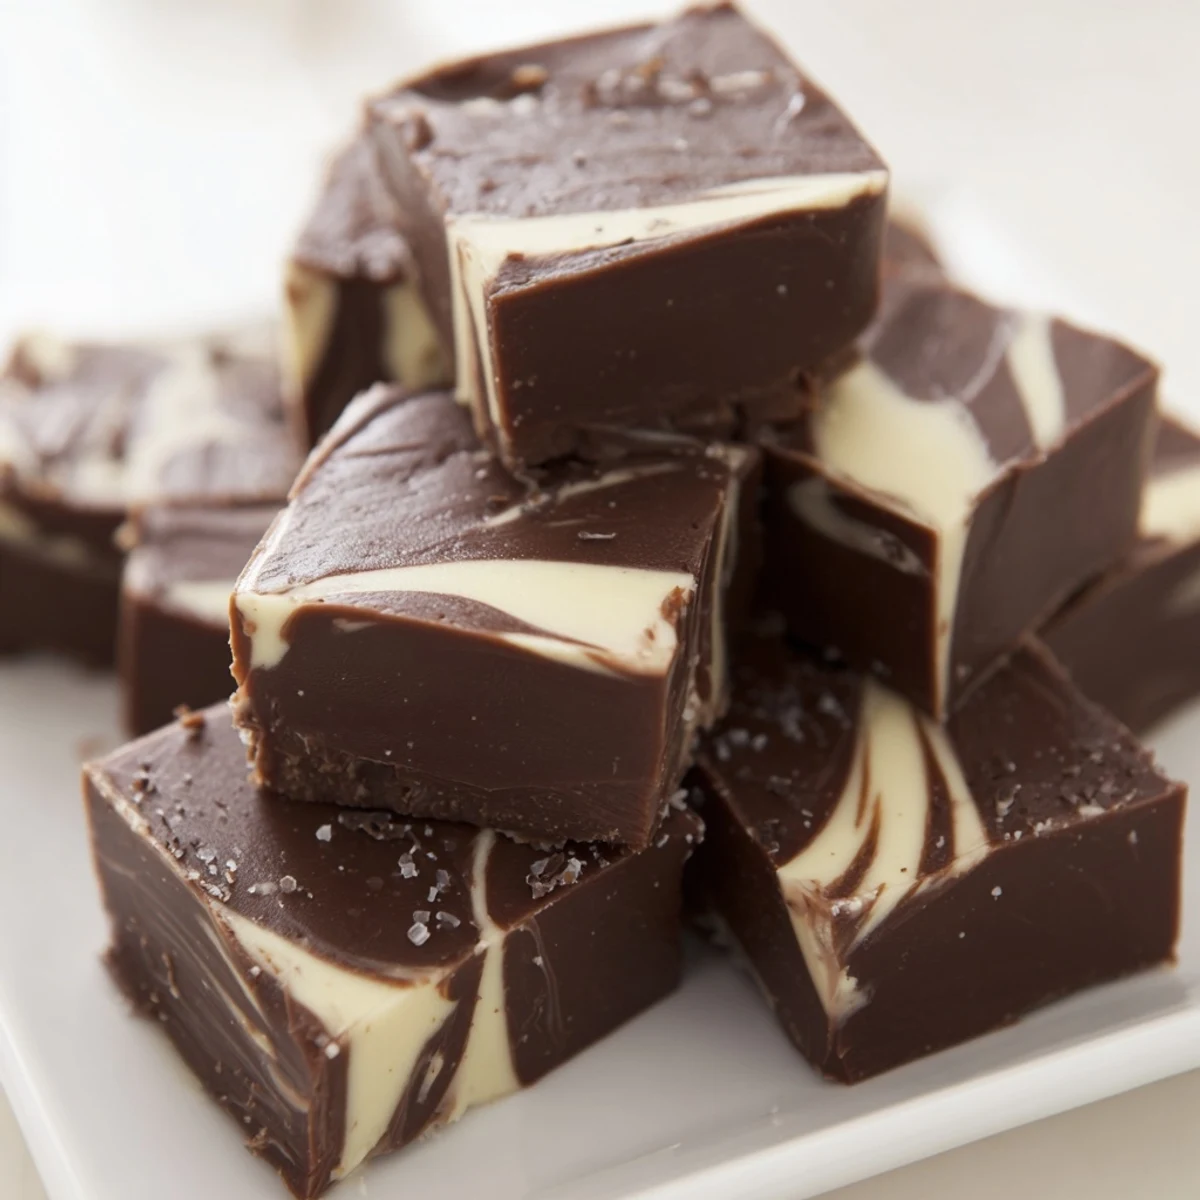
The base recipe is stunning on its own but loves additions. Toasted hazelnuts folded in right before chilling add crunch and nuttiness. Once I swirled caramel through half the pan and that version disappeared fastest at the potluck.
Storing And Gifting
This fudge keeps beautifully in the fridge for weeks layered between parchment paper in an airtight container. I like to cut it the day before gifting so the edges have time to soften slightly.
- Wrap individual pieces in foil for a classic candy shop feel
- Layer between wax paper if stacking in gift tins
- Bring to room temperature 20 minutes before serving
 Save to everydaypinmeals
 Every time I make this fudge I remember why simple homemade sweets mean more than anything store bought. The first bite always brings a quiet moment of chocolate peace.