 Save to everydaypinmeals
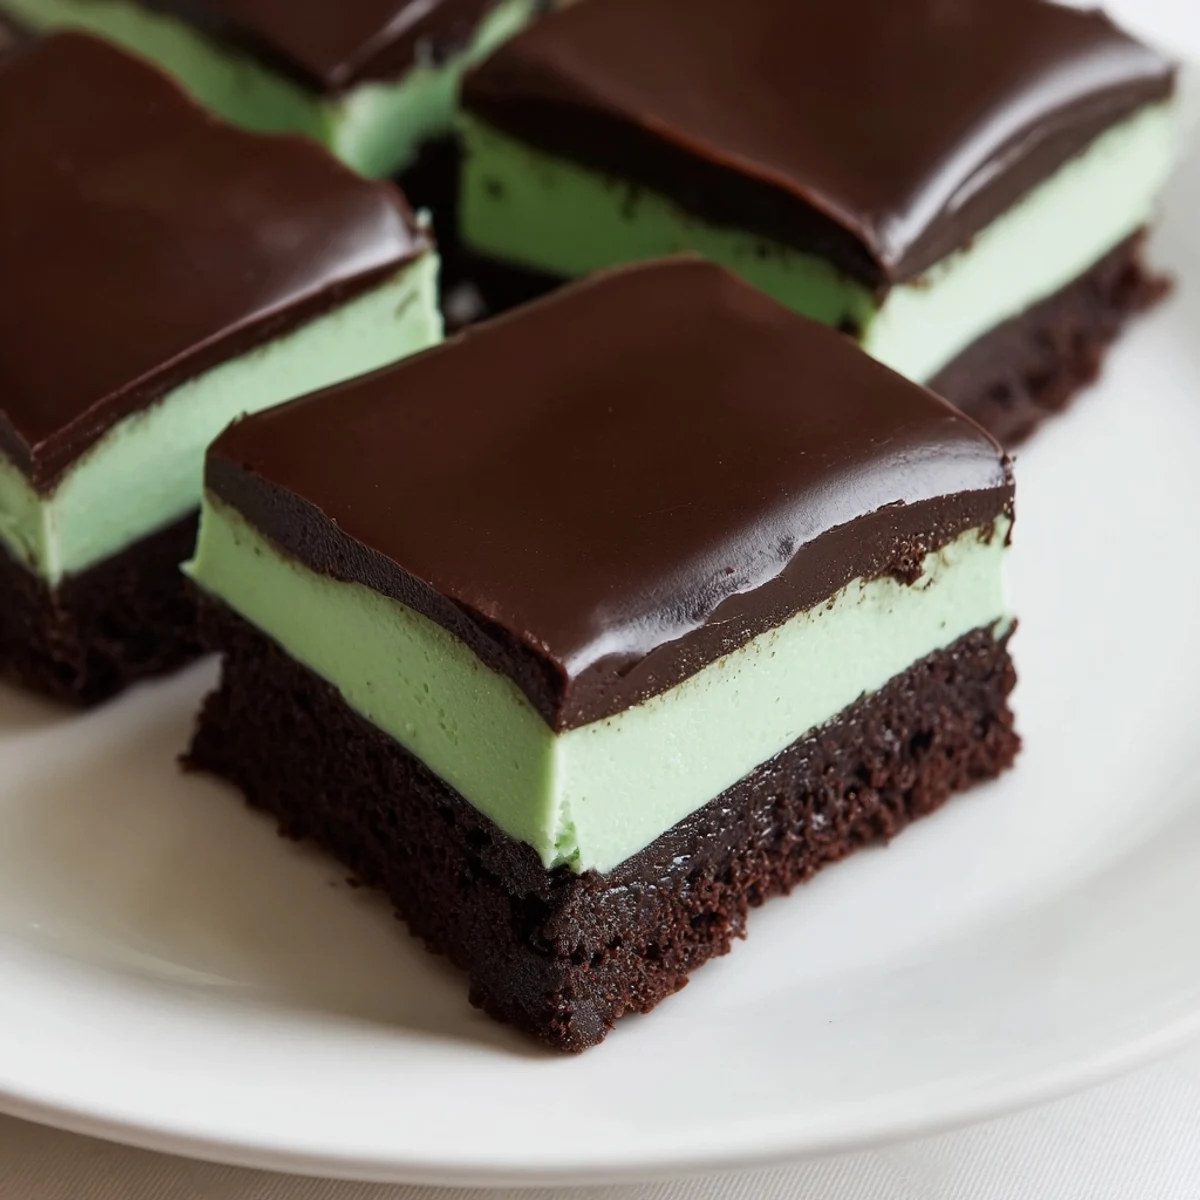
 These brownies feature a rich chocolate base with a smooth, refreshing mint cream layer and a glossy ganache topping. The combination creates a decadent balance of fudgy texture and fresh mint flavor. Ideal for an indulgent dessert, they are prepared by baking a chocolate batter, chilling before adding the mint layer, and finishing with a silky chocolate ganache. Perfect for chocolate and mint enthusiasts seeking a flavorful treat with satisfying texture.
My aunt brought these to a summer potluck years ago and I could not stop thinking about them. That shock of cool mint cutting through rich chocolate was something I had never experienced before in a brownie. I begged her for the recipe and she laughed, saying it was just three layers but the secret was patience. These have become my go-to whenever I need to impress someone without saying a word.
I made these for my book club once and watched everyone go quiet after the first bite. Someone finally said these taste like the expensive version you buy at bakeries and I felt secretly proud. The green layer throws people off sometimes, like mint chocolate chip ice cream on a warm day.
Ingredients
- Unsalted butter, melted and softened: You need butter in two states here and using the same high quality one for both keeps the flavor consistent
- Granulated sugar: This creates that crackly top on the brownie layer if you do not overmix it
- Large eggs: Room temperature eggs blend better into the melted butter mixture
- Vanilla extract: Do not skip this even with the mint, it deepens the chocolate flavor
- All purpose flour: Measure by weight if possible, too much flour makes these cakey instead of fudgy
- Unsweetened cocoa powder: Dutch process gives a smoother taste but regular works fine too
- Salt: A tiny amount makes the chocolate taste more intense
- Powdered sugar, sifted: Sifting prevents lumps in your mint layer which ruins the silky texture
- Milk: Just enough to make the frosting spreadable without becoming runny
- Peppermint extract: Start with less than you think, this stuff is potent
- Green food coloring: Gel coloring gives a more vibrant mint green than liquid
- Semisweet chocolate chips: Good quality chocolate makes the ganache layer worth every calorie
Instructions
- Get your oven ready:
- Preheat to 175°C (350°F) and line a 20x20 cm (8x8 inch) pan with parchment paper, letting it hang over the edges for easy removal later.
- Make the brownie base:
- Whisk melted butter and sugar until combined, then beat in eggs and vanilla until smooth. Fold in flour, cocoa powder, and salt just until you no longer see dry streaks.
- Bake until just set:
- Pour the batter into your prepared pan and bake for 25 to 30 minutes. A toothpick should come out with moist crumbs, not wet batter.
- Let the base cool completely:
- This is crucial because the mint layer will melt and slide right off warm brownies.
- Whip up the mint cream:
- Beat softened butter with sifted powdered sugar until fluffy, then add milk, peppermint extract, and a few drops of green food coloring. Beat until smooth and pale green.
- Spread and chill:
- Frost the cooled brownie base evenly with the mint cream, then refrigerate for 20 minutes until firm.
- Melt the ganache:
- Combine chocolate chips and butter in a heatproof bowl over simmering water, stirring until smooth. Let it cool slightly so it pours easily.
- Finish and set:
- Pour the ganache over the mint layer and spread evenly. Chill for at least 20 minutes before cutting.
- Cut clean squares:
- Lift the brownies out using the parchment, then cut into 16 squares with a sharp knife. Wipe the blade between cuts for neat edges.
 Save to everydaypinmeals
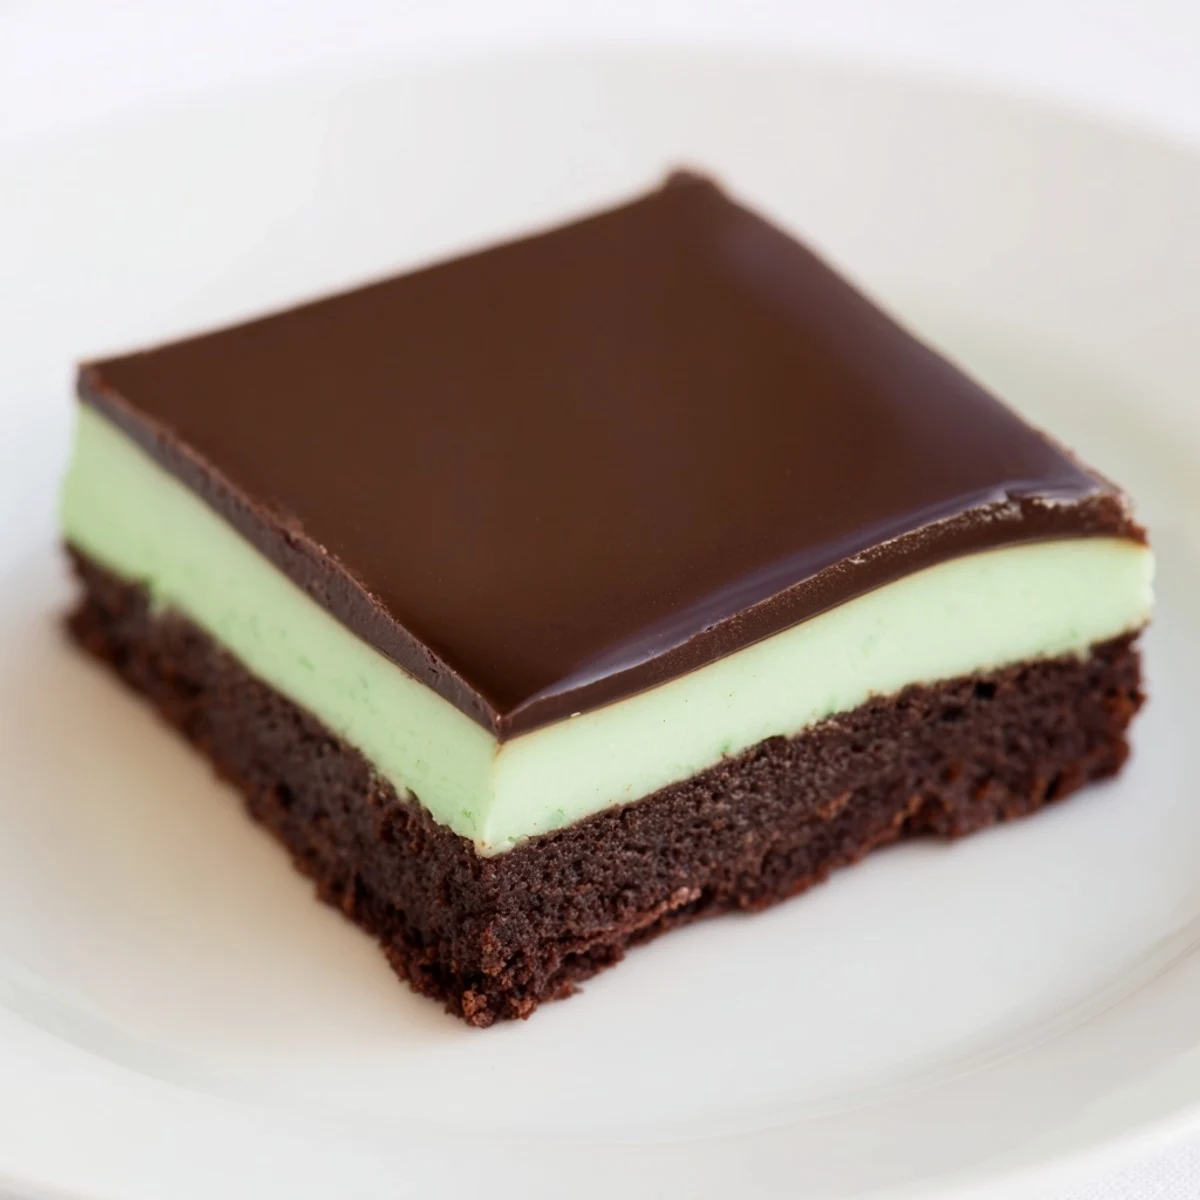
 My daughter requested these for her birthday instead of cake one year and I felt like I had officially won at parenting. Her friends kept asking if I bought them from a bakery and that satisfied feeling is hard to describe. Now they are the standard birthday treat request every single year.
Making The Ganache Silky Smooth
The double boiler method sounds fancy but it prevents seizing which happens when chocolate gets even a drop of water in it. I learned this the hard way after seizing an entire batch and having to start over with tears in my eyes. Now I am religious about checking that my bowl and spoon are completely dry before I start melting anything.
Getting That Perfect Green Color
Gel food coloring is so much better than the liquid stuff from the grocery store, which makes your frosting too thin and weirdly pastel. One tiny drop of gel gives you this vibrant mint green that actually looks like something from a professional bakery. I add the color drop by drop because it is easier to add more than to fix going too dark.
Storage And Make Ahead Tips
These brownies honestly taste better on day two after the flavors have had time to marry and settle into each other. I keep them in the fridge because the ganache firms up nicely and they cut cleaner when chilled. The texture becomes this perfect dense fudge that people go absolutely crazy over.
- Press plastic wrap directly against the cut surface to prevent the mint layer from drying out
- You can freeze the whole uncut slab wrapped tightly for up to a month, then thaw and cut
- Let refrigerated brownies sit at room temperature for 10 minutes before serving for the best texture
 Save to everydaypinmeals
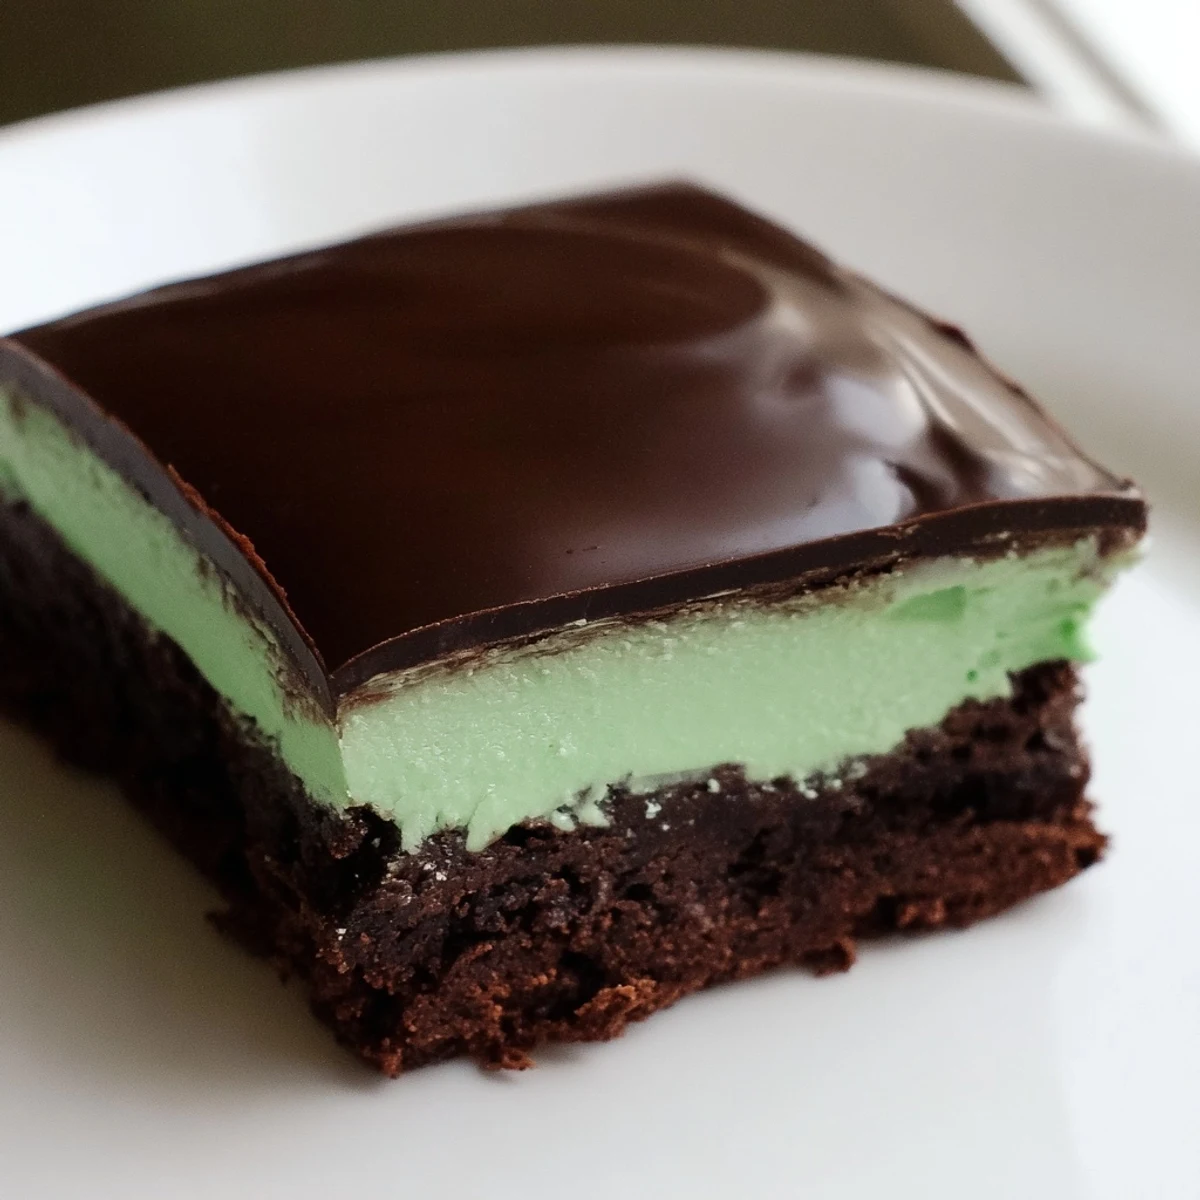
 These look impressive but the technique is mostly patience and waiting for layers to chill, which I can handle on a lazy weekend afternoon.
Recipe FAQs
- → How do I achieve a fudgy texture?
-
Use a proper balance of butter, sugar, and cocoa powder, and avoid overbaking to keep the brownies moist and dense.
- → What is the best way to add mint flavor?
-
Incorporate peppermint extract into the cream layer for a fresh and vibrant mint taste that complements the chocolate.
- → How can I get a glossy ganache topping?
-
Melt semisweet chocolate with butter using a double boiler and pour over the layered base while slightly warm to create a smooth, shiny finish.
- → Can I prepare this in advance?
-
Yes, the brownies can be chilled and stored in an airtight container in the refrigerator for up to five days without losing texture or flavor.
- → What pan size is recommended?
-
A 20x20 cm (8x8 inch) baking pan ensures even thickness and proper baking for these brownies.