 Save to everydaypinmeals
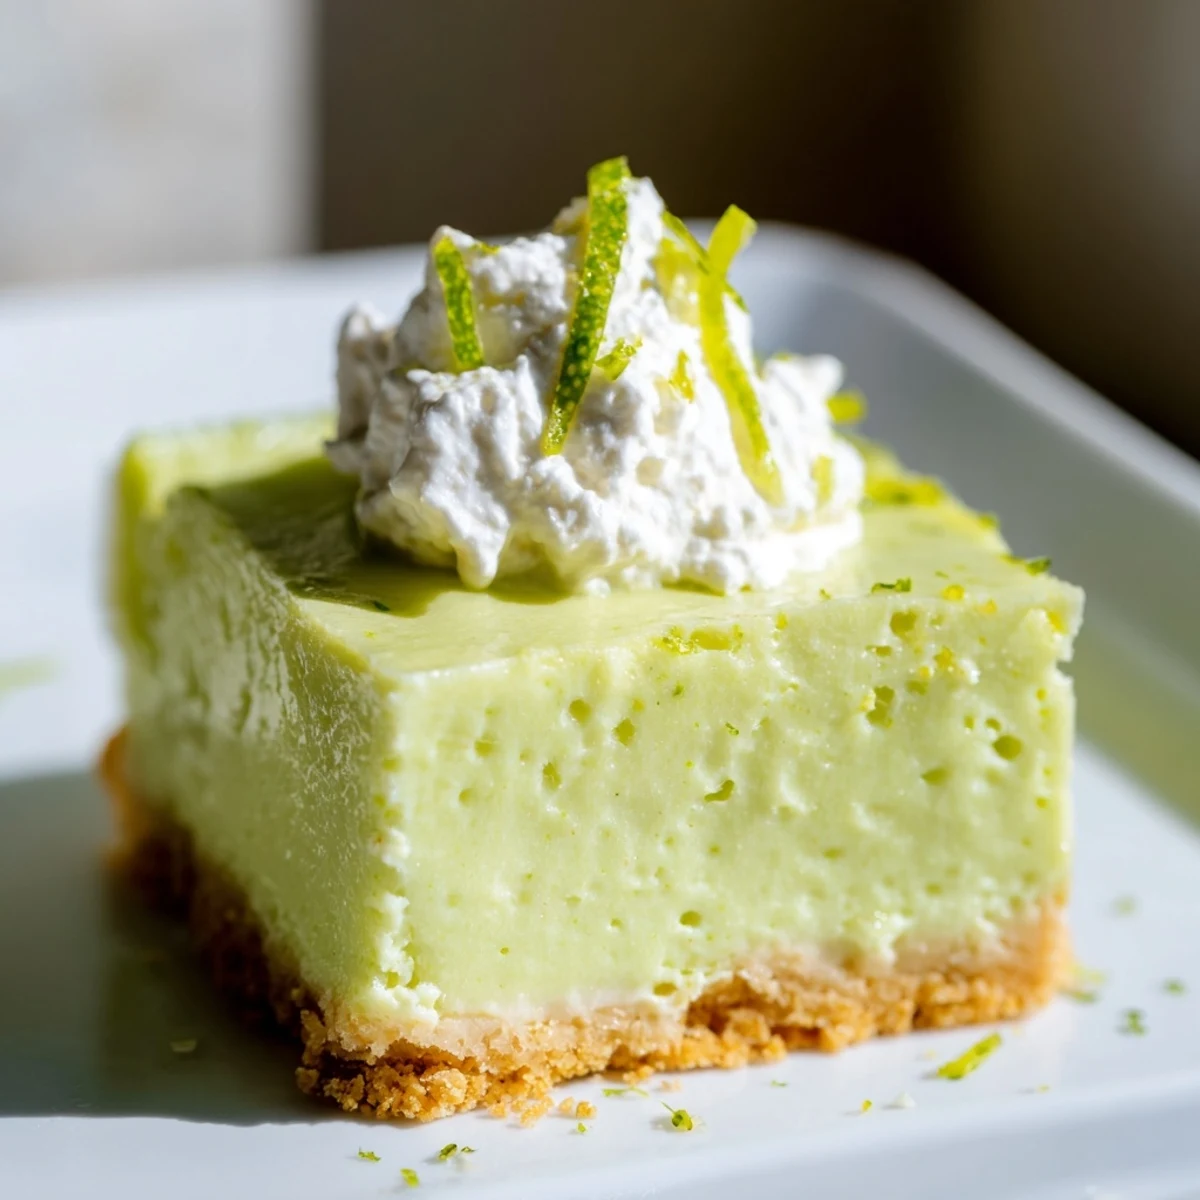
 These green key lime bars combine the bright, tangy flavor of fresh key lime with a luscious creamy filling and buttery graham cracker crust. The vibrant green hue comes from key lime juice and optional food coloring, creating a visually stunning dessert.
With a quick 20-minute prep and simple mixing method, these bars are ideal for home bakers of all skill levels. Bake the crust for 8 minutes, add the silky filling, and bake another 14 minutes until set. After cooling and chilling for at least 2 hours, you'll have 16 perfectly portioned squares ready to serve.
Top with whipped cream and additional lime zest for an elegant presentation. Store chilled for up to 3 days, making them convenient for meal prep or entertaining.
The scent of lime filled my kitchen one summer afternoon when I first tried making these bars instead of a traditional key lime pie. There's something magical about the vibrant green color against the golden crust that instantly lifts my mood. I discovered this recipe during a Florida vacation and immediately knew it would become part of my regular rotation back home.
Last summer, I brought these to my neighbors housewarming party and watched as conversation momentarily paused when people took their first bites. The hostess pulled me aside and whispered that these bars saved her party after the caterer had disappointed with the main course. We still laugh about how these simple lime squares became the unexpected hero of the evening.
Ingredients
- Key lime juice: The soul of this recipe - I learned that bottled key lime juice works surprisingly well when the fresh fruits are out of season or hard to find.
- Graham cracker crumbs: The foundation that holds everything together, and I discovered that adding just a pinch of salt makes the sweetness sing.
- Green food coloring: While technically optional, a few drops transform these from pale yellow bars to show-stopping green treats that people cant help but reach for.
- Sweetened condensed milk: This ingredient creates that signature velvety texture that makes you close your eyes with each bite.
Instructions
- Prepare your pan:
- Line your 8-inch square pan with parchment paper, leaving enough overhang to create handles for lifting later. This simple step has saved me countless frustrating moments trying to extract bars.
- Create the perfect crust:
- Mix those graham cracker crumbs with sugar, melted butter and a pinch of salt until it resembles wet sand. Press firmly into the pan - I use the bottom of a measuring cup for an even layer.
- Bake the foundation:
- Just 8 minutes in a 350°F oven gives you that perfect golden base. You should be able to smell the toasty graham goodness when its ready.
- Whip up the filling:
- Whisk those egg yolks until they thicken slightly, then add the condensed milk, key lime juice, zest, and your secret weapon - a few drops of green food coloring. The mixture should be silky smooth and make your mouth water just looking at it.
- Complete the bars:
- Pour that glorious green filling over your slightly cooled crust and spread it evenly. Watch how it settles into a perfect layer without any effort.
- Final bake:
- Fourteen minutes is the magic number here - the center should be set but still have a slight jiggle. Trust the process even if it seems underdone.
- The waiting game:
- Let these beauties cool to room temperature before refrigerating for at least 2 hours. I know its tempting to rush this step, but patience delivers that perfect texture.
 Save to everydaypinmeals
 I still remember bringing these lime bars to my daughters teacher appreciation lunch where they disappeared faster than any other dessert. The school principal cornered me for the recipe, confessing these reminded him of his grandmothers key lime pie from his childhood in the Keys. That moment of connecting someone to their happy memories through something I baked from scratch felt more rewarding than any compliment.
Make-Ahead Magic
These bars actually taste better on day two when all the flavors have had time to meld together overnight. Ive made them up to two days before a party, keeping them uncut in the pan and covered tightly with plastic wrap. This discovery happened accidentally when I got too busy to serve them the day I made them, and everyone raved about how perfect they were the next day.
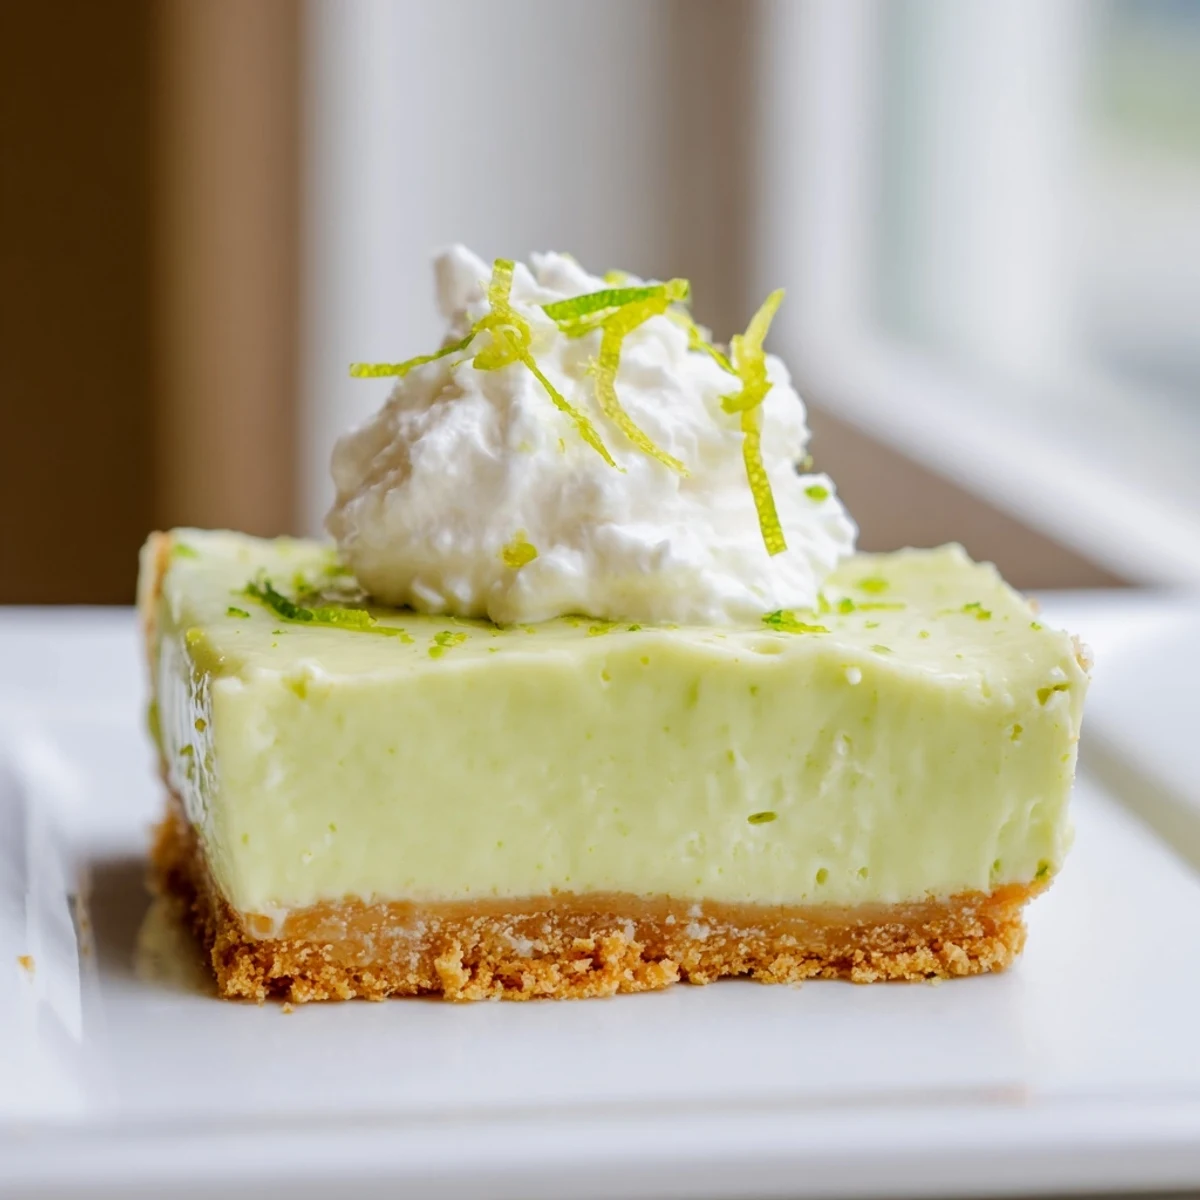
Garnish for Glory
The simplest garnish makes these bars look professionally made. A dollop of homemade whipped cream (never the canned stuff) and a tiny sprinkle of lime zest transforms them from homey to elegant. I learned this presentation upgrade at a cooking class where the instructor showed us how even minimal effort on finishing touches can completely elevate a dessert.
Troubleshooting Tips
After making these bars dozens of times, Ive encountered nearly every possible issue and found solutions for each one. The most common problem is a soggy bottom, which comes from not baking the crust long enough before adding the filling.
- If your bars seem too soft even after chilling, pop them in the freezer for 15 minutes before serving.
- When cutting, wipe your knife clean between slices for professional-looking edges.
- If you notice any air bubbles forming while baking, gently tap the pan on the counter to release them.
 Save to everydaypinmeals
 Every time I make these green key lime pie bars, they remind me that sometimes the simplest recipes bring the most joy. Whether for a special occasion or just because its Tuesday, these bright, tangy squares never fail to make people smile.
Recipe FAQs
- → Can I use regular lime juice instead of key lime juice?
-
Yes, you can substitute regular lime juice if key limes aren't available. The flavor will be slightly less intense, but the bars will still be delicious. Use the same amount of juice and adjust zest to taste.
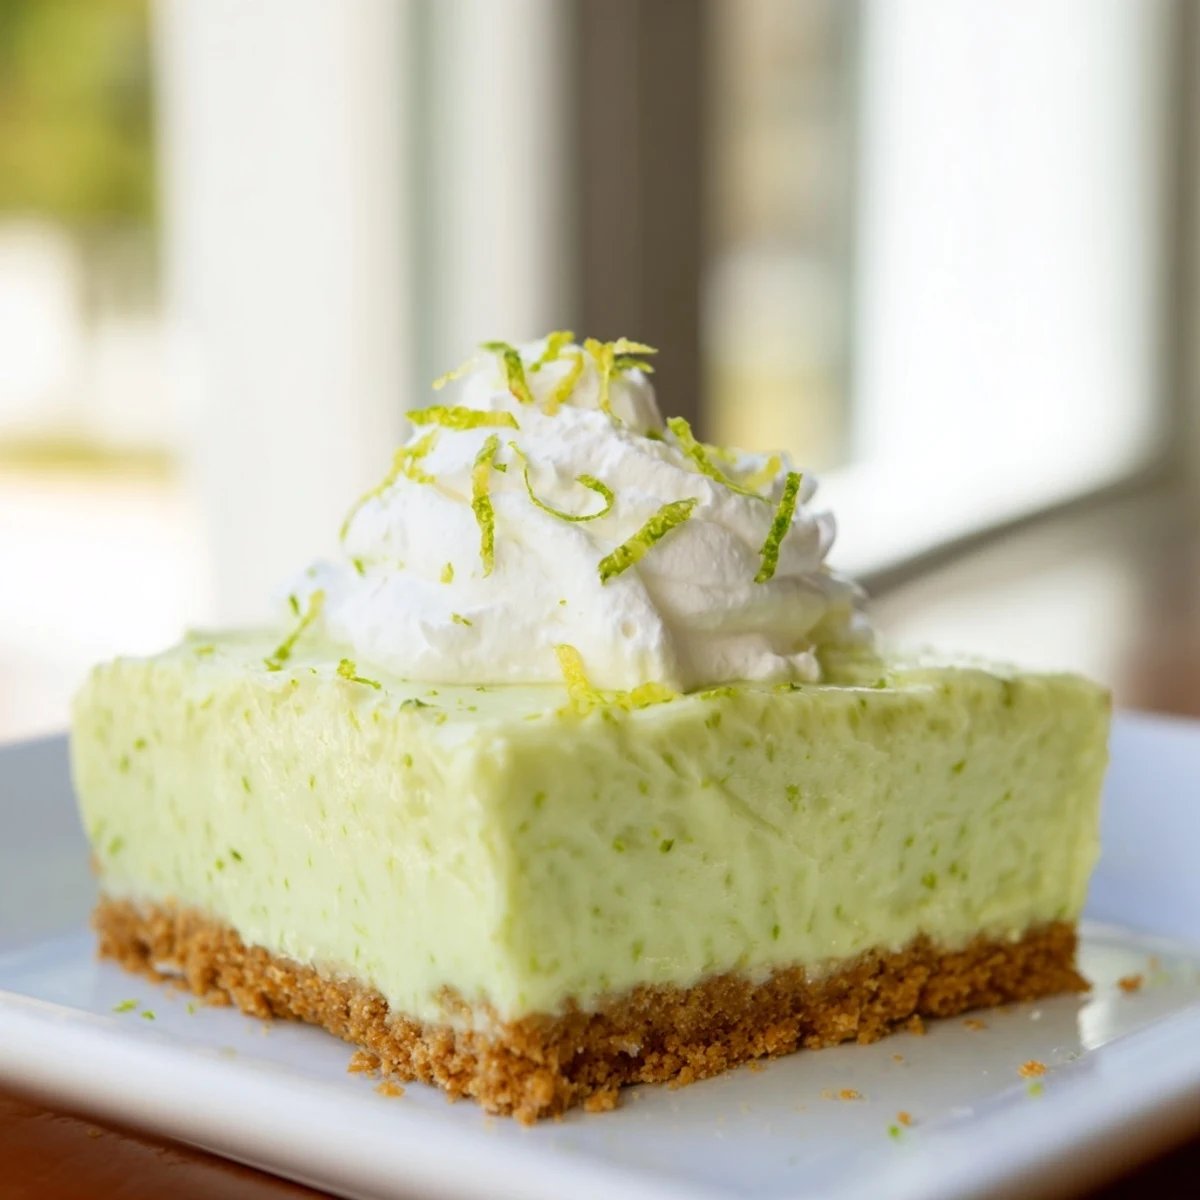
- → How do I get the vibrant green color?
-
The green hue comes naturally from key lime juice and zest. For a more vibrant color, add 2-3 drops of natural green food coloring or matcha powder to the filling. Stir thoroughly to distribute the color evenly.
- → What's the best way to store these bars?
-
Store the bars covered in an airtight container in the refrigerator for up to 3 days. They must remain chilled to maintain their creamy texture. You can also freeze them for up to 1 month and thaw in the refrigerator before serving.
- → Can I make this gluten-free?
-
Absolutely! Simply use certified gluten-free graham crackers for the crust. The rest of the ingredients are naturally gluten-free. Make sure to check all labels for potential cross-contamination in your kitchen.
- → Why is my filling still jiggly after baking?
-
The filling should have a slight jiggle in the center when removed from the oven—this is normal and desired. As it cools and chills, it will continue to set. Fully chilled bars should be completely firm. Overbaking will result in a dry texture.
- → Can I make this ahead for a party?
-
Yes, these bars are perfect for advance preparation. Make them 1-2 days ahead and store in the refrigerator. You can even add whipped cream and garnish just before serving for the freshest presentation.