 Save to everydaypinmeals
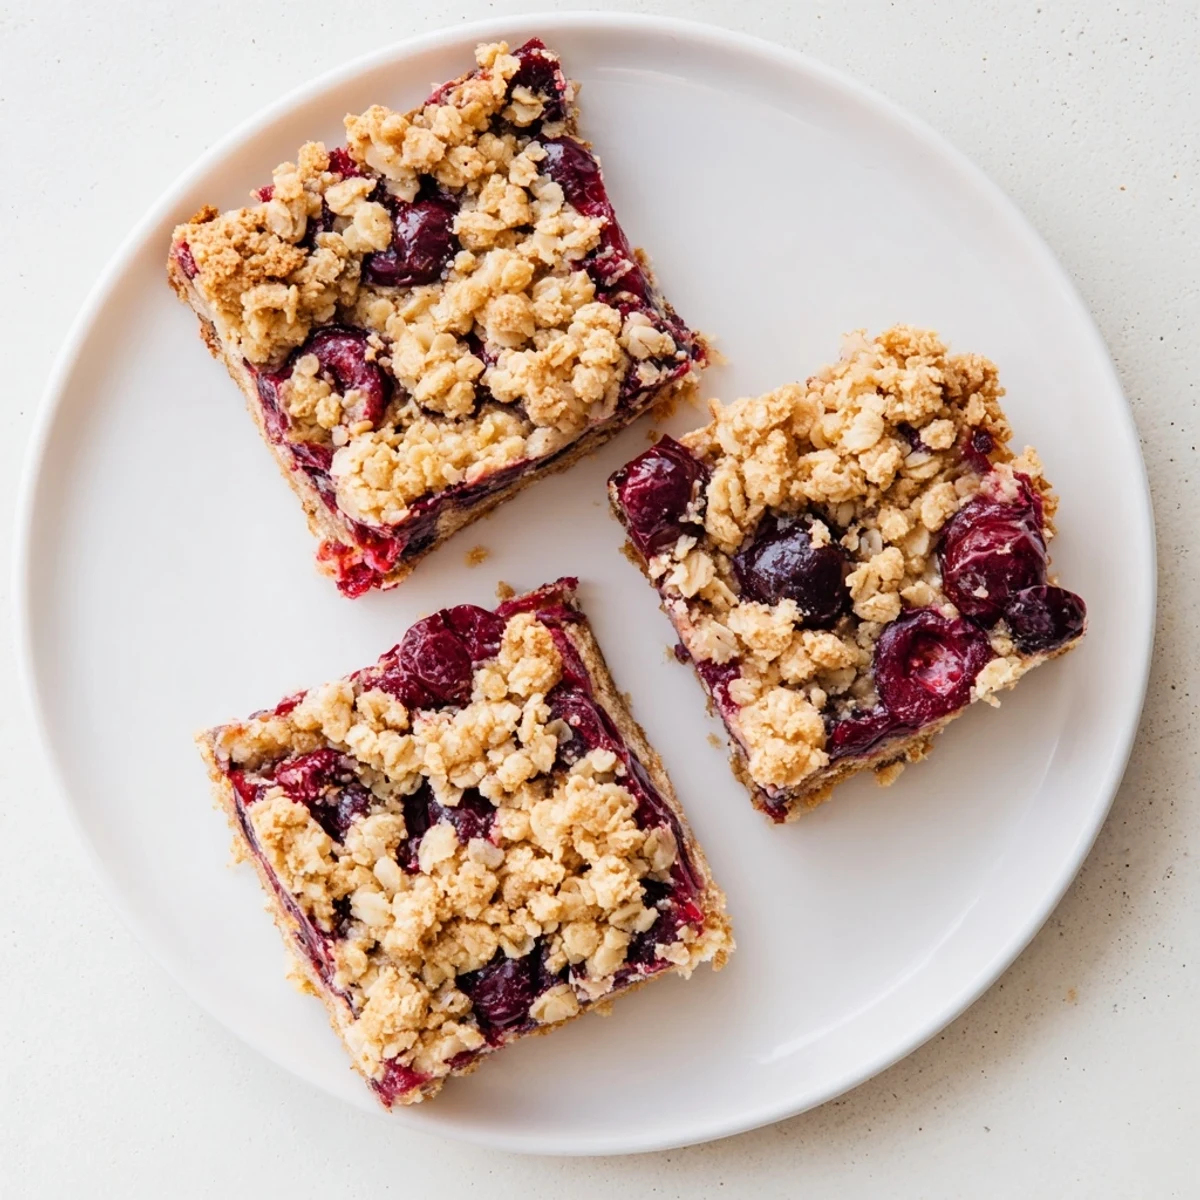
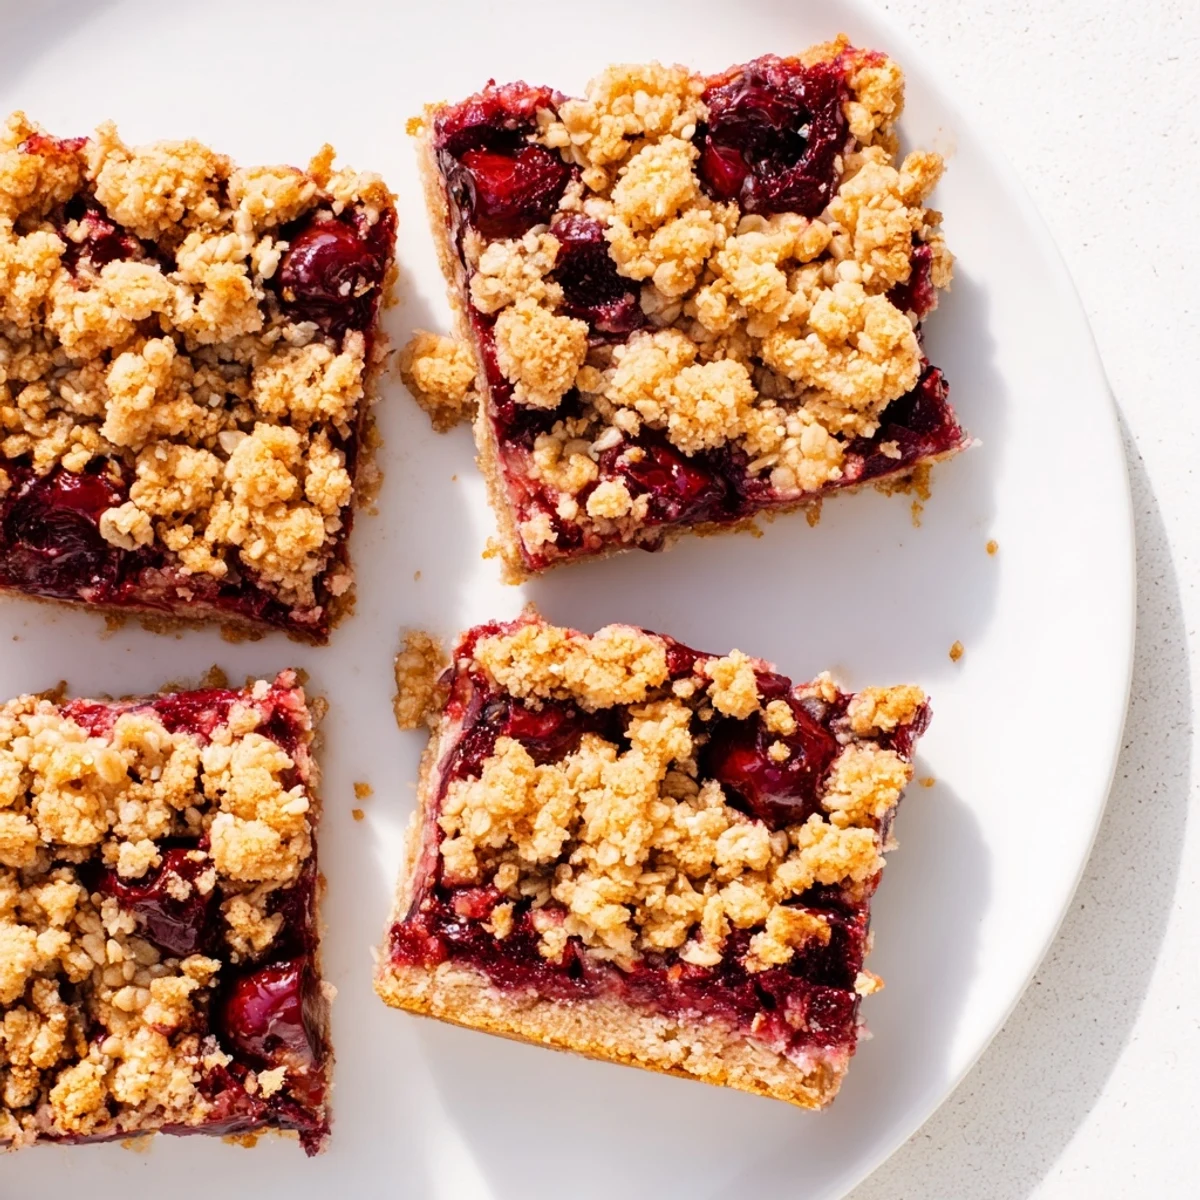
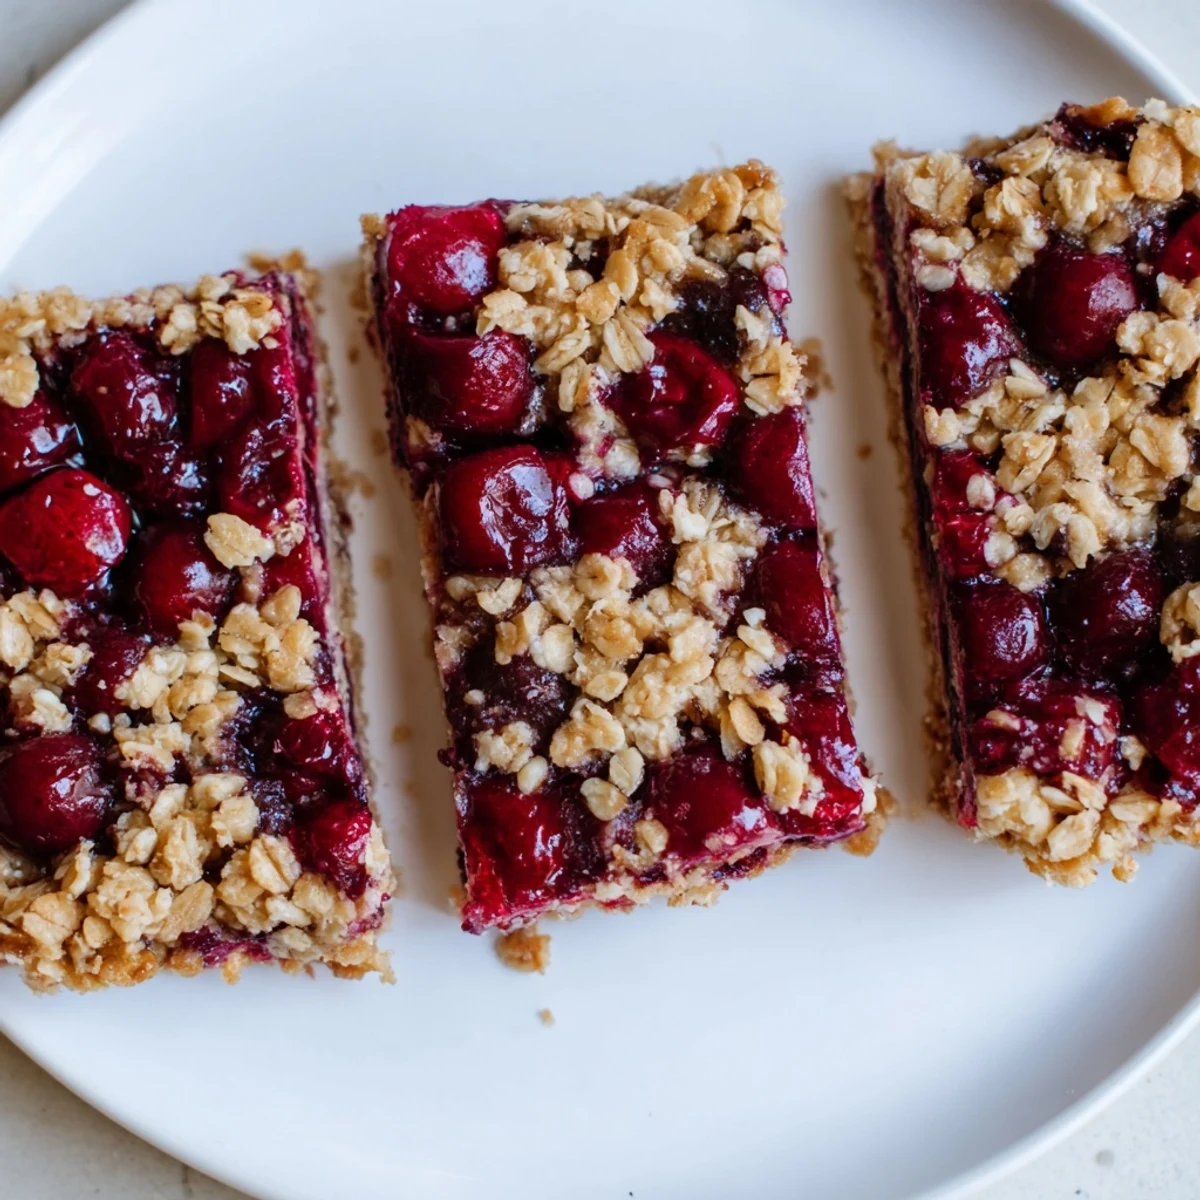
 These cherry crumble bars feature a buttery, oat-based crust and topping that crumbles perfectly in every bite. The sweet-tart cherry filling bubbles up through the golden crumble, creating layers of texture and flavor. With just 20 minutes of prep and 35 minutes in the oven, you'll have 12 handheld dessert bars that work wonderfully for picnics, potlucks, or afternoon tea. The dough doubles as both crust and crumble topping, streamlining your workflow and minimizing cleanup.
The smell of buttery oats toasting in the oven always pulls me into the kitchen, no matter what I am doing in the other room. My neighbor dropped off a basket of cherries from her tree last summer, and I stood there staring at them until this crumble bar idea clicked into place. Something about the combination of warm, spiced fruit and that streusel topping feels like home in the most uncomplicated way possible.
I brought a batch to a potluck last month, and my friend Sarah literally chased me down before I left to get the recipe. She said her grandmother used to make something similar, but she could never find the right ratio of fruit to crumble. Watching people go back for seconds while still holding their first bar—that is the kind of memory that sticks with you.
Ingredients
- All-purpose flour: Provides structure to both the crust and crumble layer
- Old-fashioned rolled oats: Essential for that classic crumble texture and nutty flavor
- Granulated and brown sugar: The brown sugar adds moisture and depth while white sugar provides crispness
- Baking powder: Helps the crust puff slightly so it is not too dense
- Salt: Balances the sweetness and highlights the vanilla
- Unsalted butter: Melted butter coats every flour and oat particle for consistent texture
- Vanilla extract: Rounds out all the flavors with warmth
- Cherries: Fresh or frozen both work, but frozen may need a few extra minutes in the oven
- Cornstarch: Thickens the cherry juices as they bake so you do not end up with a soggy bottom
- Lemon juice: Brightens the cherry flavor and balances the sugar
- Almond extract: Optional, but it pairs beautifully with cherries if you enjoy that subtle nutty note
Instructions
- Get your oven and pan ready:
- Preheat your oven to 350°F and line a 9x13-inch pan with parchment paper, letting some hang over the sides. This paper sling will make lifting out the whole batch so much easier later.
- Mix the dry base:
- In a large bowl, stir together the flour, oats, both sugars, baking powder, and salt until everything is evenly combined.
- Add the butter:
- Pour in the melted butter and vanilla, then stir until the mixture looks like wet sand with some pea-sized crumbs scattered throughout.
- Press the crust:
- Set aside about 1½ cups of the mixture for your topping. Press the rest firmly and evenly into the bottom of your prepared pan.
- Prepare the cherry filling:
- In a separate bowl, toss the cherries with the sugar, cornstarch, lemon juice, and almond extract until every piece is coated.
- Layer it up:
- Spread the cherry mixture evenly over the crust, then sprinkle the reserved crumble topping over the fruit.
- Bake until golden:
- Bake for 35 to 40 minutes until the top is golden brown and you see the cherry filling bubbling around the edges.
- Cool completely:
- Let the bars cool completely in the pan, then use the parchment overhang to lift them out. Cut into squares and serve.
 Save to everydaypinmeals
 My daughter asked if we could bring these to her school bake sale, and I agreed before realizing I had to triple the recipe. We spent an entire Sunday afternoon covered in flour, cherry juice stains on our shirts, laughing every time a rogue oat crumb hit the floor. That moment together, measuring and mixing and tasting, meant more than any dessert ever could.
Make Ahead Tips
You can prepare the crumb mixture up to three days in advance and store it in an airtight container in the refrigerator. The baked bars also freeze beautifully—wrap individual portions in plastic and then foil, and they will keep for up to three months. Thaw overnight in the refrigerator for the best texture.
Serving Suggestions
These bars are exceptional on their own, but a scoop of vanilla ice cream while they are still slightly warm is pretty hard to beat. I also love serving them with a dollop of plain Greek yogurt for breakfast—the tartness cuts through the sweetness perfectly. For a dinner party dessert, a drizzle of warm custard over the top elevates them into something fancy without any extra work.
Flavor Variations
Swap the cherries for any stone fruit like peaches, plums, or a mix of berries. Add a teaspoon of cinnamon or nutmeg to the crumble mixture for autumn vibes, or stir some chopped pecans or almonds into the topping for extra crunch. If you want to get fancy, sprinkle some coarse sugar over the top right before baking for that bakery style sparkle.
- Try orange juice instead of lemon for a brighter citrus note that pairs well with dark cherries
- Substitute half the all-purpose flour with almond flour for a nuttier crumble
- Add a pinch of cardamom to the cherry filling for a warming spice twist
 Save to everydaypinmeals
 There is something deeply satisfying about a dessert that looks impressive but comes together with such straightforward steps. I hope these cherry crumble bars find their way into your kitchen and create their own memories along the way.
Recipe FAQs
- → Can I use frozen cherries instead of fresh?
-
Yes, frozen cherries work perfectly in this crumble. No need to thaw them first—simply toss them with the sugar and cornstarch mixture, then add 5 minutes to the baking time to account for the extra moisture.
- → How do I store these cherry crumble bars?
-
Store cooled bars in an airtight container at room temperature for up to 3 days. For longer freshness, refrigerate for up to a week. You can also freeze individually wrapped bars for up to 3 months.
- → What other fruits can I use?
-
This versatile crumble base works beautifully with blueberries, raspberries, peaches, or a mixed berry blend. Adjust the sugar slightly based on your fruit's natural sweetness—tart berries may need an extra tablespoon.
- → Why did my crust turn out soggy?
-
Soggy crusts usually happen when the filling isn't thickened enough or the bars aren't cooled completely before cutting. Ensure you use the full amount of cornstarch and let the bars cool to room temperature in the pan before slicing.
- → Can I make these bars gluten-free?
-
Substitute the all-purpose flour with a 1:1 gluten-free flour blend and use certified gluten-free oats. The texture remains remarkably similar, though the bars may be slightly more delicate.