 Save to everydaypinmeals
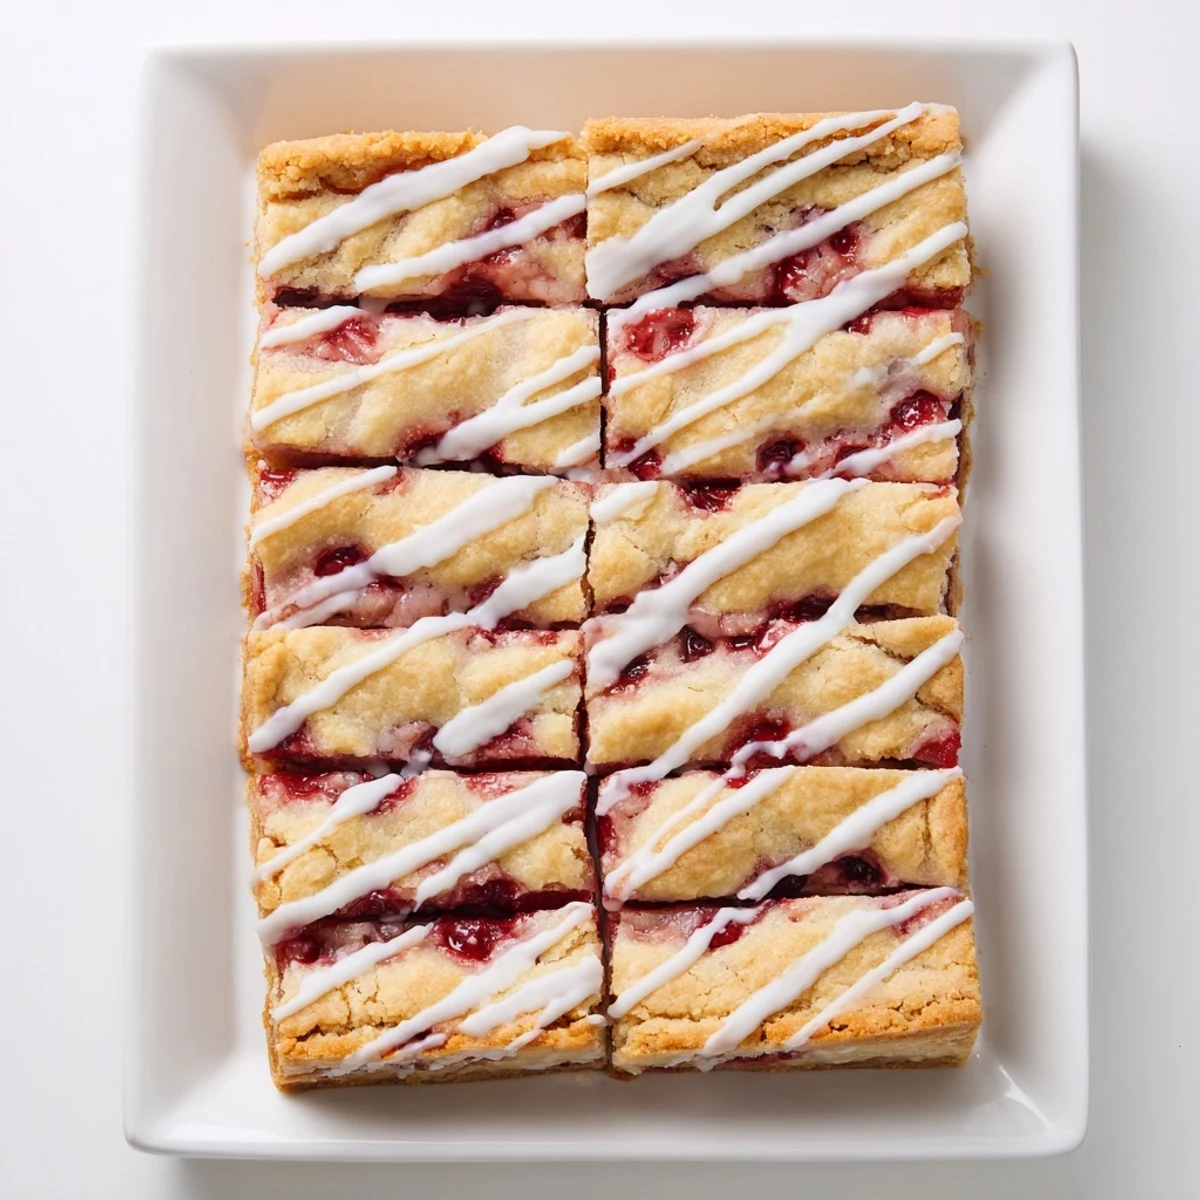
 These tender, buttery bars feature a classic dough base spread with sweet cherry pie filling and finished with a simple vanilla glaze. The dough is creamed with butter and sugar for the perfect texture, while the cherry filling adds bursts of fruity sweetness throughout. Finished with a drizzle of sweet vanilla icing, these bars are ideal for gatherings, potlucks, or everyday treats.
The smell of butter and sugar creaming together still takes me back to my grandmothers tiny kitchen where wed crowd around the counter waiting for taste tests. These cherry pie bars were her genius solution to making something that felt like pie but traveled better to potlucks and family reunions. I love how the cherries bubble up through those buttery pockets creating little jammy surprises in every bite.
I once brought these to a summer picnic and watched my friends father carefully eat three bars while insisting he was saving room for the main course. The combination of tart cherries against that sweet buttery base creates this perfect balance that keeps people coming back for just one more. Now theyre the first thing I bake when I need something that feels special but doesnt require measuring everything to the gram.
Ingredients
- Unsalted butter: Softened properly this creates that tender crumb that practically melts in your mouth with vanilla and almond extracts adding those classic bakery notes
- Granulated sugar: Creamed with the butter until pale this creates the structure and sweetness that balances the tart cherry filling
- Large eggs: Room temperature eggs incorporate better giving your bars that perfect lift and texture
- All purpose flour and salt: Whisked together first this prevents overmixing which keeps the bars tender rather than tough
- Cherry pie filling: The star of the show bringing that bright jewel color and fruity contrast to the buttery base
- Powdered sugar: For the glaze that adds just the right finish and makes these bars look bakery beautiful
Instructions
- Get your oven ready:
- Preheat to 350°F and grease a 9x13 inch pan or line with parchment paper for easy removal later
- Cream the butter and sugar:
- Beat them together until light and fluffy about 3 minutes then add eggs one at a time followed by extracts
- Combine the dry ingredients:
- Whisk flour and salt in a separate bowl then gradually add to the wet mixture mixing just until combined
- Layer it all up:
- Spread two thirds of the dough in your pan spoon cherry filling over top then drop small pieces of remaining dough leaving some cherry exposed
- Bake to golden perfection:
- Bake 30 to 35 minutes until lightly golden then cool completely before whisking powdered sugar milk and vanilla for the glaze
 Save to everydaypinmeals
 My neighbor actually asked for the recipe before she even finished her first bar at our last block party. These cherry pie bars have become my go to for everything from school bake sales to when I just need something sweet with my afternoon coffee.
Making It Your Own
The beauty of this recipe lies in how easily it adapts to whatever filling catches your eye at the store. Blueberry filling works wonderfully for a more subtle sweetness while apple pie filling with a pinch of cinnamon makes these perfect for fall.
Storage Secrets
These bars actually taste better on day two as the flavors meld together and the glaze soaks into the top layer. Store them in an airtight container at room temperature for up to three days though they rarely last that long in my house.
Serving Suggestions
Warm a bar in the microwave for about fifteen seconds and serve with vanilla ice cream for an absolutely divine dessert experience. These are also perfect packed into lunchboxes or wrapped individually for bake sales.
- Sprinkle a little sea salt over the glaze before it sets for a salted caramel effect
- Add a tablespoon of lemon zest to the dough for bright citrus notes that cut the sweetness
- Try using homemade cherry preserves if you want a less sweet more intense cherry flavor
 Save to everydaypinmeals
 These cherry pie bars are the kind of dessert that makes people feel like they are at home wherever they are. Bake them once and they will become part of your own story too.
Recipe FAQs
- → Can I use fresh cherries instead of canned pie filling?
-
You can use fresh cherries, but you'll need to cook them down with sugar and cornstarch to create a thick filling similar to canned pie filling. This adds about 15-20 minutes to your prep time.
- → How should I store these bars?
-
Store in an airtight container at room temperature for up to 3 days. For longer storage, refrigerate for up to a week. You can also freeze them unfrosted for up to 3 months.
- → Can I make these ahead of time?
-
Yes, these bars actually taste better the next day as flavors meld. Bake and cool completely, then add glaze before serving. You can make the base 1-2 days ahead and glaze when ready to serve.
- → What other fruit fillings work well?
-
Blueberry, apple, strawberry, or peach pie filling all work beautifully in this recipe. Each brings its own delicious twist to the buttery base.
- → Why is almond extract listed as optional?
-
Almond extract enhances cherry flavor beautifully, but some people prefer pure vanilla taste. If serving to anyone with nut allergies, stick with vanilla extract only.
- → Can I reduce the sugar in this recipe?
-
You can reduce the granulated sugar in the dough by up to 1/4 cup, though texture may be slightly less tender. The filling sweetness comes from the canned pie filling, which cannot be adjusted.