 Save to everydaypinmeals
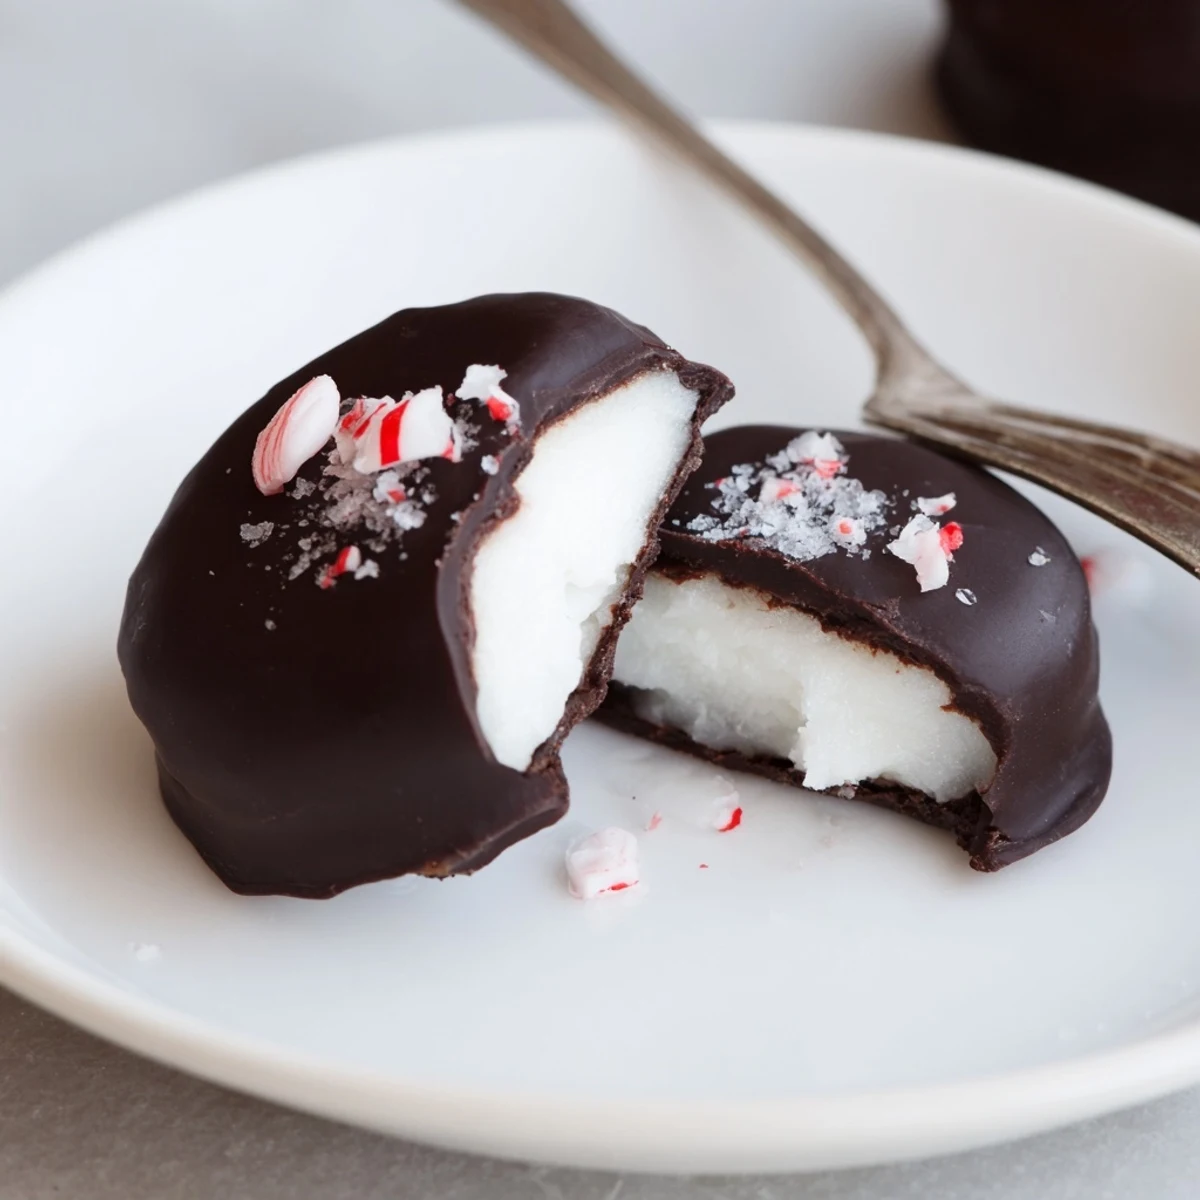
 Combine sifted powdered sugar with softened butter, peppermint extract, heavy cream and a pinch of salt, beating until a smooth, pliable mint filling forms; add more powdered sugar if the mixture is sticky. Shape into small discs, freeze 20–30 minutes, then dip each disc into melted dark chocolate (a teaspoon of coconut oil helps with shine). Return to chill until set. Makes about 24 patties; store refrigerated up to two weeks and finish with crushed peppermint or flaky sea salt if desired.
You know that almost electric scent of peppermint that hits the air when you split open a crisp winter candy It's what first drew me to make homemade peppermint patties in my tiny apartment one chilly night the windows fogging up as chocolate melted gently on the stove. I remember sneaking tastes from the bowl too early worried I'd used too much mint but ending up laughing at my sticky fingers. There's something delightfully hands-on about forming these cool little discs especially with a jazz record humming softly in the background. Somehow, every batch feels like a wintry treat no matter what time of year it is.
Once, I brought a paper-wrapped box of these peppermint patties to a friend's summer picnic thinking they might melt before dessert. Instead, everyone gathered around the cooler, fishing them out with grins like it was treasure—proving these after-dinner treats never go out of style.
Ingredients
- Powdered sugar: This is the backbone of the smooth peppermint filling—sifting first saves you from clumps later and creates a velvety texture.
- Unsalted butter: Softened butter helps the dough come together without lumps; use the good stuff for richer flavor.
- Pure peppermint extract: Just two teaspoons pack a punch—more is overkill, so measure with care.
- Heavy cream: Adds the right amount of moisture and a lush bite to every patty—the kind of richness that lingers.
- Salt: A tiny pinch sharpens the mint, making sure your patties taste lively, never flat.
- Dark chocolate: A high-quality bar (60–70 percent cocoa) gives an intense, bittersweet shell; chopping it helps with even melting.
- Coconut oil: Totally optional but makes the melted chocolate easier to swirl around your mint discs (and leaves a faint, lovely fragrance).
Instructions
- Mix the mint filling:
- In a mixing bowl, beat together sifted powdered sugar, softened butter, peppermint extract, heavy cream, and a pinch of salt until a smooth, pliable dough forms. If it's sticky, sprinkle in more powdered sugar a bit at a time—the goal is claylike, not tacky.
- Shape the patties:
- Scoop out about 2 teaspoons of dough for each patty and roll into balls, then press to flatten into 1/4-inch thick discs. Arrange the discs in neat rows on a parchment-lined baking sheet—the more uniform, the nicer they'll look dipped.
- Chill until firm:
- Pop the tray into the freezer for 20 to 30 minutes; you'll know they're ready when they lift easily without bending. This step keeps the discs from melting when you dip them later.
- Melt the chocolate:
- Set a heatproof bowl over barely simmering water and add chopped chocolate and coconut oil if using. Stir gently and patiently until glossy and completely melted—don't rush this or the chocolate may seize.
- Dip the patties:
- Drop each frozen mint disc into the melted chocolate, flipping it with a fork to coat every inch. Let the excess chocolate drip off before sliding each one back onto parchment.
- Set and finish:
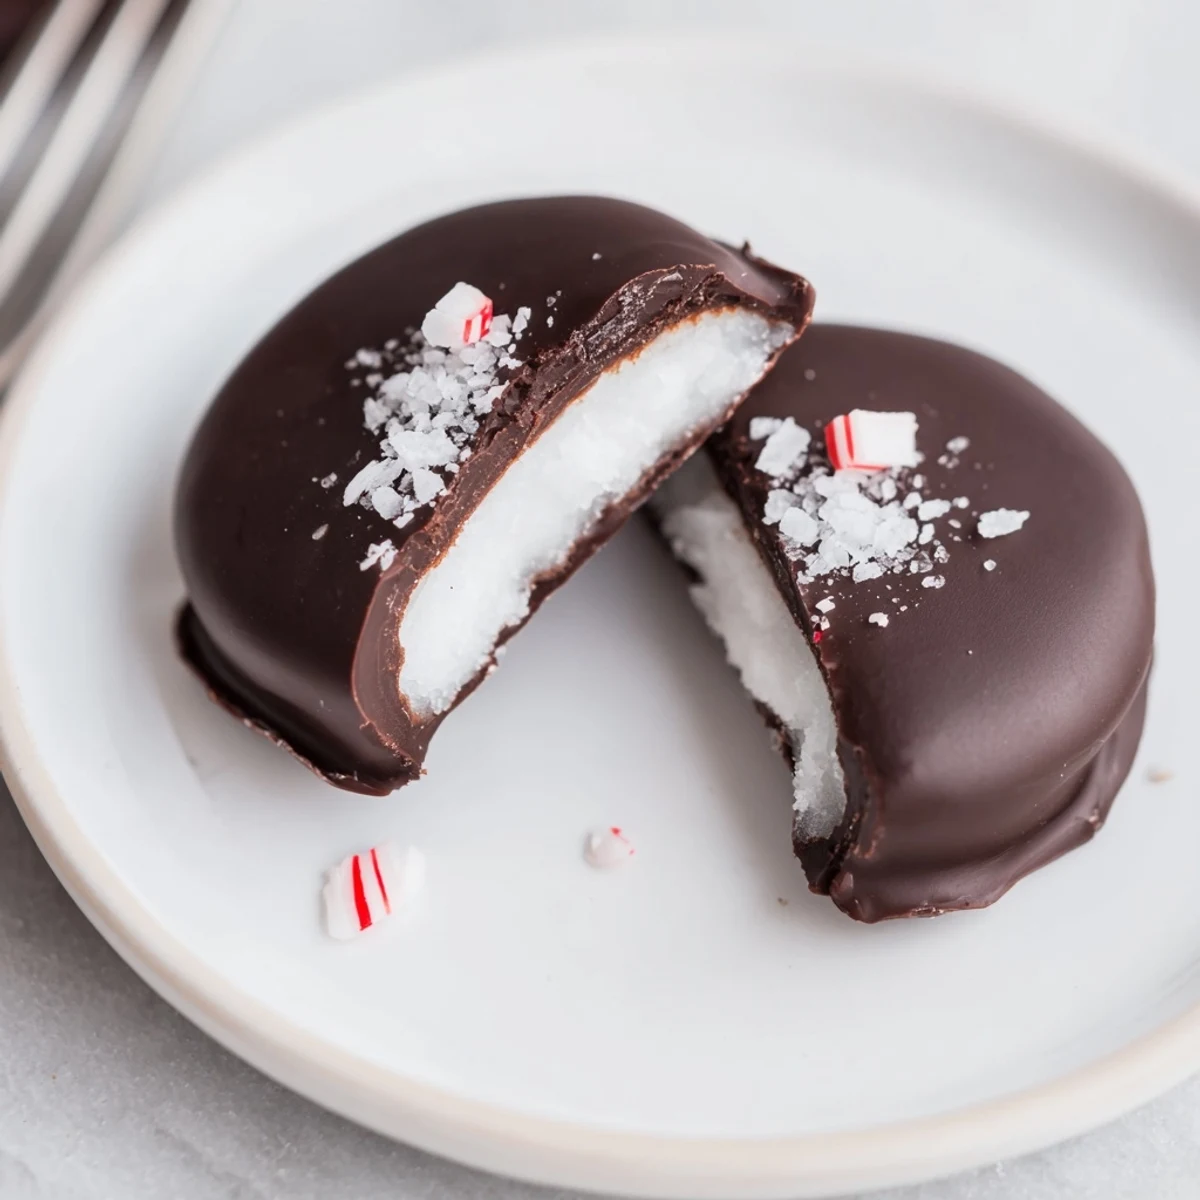
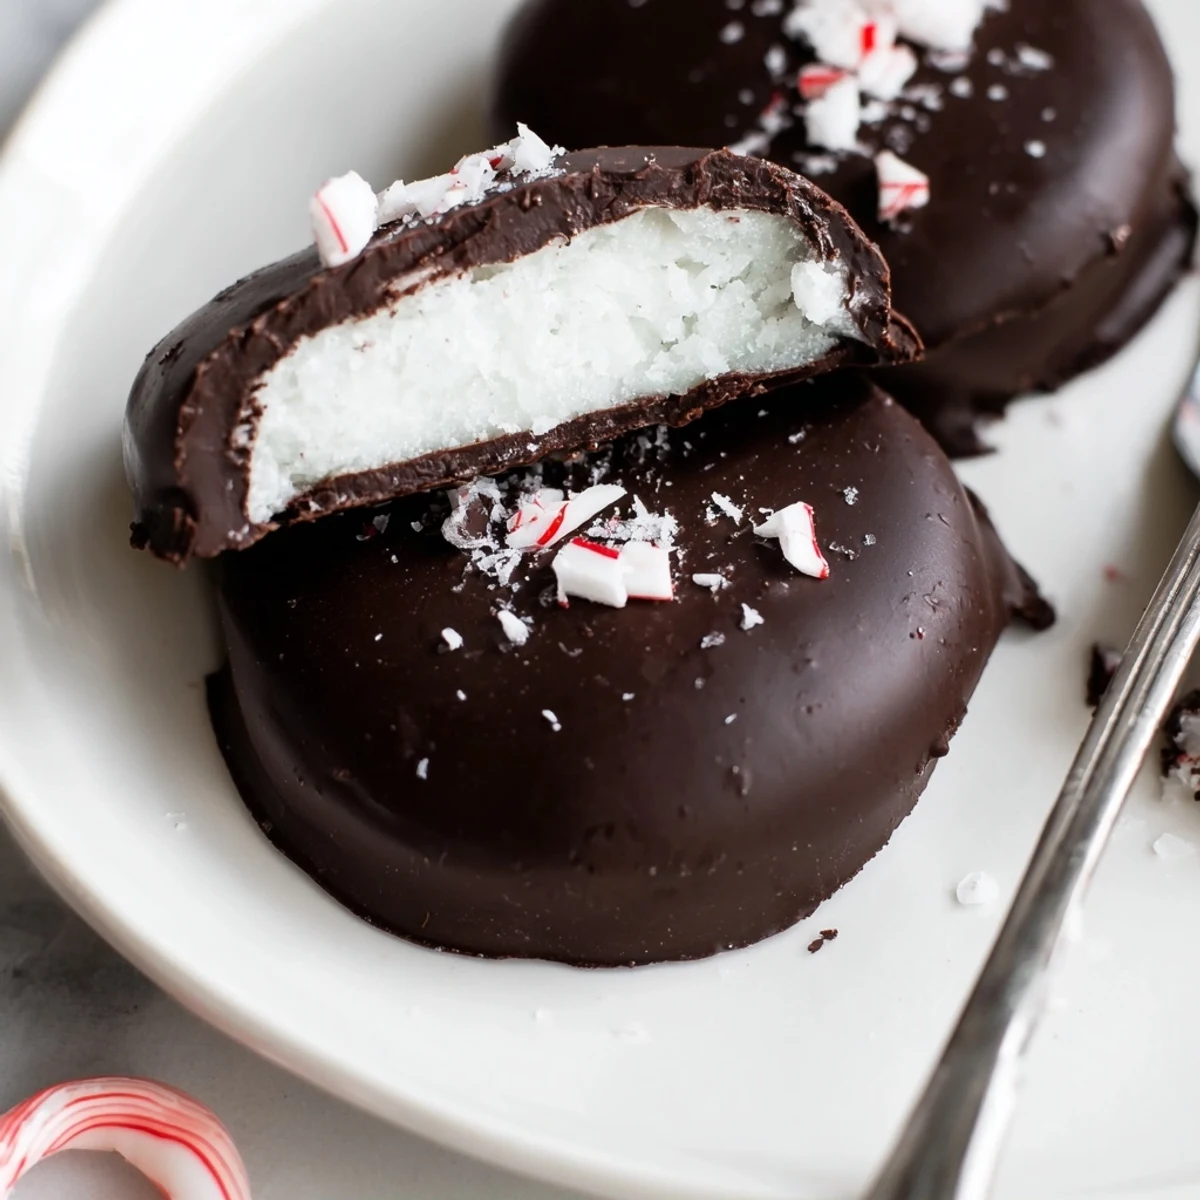
- Chill the dipped patties in the refrigerator for at least 15 minutes or until the chocolate shell is firm and snaps when bitten. If you want, sprinkle crushed peppermint or flaky sea salt on top before they set for a pretty finish.
 Save to everydaypinmeals
 There was a holiday evening when we handed these patties around after dinner, and someone—mouth still full—asked if we could just make these for all future gifts. That half hour turned into laughter, chocolate-streaked napkins, and quiet satisfaction that something so simple could be delicious and memorable.
Getting the Chocolate Just Right
I've experimented with chocolate chips and bars, but using a high-cocoa dark chocolate (not candy melts) makes the outer shell glossy, snappy, and never too sweet. If you want a thinner coating, coconut oil does the trick—just melt slowly and manage the heat so nothing scorches. Tempering can be intimidating, but for these, I promise a relaxed, gentle melt works perfectly.
Storage and Gifting Secrets
Once set, these patties love a cool, dark corner of your fridge tucked inside an airtight tin—they stay fresh and minty for up to two weeks. Stacking parchment between layers means no sticking, and I've found that a ribbon around the tin makes them almost too charming to unwrap as gifts. Gluten-free folks breathe easy: just double-check your chocolate and extracts to keep things truly safe.
Troubleshooting and Last-Minute Tricks
Once in a while, you'll find cracks appearing in the chocolate shell or the filling sneaking out—don't stress, it all tastes wonderful in the end. A quick chill usually fixes most issues, and if you go overboard with the extract, a little extra powdered sugar balances the flavor back. Try a sprinkle of flaky salt or festive crushed candy before the chocolate sets for a crowd-pleasing finish.
- If your discs start to soften while dipping, pause and re-chill.
- Work quickly with the melted chocolate for the smoothest shells.
- Keep a damp towel handy for inevitable sticky fingers.
 Save to everydaypinmeals
 Whether packed into gift tins or stashed away for late-night treats, these peppermint patties promise a cool, chocolate-hugged bite that delights every single time. Here's to kitchen experiments that end up shared and treasured!
Recipe FAQs
- → How long do these last stored?
-
Keep patties in an airtight container in the refrigerator for up to two weeks. For longer storage, freeze them in a single layer on a tray then transfer to a freezer-safe container for up to 2–3 months; thaw in the fridge before serving.
- → What’s the best way to melt the chocolate?
-
Melt chocolate gently over a simmering water bath, stirring frequently and keeping steam away from the chocolate. A small amount of coconut oil improves fluidity and sheen. Avoid overheating — remove from heat while a few unmelted pieces remain and stir until smooth.
- → How do I stop the filling from being too sticky?
-
If the filling is sticky, gradually add more sifted powdered sugar until it firms up. Chilling the formed discs on a baking sheet before dipping also makes them easier to handle and reduces sticking during coating.
- → Can I make a dairy-free version?
-
Yes — swap in dairy-free butter and use coconut cream or another neutral plant cream in place of heavy cream. Choose dark chocolate labeled dairy-free and check for cross-contamination on the packaging.
- → Why freeze the discs before dipping?
-
Freezing firms the mint centers so they hold their shape and cool the chocolate more quickly when dipped, reducing the chance of melting and helping the coating set evenly with a clean finish.
- → What chocolate works best for coating?
-
A dark chocolate in the 60–70% cocoa range offers a pleasant balance of bitterness and sweetness that complements the mint. For a glossier finish, add a small amount of coconut oil or use couverture chocolate if available.