 Save to everydaypinmeals
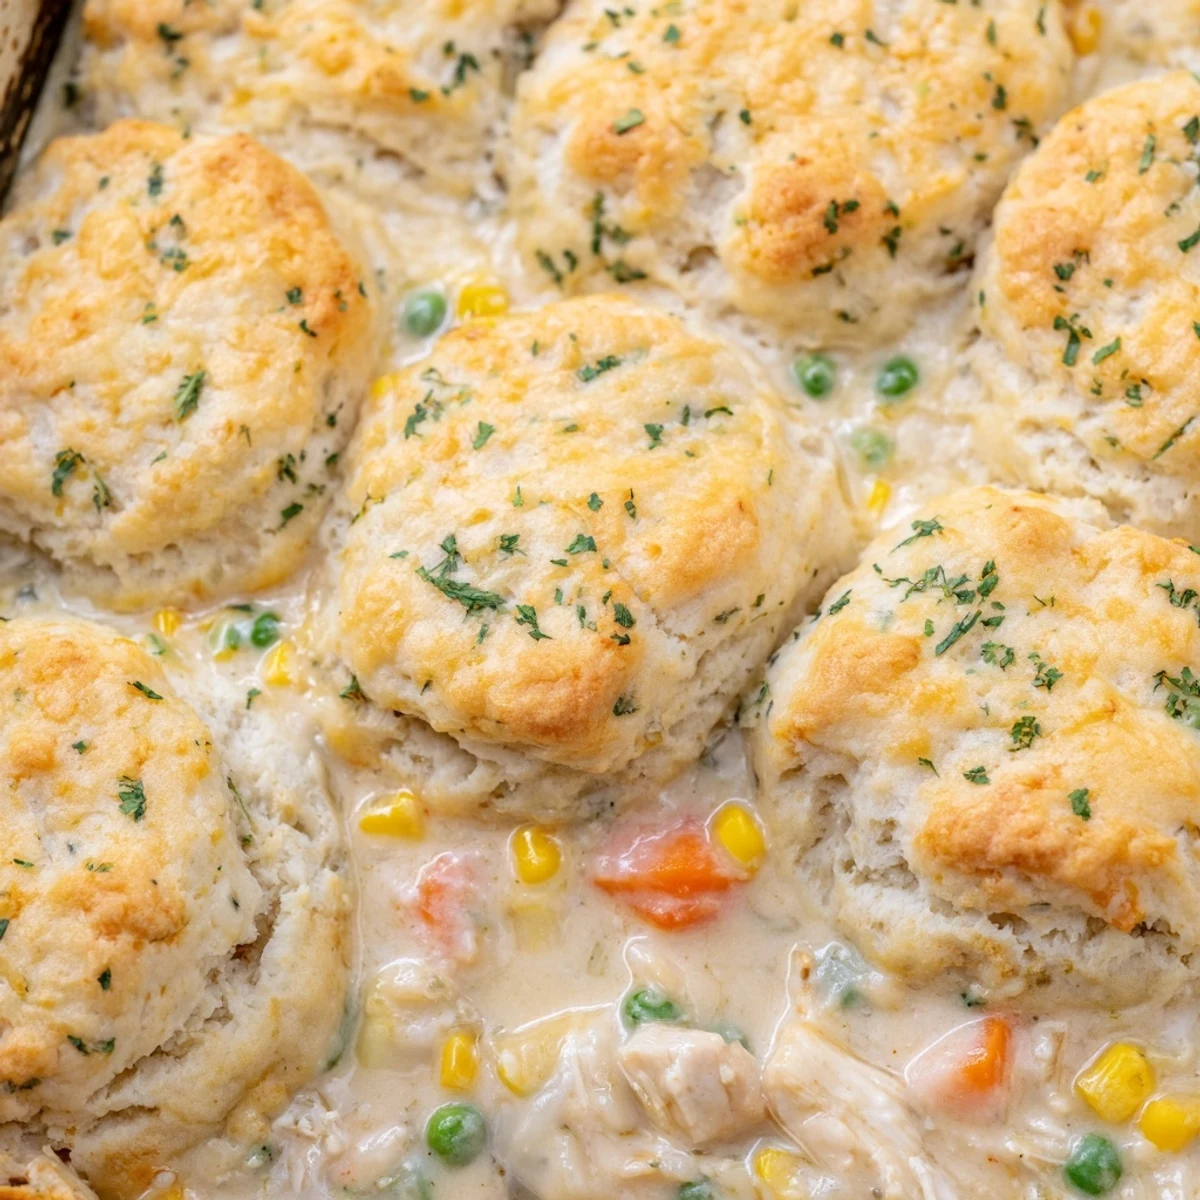
 This hearty dish combines tender shredded chicken, vegetables, and a creamy sauce in a golden bubbly filling. The star is the cheddar-garlic biscuit topping inspired by Red Lobster's famous rolls. With 25 minutes prep and 40 minutes baking time, you'll have six generous portions ready in just over an hour.
The filling features chicken breast simmered with carrots, celery, onions, peas, and corn in a velvety broth-based gravy. Meanwhile, the biscuit dough comes together with sharp cheddar, fresh parsley, and garlic powder for that unmistakable restaurant-style flavor.
Finish with an optional butter-garlic brush on the baked biscuits for extra richness. This meal pairs beautifully with a crisp green salad and your favorite white wine.
The smell of those buttery garlic cheese biscuits always pulls me back to teenage birthday dinners at Red Lobster, where wed compete for who could eat the most. Something magical happens when that cheddar biscuit flavor meets a creamy pot pie filling. I stumbled on this combination during a particularly brutal winter when comfort food became non-negotiable. My husband took one bite and declared this mashup better than either dish on its own.
My sister came over during that first snowstorm when I tested this recipe, skeptical about the biscuit-on-pie situation. She ended up eating three helpings and texted me the next morning asking for the recipe. Now its become our go-to when we need serious comfort food without spending hours in the kitchen.
Ingredients
- 2 cups all-purpose flour: The foundation for those iconic fluffy biscuits that somehow stay tender under all that cheese
- 1 tablespoon baking powder: This gives your biscuits their rise so they dont turn into dense hockey pucks
- 1 teaspoon garlic powder: The secret weapon that makes these taste exactly like the restaurant version
- 1/2 teaspoon salt: Essential for balancing all that rich cheddar and butter
- 1/2 cup unsalted butter, cold and cubed: Keep this ice cold so your biscuits bake up flaky and tall
- 1 cup sharp cheddar cheese, shredded: Use sharp cheese for that punchy flavor that stands up to the creamy filling
- 2 tablespoons chopped fresh parsley: Adds a fresh pop of color and flavor that cuts through the richness
- 3/4 cup whole milk: Whole milk creates the most tender biscuit texture
- 2 tablespoons unsalted butter: The start of your velvety pot pie filling base
- 1 small yellow onion, diced: Sweet and aromatic foundation for the filling
- 2 carrots, peeled and diced: Classic pot pie vegetables that add sweetness and color
- 2 celery stalks, diced: Provides that familiar pot pie flavor profile and subtle crunch
- 3 cloves garlic, minced: Dont be shy here—garlic makes everything taste better
- 1/3 cup all-purpose flour: Thickens your filling into that perfect gravy-like consistency
- 3 cups low-sodium chicken broth: The liquid base that carries all the flavors
- 1 cup whole milk: Adds creaminess without being too heavy
- 3 cups cooked chicken breast, shredded: Rotisserie chicken works perfectly here and saves time
- 1 cup frozen peas: Sweet little pops of brightness throughout the filling
- 1 cup frozen corn: Adds natural sweetness and beautiful yellow color
- 1 teaspoon dried thyme: Earthy and aromatic, thyme is the classic pot pie herb
- 1/2 teaspoon black pepper: Freshly ground gives the best spicy warmth
- 1 teaspoon salt: Adjust to taste since different chicken broths vary in sodium
Instructions
- Preheat your oven:
- Get that oven cranking to 400°F so its ready when you need it.
- Sauté the vegetables:
- Melt butter in a large skillet over medium heat and cook onion, carrots, and celery for 5 minutes until they start to soften. Add garlic and cook for just 1 minute until fragrant.
- Build the sauce:
- Sprinkle flour over the vegetables and stir constantly for 2 minutes to cook out the raw flour taste. Whisk in chicken broth gradually, then milk, stirring until smooth and starting to thicken.
- Add the filling ingredients:
- Stir in shredded chicken, frozen peas, corn, thyme, salt, and pepper. Let everything simmer for 5 minutes until the filling coats the back of a spoon, then pour it into a 9x13-inch baking dish.
- Make the biscuit dough:
- Whisk together flour, baking powder, garlic powder, and salt in a large bowl. Cut in cold butter until the mixture looks like coarse crumbs, then stir in cheddar and parsley. Add milk and mix just until combined.
- Top and bake:
- Drop large spoonfuls of biscuit dough evenly over the filling. Bake for 35 to 40 minutes until biscuits are golden brown and the filling is bubbling up around the edges.
- Rest before serving:
- Let the pie cool for 10 minutes so the filling sets slightly and makes serving easier.
 Save to everydaypinmeals
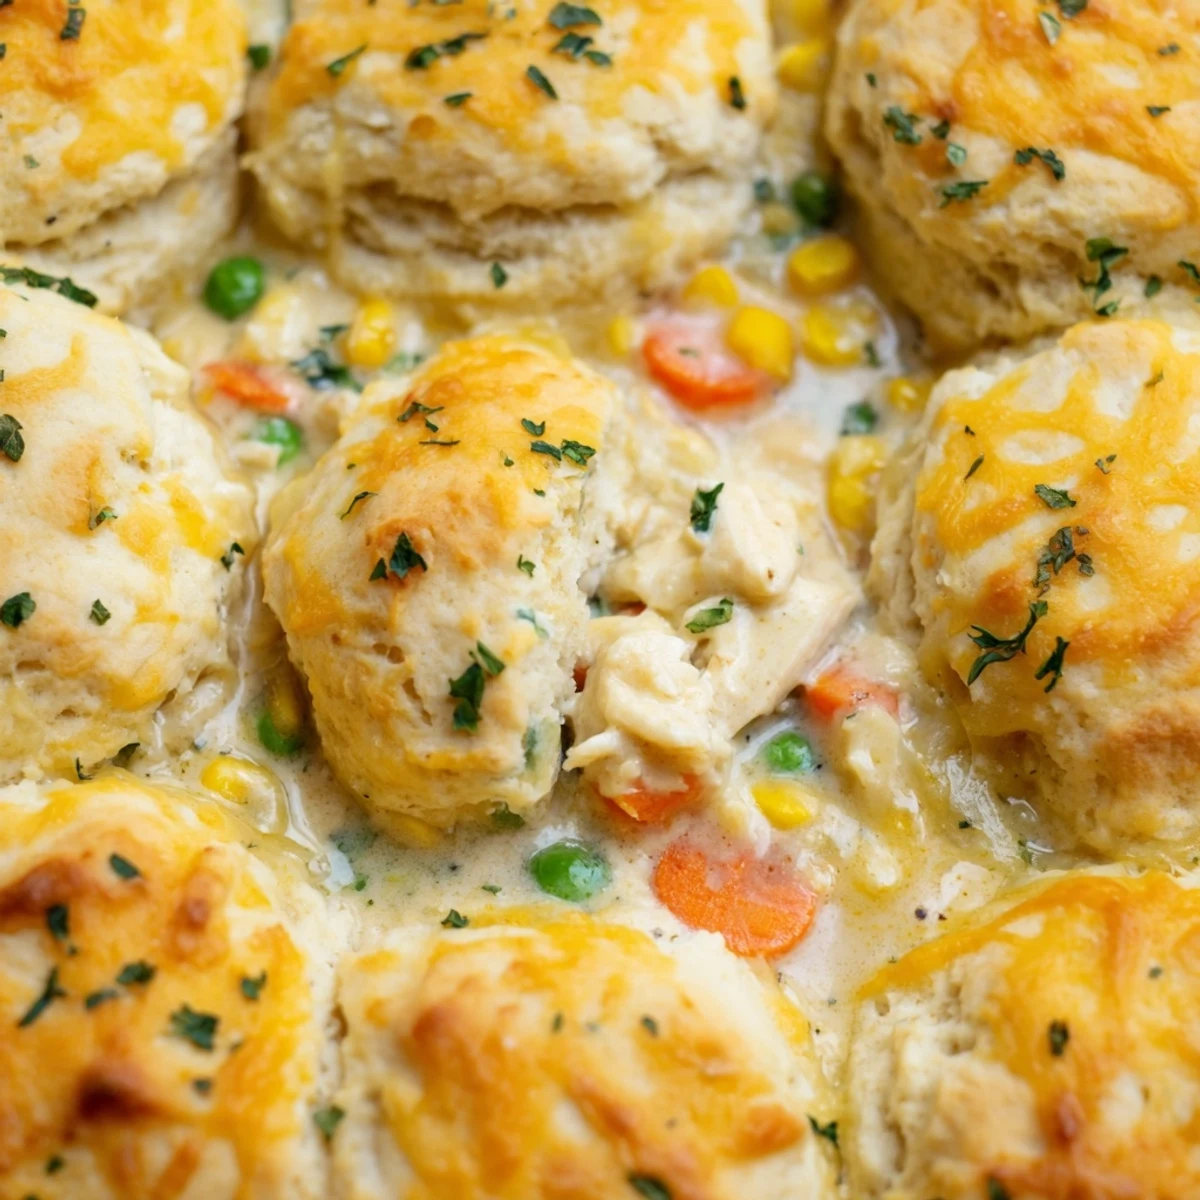
 This recipe saved our family game night when everyone was too hangry to appreciate a fancy meal. Something about tearing through that cheesy biscuit crust to get to the creamy filling underneath makes people genuinely happy.
Making It Your Own
Ive learned that pot pie fillings are incredibly forgiving. Swap in whatever vegetables your family actually eats—green beans, diced potatoes, or even mushrooms work beautifully here. The key is keeping the total vegetable amount roughly the same so the filling consistency stays perfect.
The Biscuit Secret
After years of making these biscuits, I discovered that grating the cold butter instead of cutting it in creates the most reliably fluffy texture. The butter shreds distribute more evenly throughout the flour, giving you those perfect tender pockets every single time. Its a small extra step but worth it.
Serving Suggestions
A crisp green salad with vinaigrette cuts through the richness beautifully. I also like to serve this with extra hot sauce on the table for anyone who wants to kick up the heat. The wine mentioned in the original notes pairs perfectly, but honestly, a cold beer works just as well.
- Brush the baked biscuits with melted butter and extra garlic powder for maximum flavor
- Double the recipe and bake one pan for now, freeze one for later
- Leftovers keep in the refrigerator for up to four days and reheat like a dream
 Save to everydaypinmeals
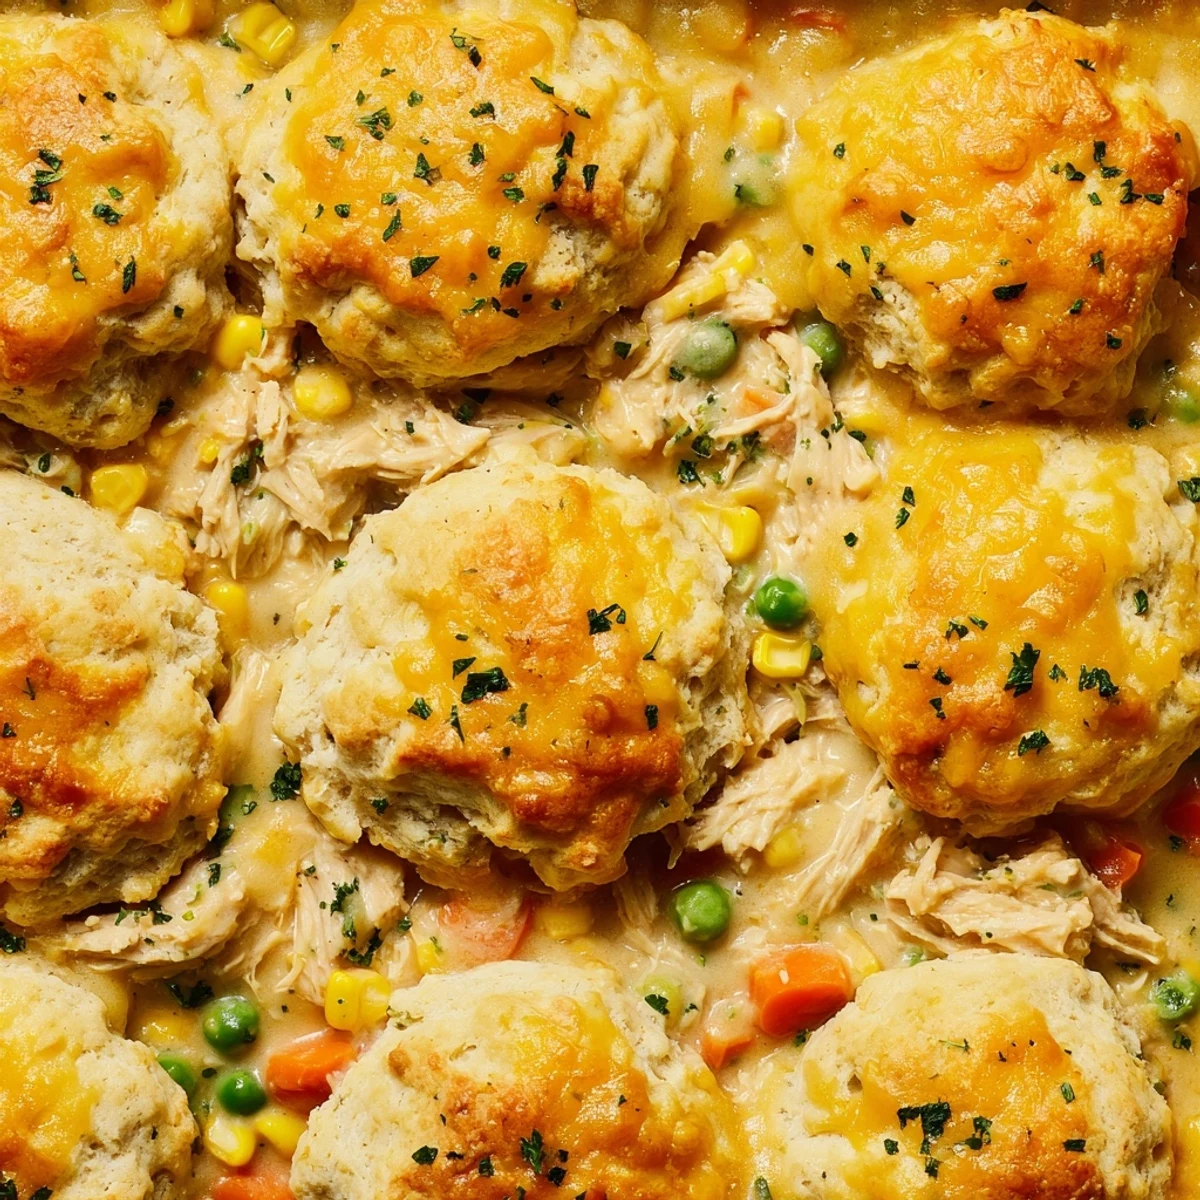
 Theres something about pulling this bubbling dish out of the oven that makes even the worst day feel fixable. Comfort food at its finest.
Recipe FAQs
- → Can I use rotisserie chicken instead of cooking chicken breast?
-
Yes, rotisserie chicken works perfectly and saves time. Simply shred about 3 cups of meat and add it during the filling step. The pre-seasoned flavor from store-bought rotisserie chicken actually enhances the overall taste.
- → How do I store and reheat leftovers?
-
Store in an airtight container in the refrigerator for up to 4 days. Reheat individual portions in the microwave at 50% power to prevent the biscuits from becoming tough, or cover with foil and warm in a 350°F oven for 15-20 minutes until heated through.
- → Can I freeze this dish?
-
Freeze unbaked by assembling in a freezer-safe dish, wrapping tightly, and freezing for up to 3 months. Thaw overnight in the refrigerator before baking. For best results, bake fresh biscuits separately if freezing the filling already prepared.
- → What vegetables can I substitute?
-
Feel free to add diced potatoes, mushrooms, green beans, or parsnips to the filling. You can also swap frozen vegetables for fresh ones—just add them a few minutes earlier to ensure they cook through properly.
- → How do I know when the biscuits are done?
-
The biscuits should be golden brown on top and feel firm when lightly touched. The filling underneath will be bubbling around the edges. If the biscuits brown too quickly, tent the dish with foil for the last 10 minutes of baking.
- → Can I make this gluten-free?
-
Yes, substitute a 1:1 gluten-free flour blend for both the biscuit topping and filling thickener. Ensure all other ingredients, including baking powder and broth, are certified gluten-free. The texture may be slightly denser but still delicious.