 Save to everydaypinmeals
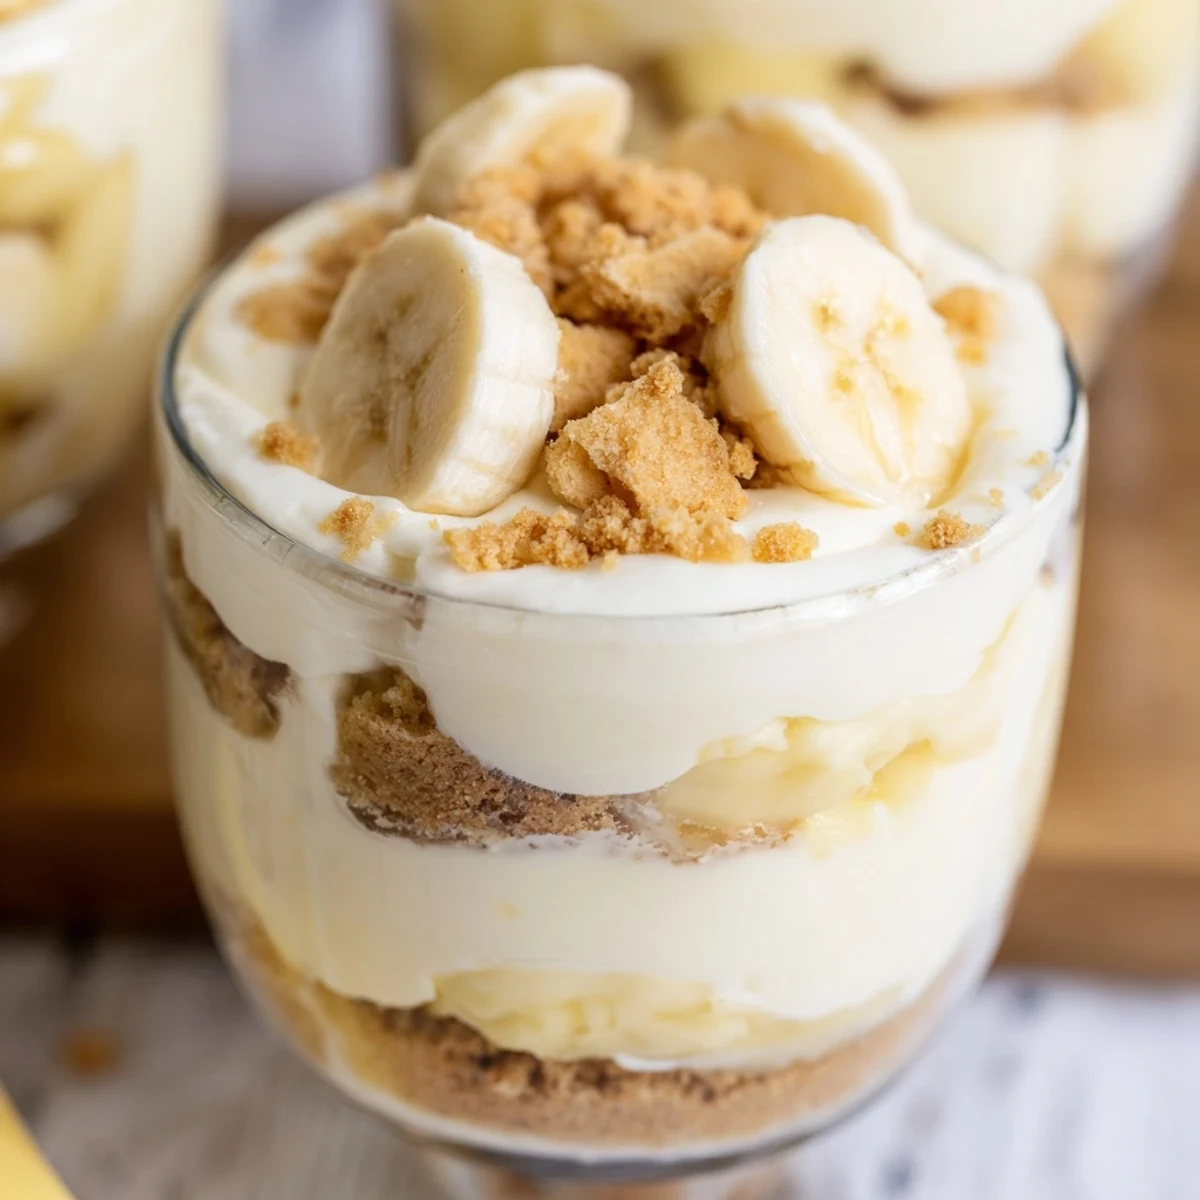
 These individual cups feature luscious layers of velvety cheesecake filling swirled with classic banana pudding, all nestled on a buttery vanilla wafer crust. Each cup delivers the perfect balance of creamy sweetness and fresh banana flavor, finished with a generous sprinkle of crunchy wafer crumbs and fresh banana slices. The no-bake preparation makes this an effortless yet impressive dessert for gatherings, potlucks, or weeknight treats.
The rain was pouring outside last Sunday when I decided we needed something cheerful and sweet for dessert. These little cups came together so quickly that I was actually assembling layers while chatting with my sister on the phone. By the time we hung up, I had six beautiful desserts chilling in the fridge and zero kitchen stress.
My neighbor Sarah dropped by unexpectedly last month and I served these straight from the fridge. She literally stopped mid sentence after her first bite, closed her eyes, and asked for the recipe immediately. Now she makes them for every potluck and calls them her secret weapon.
Ingredients
- Vanilla wafer cookies: These classic cookies create that nostalgic Nilla wafer flavor we all love from childhood banana pudding
- Cream cheese: Make sure it is truly softened to room temperature or you will end up with lumpy filling instead of silky smooth layers
- Heavy whipping cream: The cold temperature is absolutely crucial here so plan ahead and pop your cream in the freezer for 10 minutes before whipping
- Instant banana pudding mix: Do not accidentally grab cook and serve pudding or your layers will not set properly in the cups
- Ripe bananas: Look for bananas with plenty of brown spots because they add natural sweetness and that intense banana flavor we want
Instructions
- Build the crunchy foundation:
- The butter needs to be completely melted so it coats every crumb evenly and creates that perfect press down crust that holds together when you dip your spoon in
- Whip up the cheesecake layer:
- Beat that cream cheese and sugar until you cannot see any granules left then fold in your whipped cream as gently as possible to keep all that air you just whipped in
- Prepare the pudding:
- Whisk the pudding mix and milk for the full two minutes even if it looks thick sooner because this ensures the proper consistency for clean layers
- Assemble the layers:
- Take your time with each layer and use the back of a spoon to gently spread each filling to the edges so you get those beautiful stripes when you serve them
- Chill completely:
- The two hour chilling time is not optional because this allows the flavors to meld together and the pudding to set properly so each cup holds its shape perfectly
 Save to everydaypinmeals
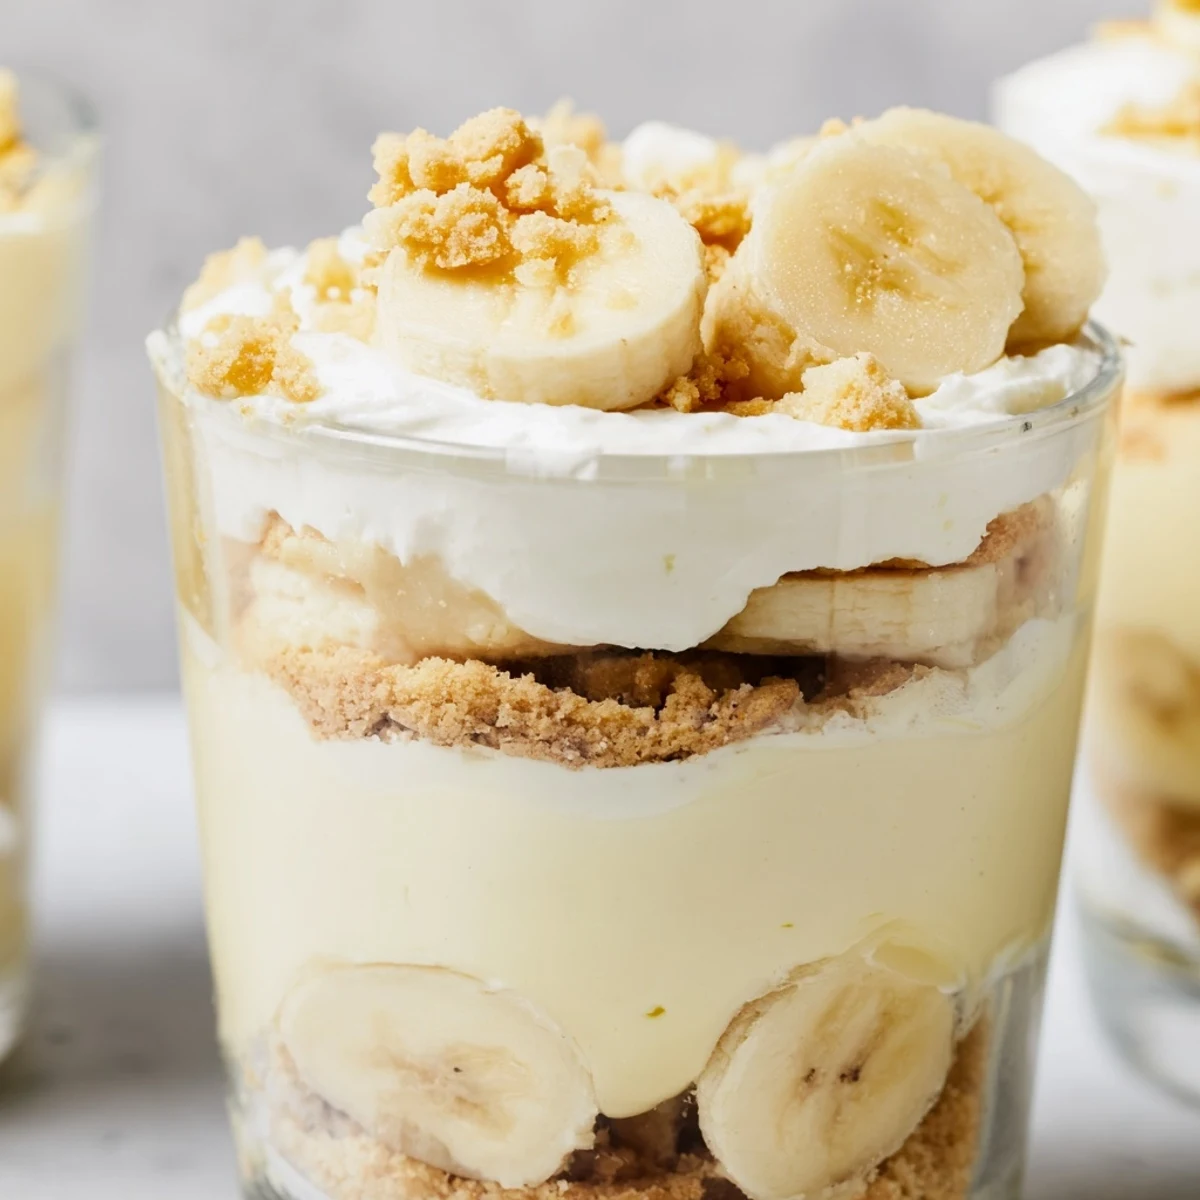
 My daughter requested these for her birthday instead of a traditional cake which completely surprised me. Seeing her face light up when she pulled the first cup from the fridge made me realize sometimes the simplest desserts create the happiest memories.
Make Ahead Magic
I have learned through many dinner parties that these cups actually taste better after sitting overnight. The flavors have time to develop and the crust softens slightly making it easier to spoon through all the layers.
Presentation Perfection
Clear glass cups or jars show off those beautiful layers but any small vessel will work perfectly. I have used mason jars wine glasses and even tea cups depending on what I have clean in the cupboard.
Flavor Variations
Once you master the basic layers you can start playing around with different mix ins and toppings. The possibilities are endless once you understand how the proportions work together.
- Try adding a teaspoon of cinnamon to the crust mixture for a warm spiced twist
- Crush extra wafers on top right before serving to maintain that satisfying crunch
- A splash of lemon juice tossed with the bananas keeps them looking fresh and bright
 Save to everydaypinmeals
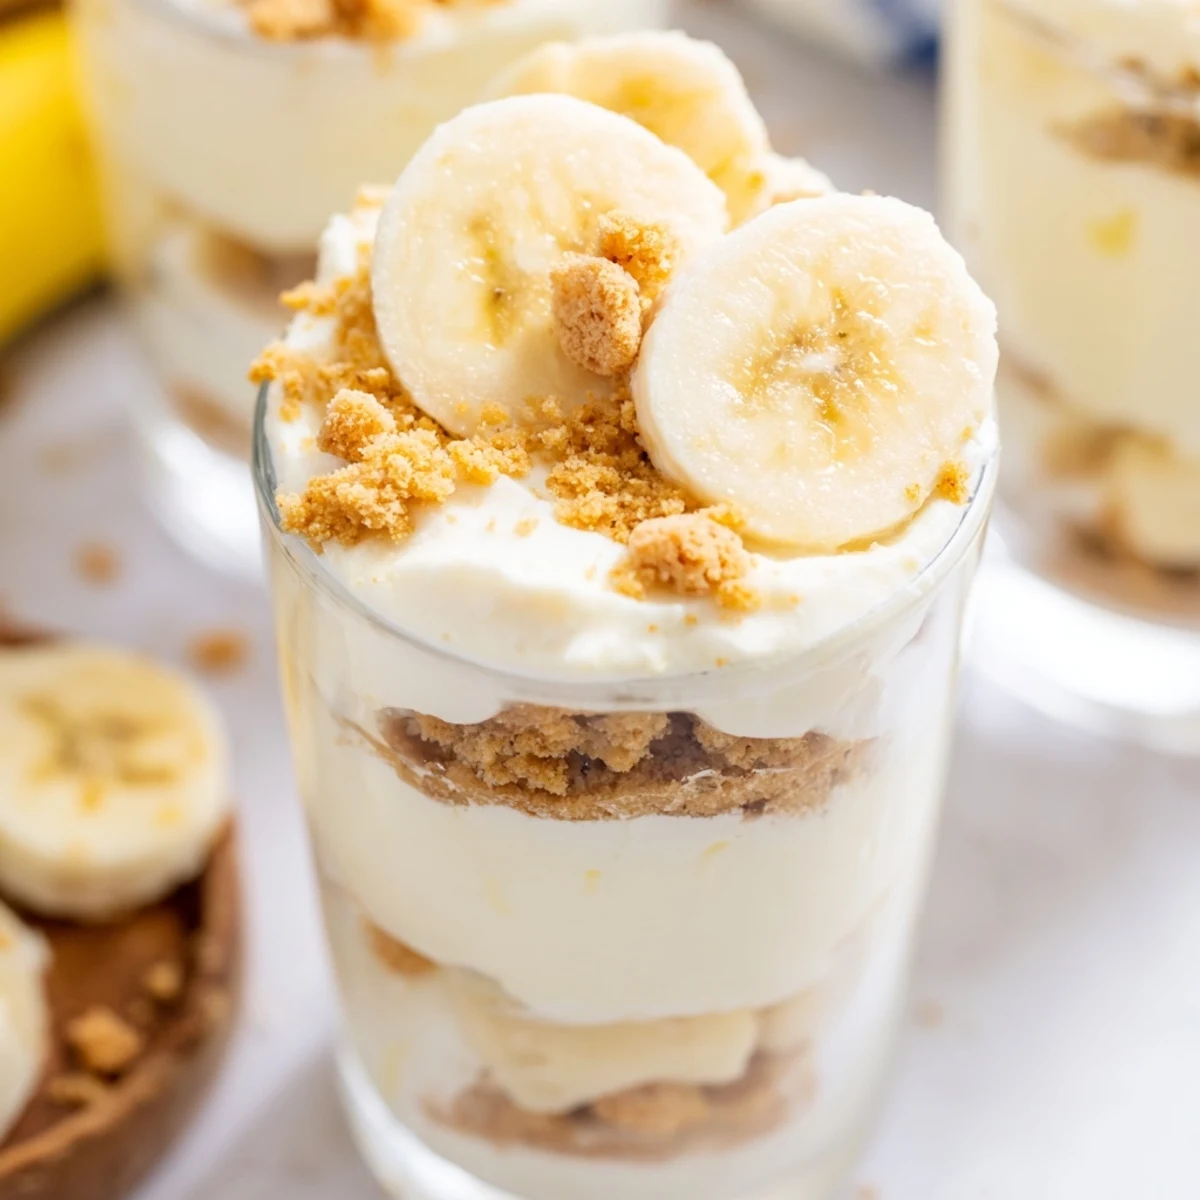
 These cups have become my go to dessert for every occasion because they never fail to make people smile. Hope they become a favorite in your kitchen too.
Recipe FAQs
- → How long do these need to chill before serving?
-
Refrigerate the cups for at least 2 hours to allow the layers to set properly and the flavors to meld together. For optimal texture, they can chill up to 24 hours.
- → Can I make these ahead of time?
-
Yes, assemble these cups up to 24 hours in advance. Add fresh banana slices and whipped cream just before serving to prevent browning and maintain freshness.
- → How do I prevent the bananas from turning brown?
-
Toss sliced bananas lightly in lemon juice before layering, or add them immediately before serving. This simple step keeps the bananas looking fresh and appetizing.
- → What size cups work best for this dessert?
-
Use 6-8 ounce individual serving cups, mason jars, or dessert glasses. The vessel should be tall enough to accommodate three distinct layers while showing off the beautiful striations.
- → Can I use homemade vanilla wafers instead of store-bought?
-
Absolutely. Homemade vanilla wafers work wonderfully for both the crust and topping. Simply crush them to the same consistency as you would store-bought varieties.
- → What's the best way to achieve stiff peaks when whipping cream?
-
Chill your bowl and whisk attachment in the freezer for 10 minutes beforehand. Use cold heavy cream and whip on medium-high speed until the cream stands upright when the whisk is lifted.