 Save to everydaypinmeals
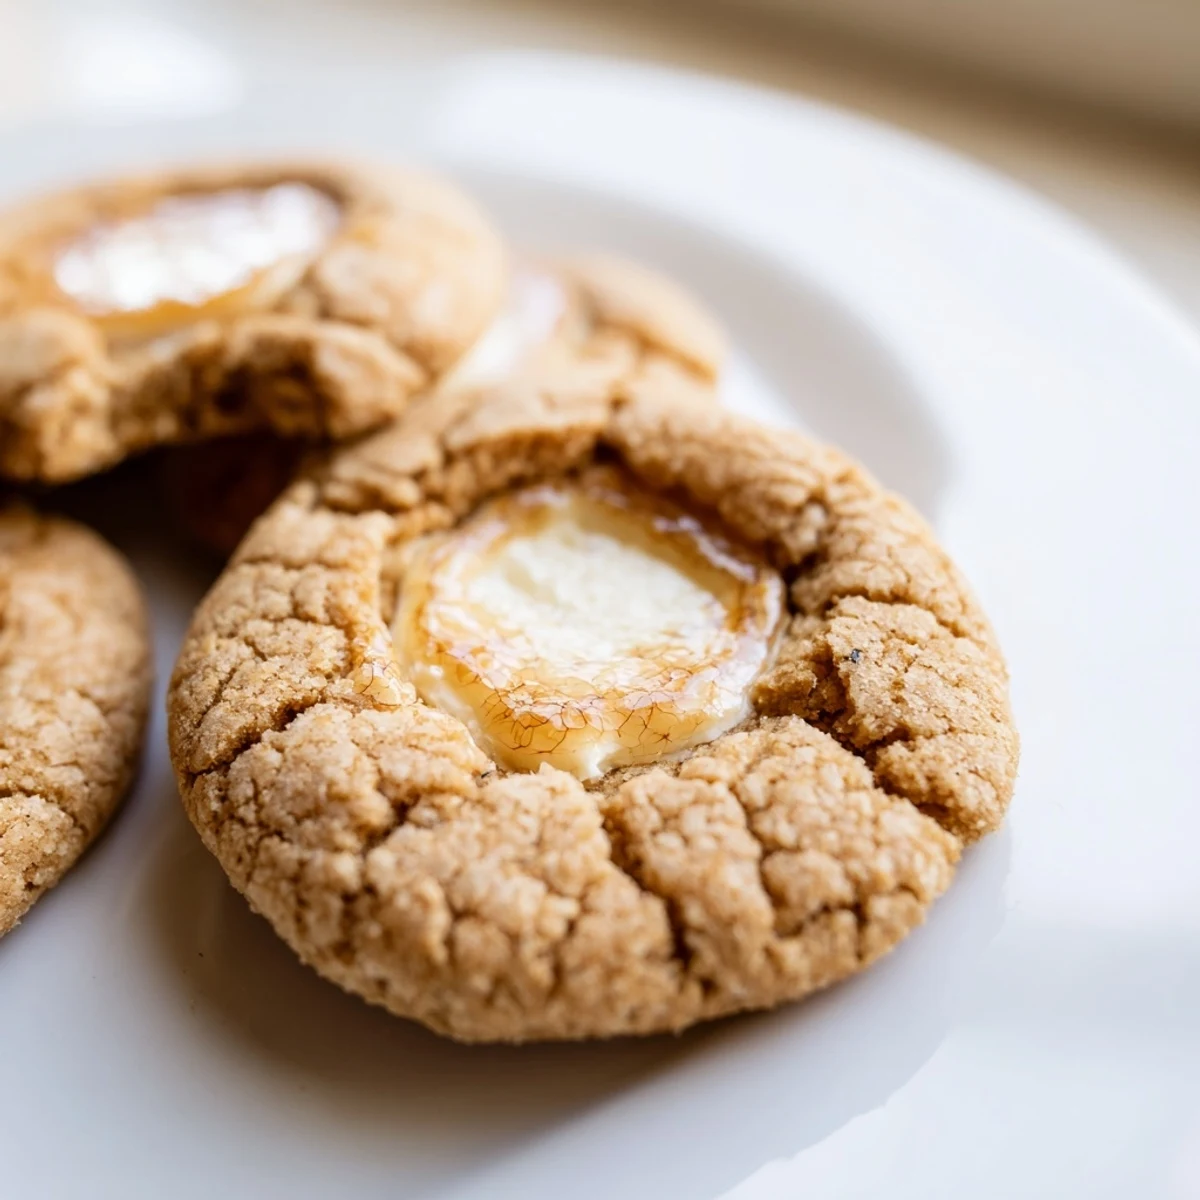
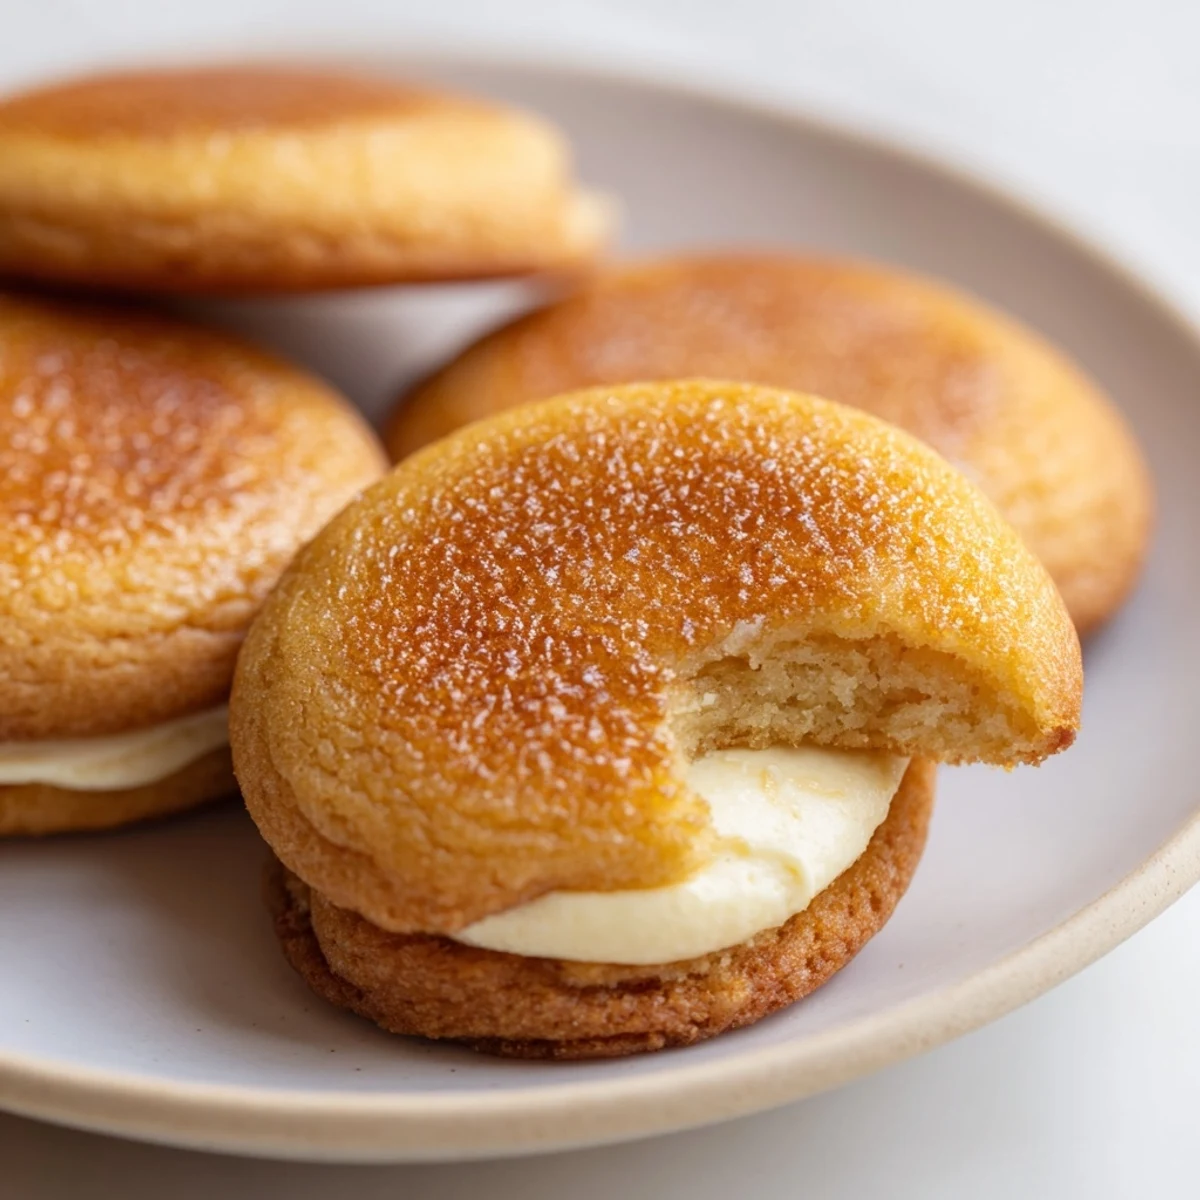
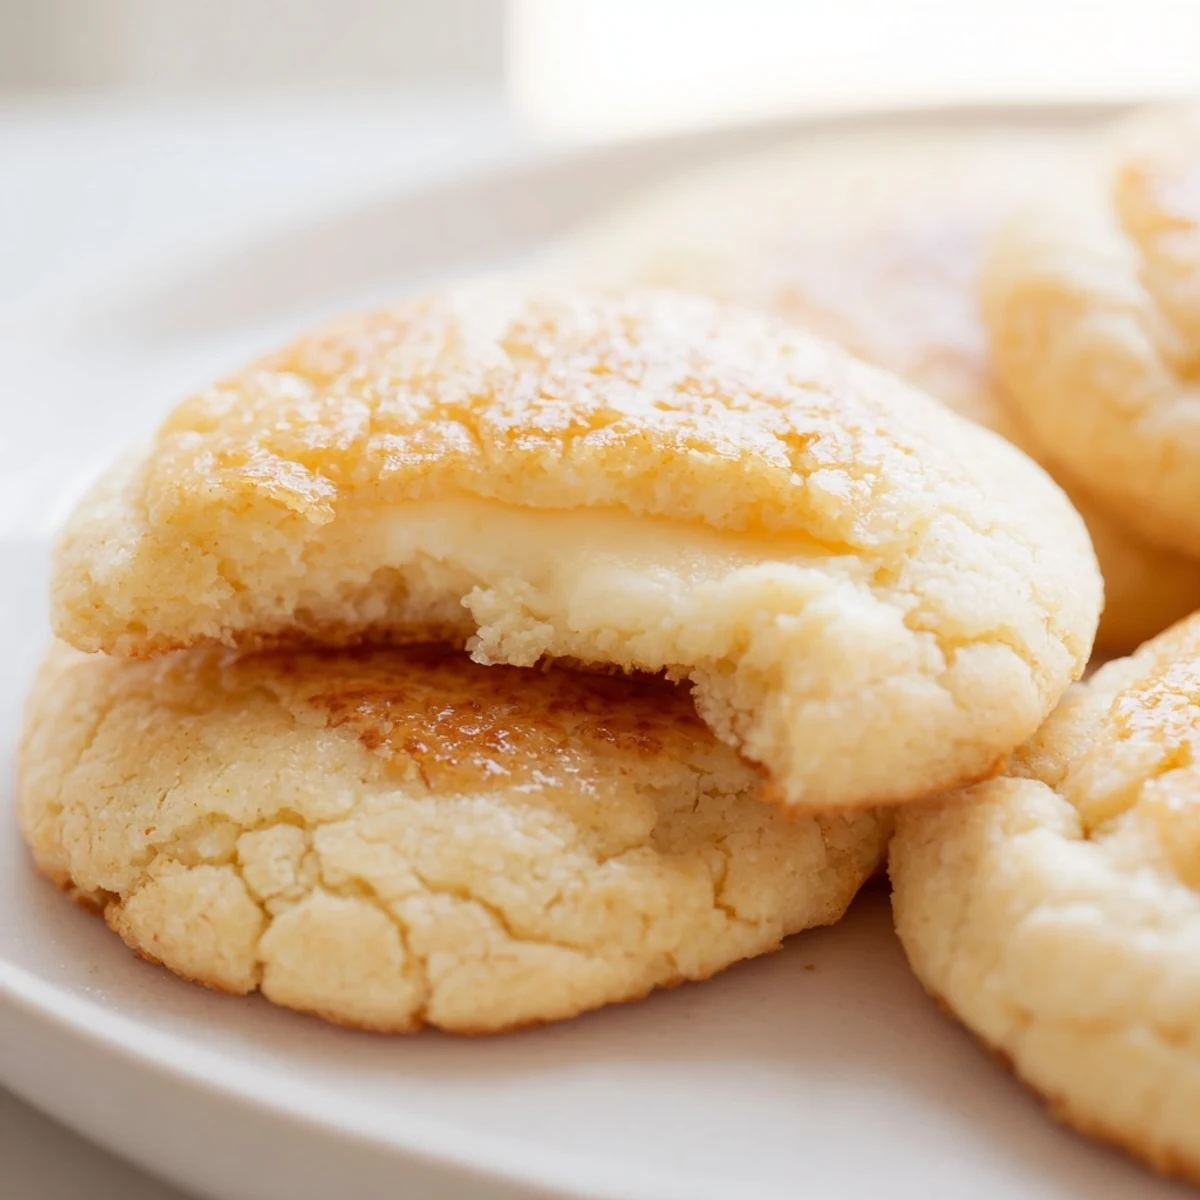
 These indulgent treats combine the best of cookie baking with the sophisticated flavors of classic French crème brûlée. Each soft, buttery cookie envelopes a rich cream cheese and vanilla bean filling, topped with a perfectly caramelized sugar crust that cracks satisfyingly when you bite into it.
The dough comes together in just 20 minutes using pantry staples, and the special torching technique creates that signature brûlée experience. With 18 cookies per batch, these elegant treats are perfect for entertaining or elevating an ordinary afternoon into something memorable.
The first time I attempted crème brûlée, I cracked three ramekins trying to achieve that perfect caramelized top. When I discovered I could capture that same crackly-sugar experience in cookie form, I literally did a happy dance in my kitchen. These cookies became my go-to dinner party dessert because they feel fancy but come together in under an hour.
Last summer, I made these for my sister's birthday and she swore they were better than the crème brûlée we'd had at a fancy restaurant the week before. Watching everyone tap their spoons against the sugar topping and hearing that satisfying crack sound made the whole afternoon feel magical.
Ingredients
- All-purpose flour: The structure builder for these cookies, measure by weight for the most consistent results
- Baking soda: Helps the cookies spread just enough while keeping their soft texture
- Salt: Essential for balancing all that sweetness and making the vanilla flavors pop
- Unsalted butter: Softened to room temperature so it incorporates beautifully into the dough
- Granulated sugar: Creates the tender cookie base and later becomes that signature brûlée topping
- Egg yolks: Using just yolks adds richness and gives the cookies a wonderfully soft texture
- Vanilla extract: Dont be shy with this, its the backbone of the whole flavor profile
- Sour cream: The secret ingredient that keeps these cookies incredibly soft and adds a subtle tang
- Cream cheese: Forms the luscious filling that mimics the custard center of traditional crème brûlée
- Vanilla bean paste: Those beautiful little specks make the filling look and taste extra special
- Extra sugar for topping: This is what creates the signature crackly caramelized crust
Instructions
- Preheat and prepare:
- Set your oven to 350°F and line two baking sheets with parchment paper so nothing sticks
- Whisk the dry ingredients:
- In a medium bowl, combine flour, baking soda, and salt until well blended
- Cream the butter and sugar:
- Beat the softened butter and sugar until the mixture looks pale and fluffy, about 2-3 minutes
- Add the wet ingredients:
- Mix in the egg yolks, vanilla extract, and sour cream until everything comes together smoothly
- Combine everything:
- Gradually stir in the dry ingredients just until a soft dough forms, being careful not to overwork it
- Make the creamy filling:
- In a small bowl, beat the cream cheese, sugar, and vanilla bean paste until completely smooth
- Fill the cookies:
- Scoop about 2 tablespoons of dough, flatten into a disc, and place 1 teaspoon of filling in the center, then fold the dough around it and pinch to seal
- Arrange for baking:
- Place the filled cookies seam side down on your prepared sheets, leaving at least 2 inches between them
- Bake to perfection:
- Bake for 11-13 minutes until the edges look set but the centers still feel soft
- Cool completely:
- Let the cookies rest on the baking sheet for 10 minutes before moving them to a wire rack to cool fully
- Create the brûlée top:
- Sprinkle an even layer of sugar on each cooled cookie and torch until golden and crisp, then wait 5 minutes for the sugar to harden
 Save to everydaypinmeals
 My neighbor's daughter asked if she could learn to bake, and these cookies were our first project together. She was so proud torching her own cookies that she took a photo of every single one to show her friends at school.
Getting That Perfect Crack
The sugar topping needs to be spread in a thin, even layer for the best results. I learned to hold the torch about 2 inches away and move it constantly in small circles until the sugar turns golden brown. If you see white spots, give those areas another quick pass with the torch.
Make Ahead Magic
You can assemble the filled cookies and freeze them raw on a baking sheet, then transfer to a storage bag. Bake straight from frozen, adding 1-2 minutes to the baking time. Just torch them fresh after cooling for that irresistible crunch.
Serving Suggestions
These cookies are stunning on their own, but I love serving them with a cup of strong coffee or a glass of dessert wine. The contrast between the warm, crackly top and the cool, creamy center makes them feel incredibly special.
- Try torching the sugar tableside for a fun dinner party moment
- A pinch of flaky sea salt on top of the brûlée creates a salted caramel version
- Store them in a single layer to protect that precious caramelized topping
 Save to everydaypinmeals
 Every time I make these, I'm reminded that the best desserts are the ones that bring people together around the kitchen counter, waiting for that first satisfying crack of caramelized sugar.
Recipe FAQs
- → Can I make these without a kitchen torch?
-
Yes, you can caramelize the sugar under your oven broiler. Place cookies on a baking sheet and broil for 1-2 minutes, watching closely to prevent burning. The torch method provides more control and even results.
- → How should I store these cookies?
-
Store in an airtight container at room temperature for up to 3 days. The caramelized topping may soften over time. For best results, add the sugar topping just before serving to maintain that signature crackle.
- → Can I freeze the dough or baked cookies?
-
Yes, freeze assembled unbaked cookies on a tray, then transfer to a freezer bag for up to 3 months. Bake from frozen, adding 2-3 minutes to baking time. Baked cookies can also be frozen, though the brûlée topping will lose its crispness.
- → What's the difference between vanilla extract and vanilla bean paste?
-
Vanilla bean paste contains actual vanilla bean seeds, providing intense flavor and visual appeal. Pure extract works perfectly well as a substitute. The paste adds those signature black specks you see in professional desserts.
- → Why do I need to chill the dough?
-
Chilling isn't required for this recipe, but if your dough feels too sticky or warm, refrigerating for 30 minutes helps prevent spreading. The cream cheese filling also firms up slightly when chilled, making it easier to enclose in the dough.