 Save to everydaypinmeals
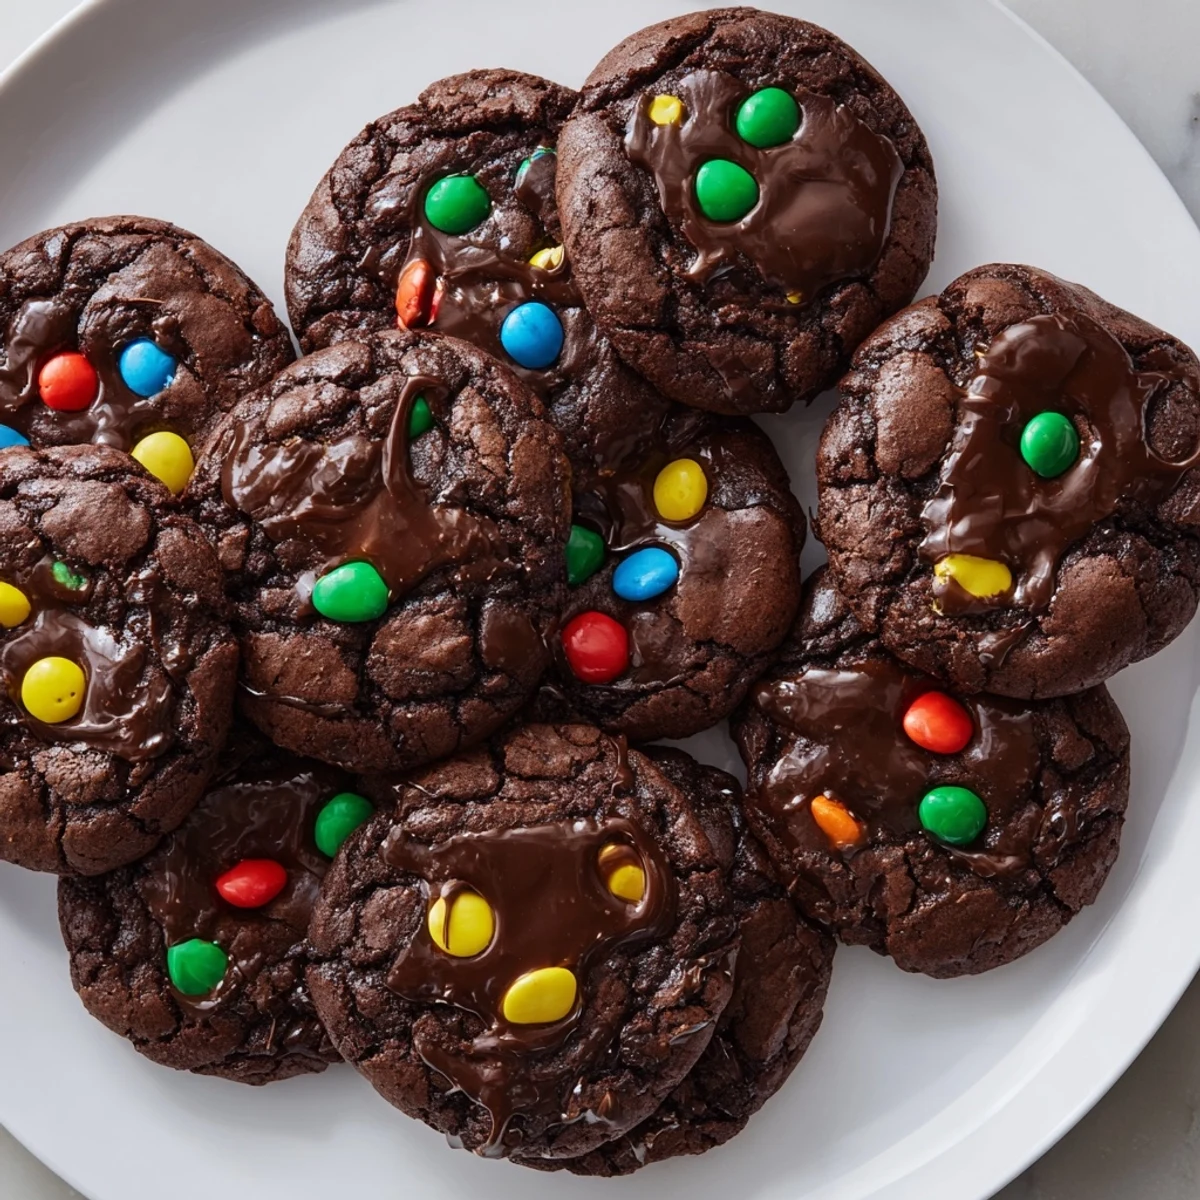
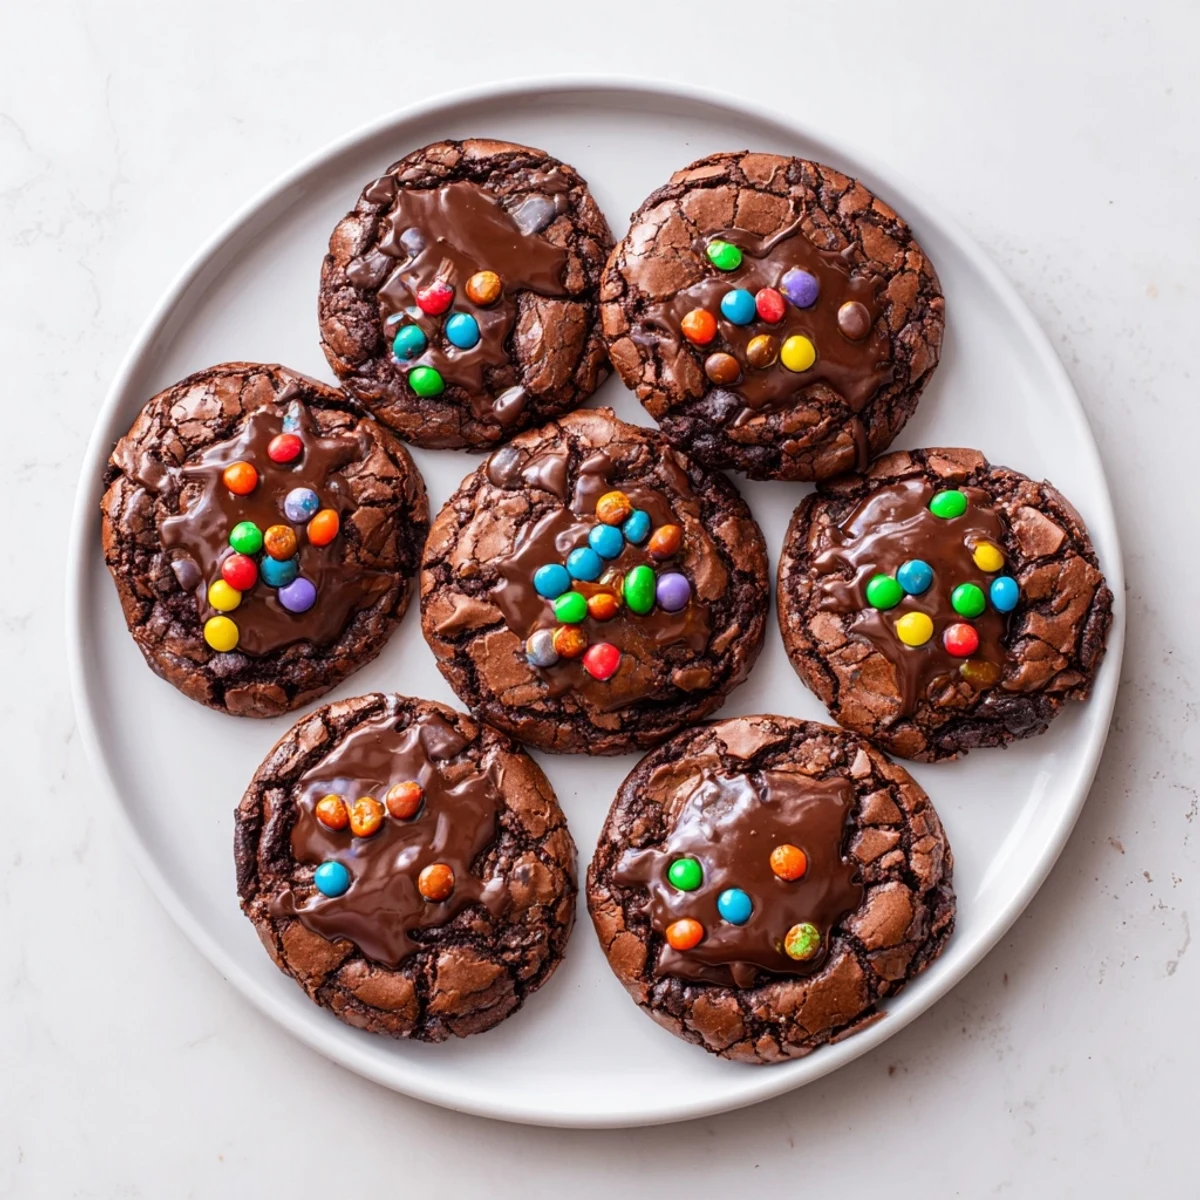
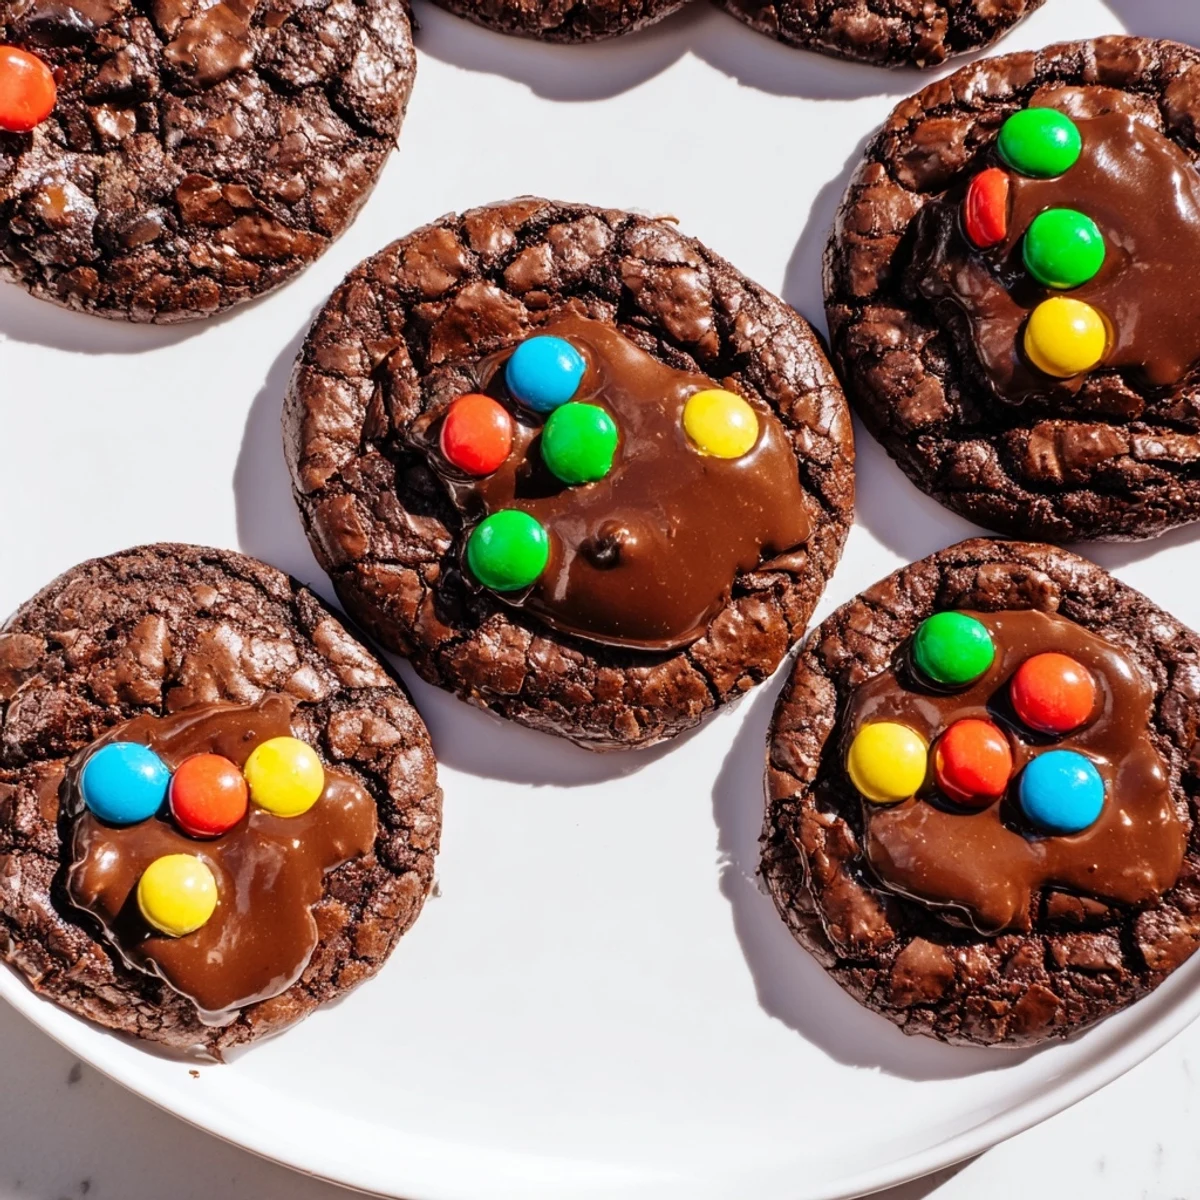
 These rich, fudgy cookies capture all the chocolatey goodness of classic Cosmic Brownies in handheld form. The dough comes together quickly with butter, cocoa powder, and brown sugar for that signature dense, chewy texture. After baking until just set, each cookie gets crowned with a glossy layer of homemade chocolate ganache made from semi-sweet chips and heavy cream. The finishing touch: a sprinkle of colorful candy-coated chocolate chips that add both sweetness and that authentic cosmic appeal. Perfect for parties, bake sales, or whenever you need a chocolate fix that delivers childhood nostalgia with every bite.
Last Friday my neighbor Sam texted me at 9pm desperate for something chocolatey and nostalgic for his daughters birthday. I raided my pantry and decided to transform those lunchbox Cosmic Brownies into cookie form because sometimes a square of processed nostalgia hits different when you are an adult. The look on his daughters face when she saw that glossy ganache dotted with rainbow chips was absolutely worth every messy dish.
I made these during a snow day last winter when my kitchen was freezing and the hot oven felt like a blessing. My roommate kept wandering in every five minutes to check if they were done yet filling the whole apartment with this incredible cocoa smell that made waiting genuinely impossible. We ended up eating three warm ones right off the wire rack because self control goes out the window when chocolate ganache is involved.
Ingredients
- Unsalted butter: Room temperature butter creates pockets of steam that give these cookies their slightly chewy edges while keeping centers fudgy
- Granulated and brown sugar: The combination gives you crackly edges from the white sugar and chew from the brown sugar just like the original cosmic texture
- Eggs: Two large eggs provide structure while keeping these cookies moist and dense rather than cakey
- Vanilla extract: Do not skip this even though it seems like a small amount it rounds out all that chocolate richness beautifully
- All-purpose flour: Just enough flour to hold everything together without making these taste like cake
- Unsweetened cocoa powder: Use a good quality cocoa here because it is the main flavor profile so cheap cocoa will taste flat
- Baking soda: Helps these cookies spread slightly while maintaining that dense brownie like texture
- Salt: A quarter teaspoon might seem small but it balances all the sugar and makes the chocolate taste more intense
- Semi-sweet chocolate chips: These melt into heavy cream creating that classic shiny ganache that sets up firm
- Heavy cream: The fat content creates a glossy stable ganache that will not slide right off your cookies
- Unsalted butter in ganache: Adds extra richness and helps the ganache set up with a beautiful sheen
- Rainbow candy-coated chocolate chips: These provide that signature cosmic crunch and pop of color that makes everyone instantly nostalgic
Instructions
- Preheat and prepare your baking space:
- Heat your oven to 350°F and line two baking sheets with parchment paper because nobody wants to scrub baked-on chocolate off cookie sheets
- Cream the butter and sugars:
- Beat the softened butter with both sugars for 2 to 3 minutes until the mixture looks pale and fluffy this step incorporates air for that perfect texture
- Add eggs and vanilla:
- Drop in the eggs one at a time letting each fully disappear before adding the next then pour in the vanilla
- Whisk the dry ingredients:
- In a separate bowl combine the flour cocoa powder baking soda and salt so everything distributes evenly
- Combine wet and dry:
- Gradually mix the flour mixture into the butter mixture stopping as soon as you no longer see dry streaks because overmixing makes tough cookies
- Scoop the dough:
- Use two tablespoons to drop mounds onto your prepared sheets leaving about two inches between each for spreading
- Bake until edges set:
- Slide the sheets into the oven for 9 to 11 minutes pulling them out when edges look firm but centers still seem slightly underdone
- Let them rest:
- Cool the cookies on the baking sheets for 5 minutes then move them to a wire rack to finish cooling completely
- Make the ganache:
- Place chocolate chips and butter in a heatproof bowl then heat the cream until just bubbling before pouring it over the chocolate
- Stir and thicken:
- Let the cream and chocolate sit for 2 minutes then stir until completely smooth and glossy then let it cool for 5 to 10 minutes
- Top and serve:
- Spread a tablespoon of ganache over each cooled cookie and immediately press the rainbow chips into the chocolate before it sets
 Save to everydaypinmeals
 My sister-in-law asked for the recipe after trying just one cookie at our July 4th barbecue and now she makes them for every family gathering. There is something about that rainbow topping that turns grown adults into excited kids again reaching for seconds before dinner is even served. These have become my go-to when I need to bring something that feels special but does not require three days of preparation.
Making The Ganache Just Right
I learned the hard way that pouring boiling cream directly over chocolate can seize it into a grainy mess if you are not careful. Heat your cream until you see tiny bubbles around the edges then remove it from the heat immediately before pouring. Letting it sit undisturbed for those full 2 minutes before stirring feels impossible but gives the chocolate time to gently melt into smooth perfection.
Storage And Make-Ahead Tips
The cookie dough actually freezes beautifully so I often scoop it onto parchment lined trays and freeze the balls for 30 minutes before transferring them to a freezer bag. When you need fresh baked cookies just add 2 minutes to the baking time and nobody will know they were not made that day. Once baked and topped these keep for 3 days in an airtight container though the rainbow candy might start to bleed slightly into the ganache after day 2.
Customizing Your Cosmic Experience
Sometimes I swap the rainbow chips for crushed oreos or sprinkles depending on the occasion and who I am serving. Mini M&Ms work beautifully too and you could do holiday colors or coordinate with birthday party themes. You could even stir chopped chocolate into the cookie dough itself for double chocolate goodness if you are feeling particularly indulgent.
- Try adding a teaspoon of espresso powder to the dough to intensify the chocolate flavor without making them taste like coffee
- A pinch of cinnamon in the dry ingredients adds a warmth that pairs surprisingly well with all that chocolate
- For extra fudgy cookies chill the scooped dough for 30 minutes before baking to control spread
 Save to everydaypinmeals
 Every time I make these I am transported back to elementary school lunchboxes but with way better ingredients. Hope they become your new go-to for chocolate emergencies too.
Recipe FAQs
- → Can I make the dough ahead of time?
-
Yes, you can refrigerate the cookie dough for up to 24 hours before baking. Let it come to room temperature for about 15 minutes before scooping and baking for best results.
- → How do I store these cookies?
-
Store cookies in an airtight container at room temperature for up to 3 days. If you need longer storage, keep them in the refrigerator for up to a week. The ganache may soften at room temperature in warm weather.
- → Can I freeze these?
-
Freeze undecorated cookies for up to 3 months. Thaw at room temperature, then add fresh ganache and toppings. You can also freeze the dough balls and bake fresh as needed.
- → What if I don't have candy-coated chips?
-
You can substitute sprinkles, chopped nuts, or extra chocolate chips. The candy-coated chips provide that classic cosmic look, but any colorful topping will work beautifully.
- → Why are my cookies cakey instead of fudgy?
-
Overbaking or adding too much flour can make cookies cakey. Measure flour by weight if possible, and remove cookies from the oven when edges are set but centers still look slightly underbaked. They continue cooking on the hot baking sheet.
- → Can I make these gluten-free?
-
Yes, substitute the all-purpose flour with a 1:1 gluten-free flour blend. The texture may be slightly different but still delicious. Ensure your other ingredients, including candy toppings, are certified gluten-free.