 Save to everydaypinmeals
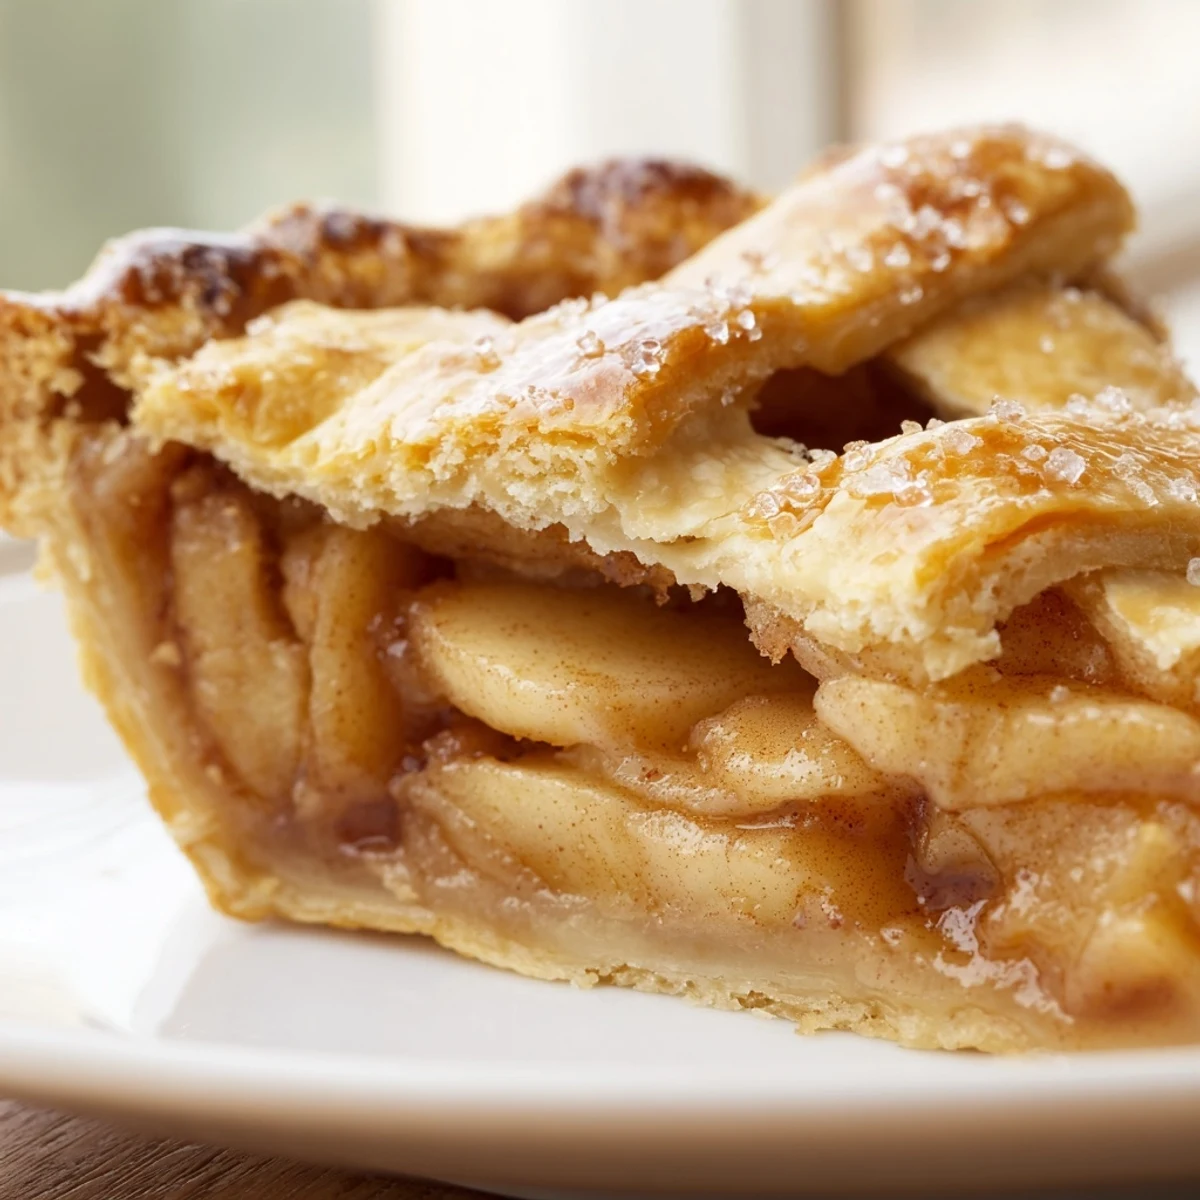
 This timeless American dessert combines tart, thinly sliced apples with warming spices like cinnamon, nutmeg, and cloves, all wrapped in a handmade flaky butter crust. The filling strikes the perfect balance between sweet and tangy, while the pastry delivers that irresistible shatteringly crisp texture. Best served warm with melting vanilla ice cream or fresh whipped cream for the ultimate comfort experience.
My grandmother never measured anything when she made apple pie, she just knew by touch when the dough felt right. I spent countless autumn afternoons watching her hands work flour and butter together, learning that cold hands make better crust than warm ones. Now every time I smell cinnamon and nutmeg wafting through the kitchen, I'm transported back to her tiny apartment with the windows cracked open against the October chill.
Last Thanksgiving I made three of these pies in one day because my family kept requesting them for different gatherings. By the third one, I'd stopped measuring the cinnamon precisely and started trusting my nose instead. My sister admitted she ate the leftovers cold for breakfast the next morning, which honestly might be even better than serving it warm.
Ingredients
- 2 1/2 cups all-purpose flour: The foundation of your crust, handle it gently and keep everything cold
- 1 cup unsalted butter, cold and cubed: Cold butter creates those flaky layers we all love in pie crust
- 1 tsp salt: Enhances all the flavors without making the crust taste salty
- 1 tbsp granulated sugar: Just enough to help the crust brown beautifully
- 6–8 tbsp ice water: Add gradually, you might not need all of it depending on humidity
- 6 cups tart apples: Granny Smiths hold their shape during baking better than sweeter varieties
- 3/4 cup granulated sugar and 1/4 cup brown sugar: The brown sugar adds a subtle molasses depth
- 2 tbsp flour in filling: This thickens the apple juices as they bake
- 1 tbsp lemon juice: Prevents apples from browning and brightens the overall flavor
- 1 1/2 tsp cinnamon, 1/4 tsp nutmeg, 1/8 tsp cloves: Classic warm spices that make everything feel like fall
- 2 tbsp butter pieces: Tucked into the apples for extra richness
- 1 egg and 1 tbsp milk: Creates that gorgeous golden sheen on top
Instructions
- Making the dough your own:
- Whisk flour, salt, and sugar in a large bowl, then work in cold butter until you see pea-sized pieces scattered throughout. Sprinkle ice water over the mixture while gently tossing with a fork, stopping when the dough holds together when squeezed. Form it into two discs, wrap tightly, and let rest in the refrigerator for at least an hour.
- Getting those apples ready:
- Peel, core, and slice your apples into even wedges about a quarter inch thick. Toss them with both sugars, flour, lemon juice, and all those cozy spices until every piece is coated. Let them sit while you roll out the dough, they'll start releasing some juice which helps everything meld together.
- Building the bottom crust:
- Roll one disc on a floured surface into a 12 inch circle, rotating frequently to prevent sticking. Carefully transfer it to your pie dish, letting the edges drape over the sides. Don't worry about trimming yet, you'll need that extra dough later for sealing.
- Filling it all in:
- Pile those spiced apples into the crust, mounding them slightly higher in the center. Scatter the small butter pieces over the top, adding little pockets of richness throughout the filling.
- Creating the top crust:
- Roll out your second disc of dough the same way as the first. Drape it over the apples, then trim both layers so they extend about an inch beyond the pie dish. Fold the overhang under itself and crimp the edges with your fingers or a fork to seal everything tight.
- Letting it breathe:
- Cut four or five slits in the top crust so steam can escape during baking. Whisk the egg with milk and brush it over the entire surface, then sprinkle with coarse sugar for that bakery finish.
- The baking transformation:
- Bake at 425°F for 20 minutes to set the crust, then reduce to 375°F for another 35 to 40 minutes. The apples should be bubbling visibly through those vents and the crust should be deeply golden brown. Let it cool completely on a wire rack for at least two hours, otherwise the filling will run everywhere when you slice it.
 Save to everydaypinmeals
 There's something almost meditative about peeling apples when you're not rushing. I put on music and lose track of time, enjoying the rhythm of the knife against the cutting board. This pie has become my go-to for new neighbors and difficult conversations alike, something about it makes people feel at home.
Choosing Your Apples
Granny Smith apples are the gold standard for pie because they stay firm even after long baking. I've tried mixing in Honeycrisp or Braeburn for variety, but too many sweet varieties can make the filling mushy. Ask the produce manager if you're unsure which apples are best for baking, they'll point you toward the tart ones that hold their shape.
Mastering the Crust
Temperature control is everything with pie crust, keep your ingredients and hands cold throughout the process. Some bakers even chill their flour and bowl before starting. If the butter starts melting into the flour before it hits the oven, you lose those magical flaky layers that make homemade crust so special.
Serving Suggestions
While vanilla ice cream is the classic accompaniment, I've discovered that salted caramel takes it to another level entirely. The contrast between warm spiced apples and cool, salty caramel is absolutely worth the extra effort of making or buying it.
- Aged cheddar cheese might sound strange but New Englanders have been serving apple pie with sharp cheddar for generations
- Leftovers reheat beautifully in a 350°F oven for about 15 minutes
- This pie freezes well before baking, just wrap it tightly and add 10 to 15 minutes to the baking time
 Save to everydaypinmeals
 The first slice never comes out perfectly, no matter how long you let the pie cool. Embrace it as the cook's portion and enjoy every messy bite.
Recipe FAQs
- → What type of apples work best?
-
Tart varieties like Granny Smith hold their shape beautifully during baking while providing a pleasant contrast to the sweet filling. You can also mix in Honeycrisp or Braeburn for added complexity.
- → Why must the butter be cold?
-
Cold butter creates small pockets of steam during baking, resulting in those signature flaky, tender layers. Warm butter melts too quickly and produces a tough, dense crust.
- → Can I make this ahead?
-
The dough can be prepared and refrigerated up to 2 days in advance or frozen for up to 3 months. The assembled unbaked pie can be refrigerated overnight before baking.
- → How do I prevent a soggy bottom?
-
Bake on the lowest oven rack position, ensure your oven is fully preheated, and let the pie cool completely before slicing. This allows the filling to set properly.
- → Why slit the top crust?
-
Vents allow steam to escape during baking, preventing pressure buildup that could burst the crust and ensuring the filling thickens properly inside.