
 Save to everydaypinmeals
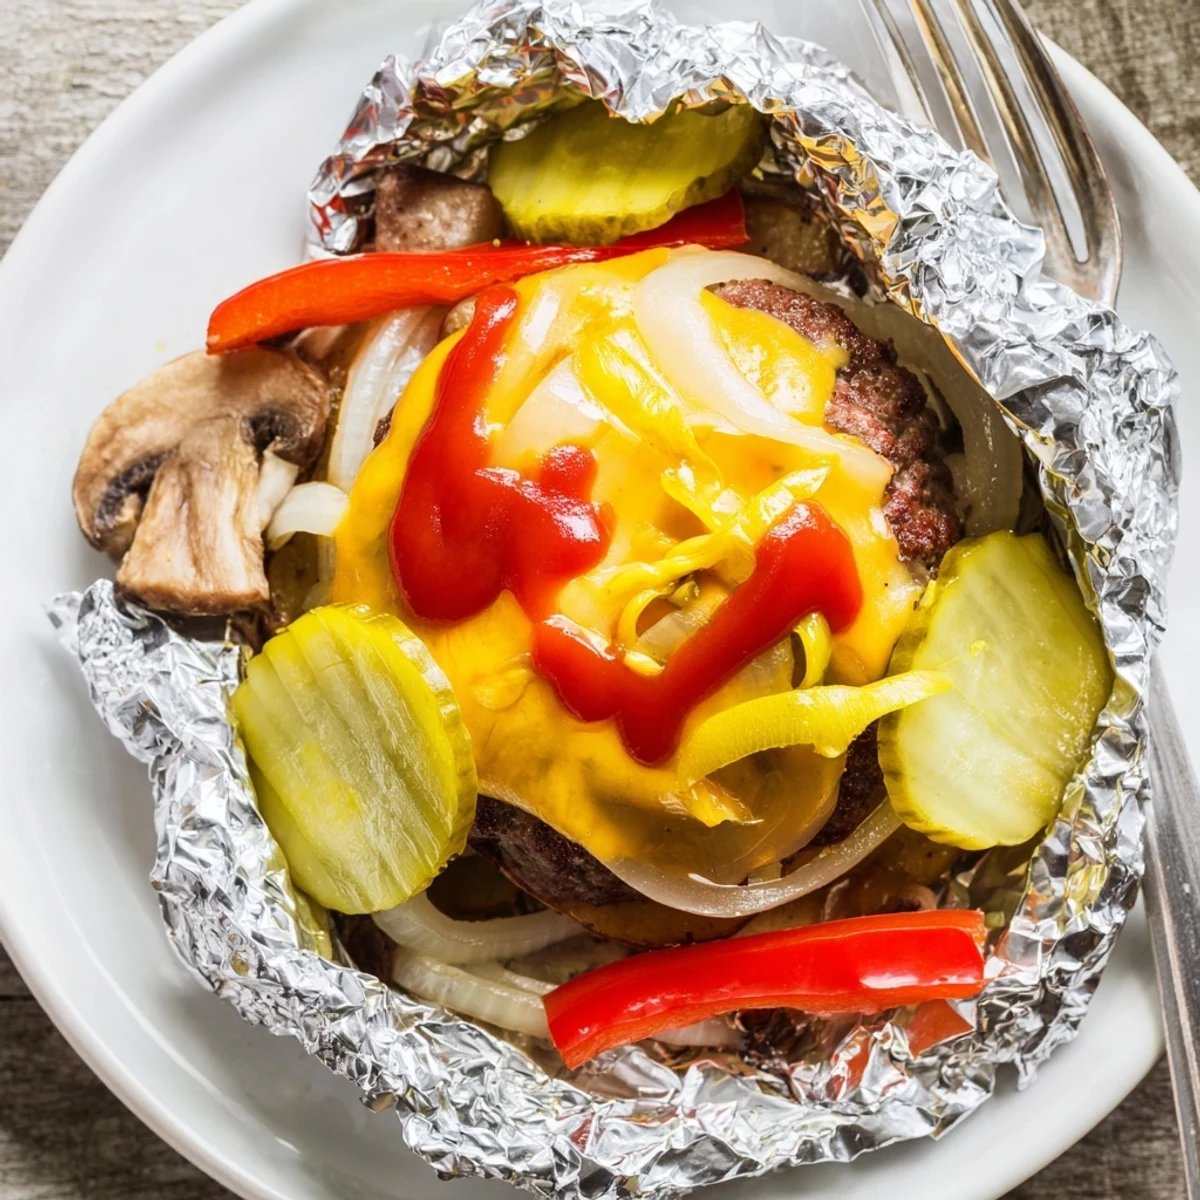
 These campfire cheeseburger hobo packets bring all the satisfying flavors of a classic burger straight to your campsite or backyard grill.
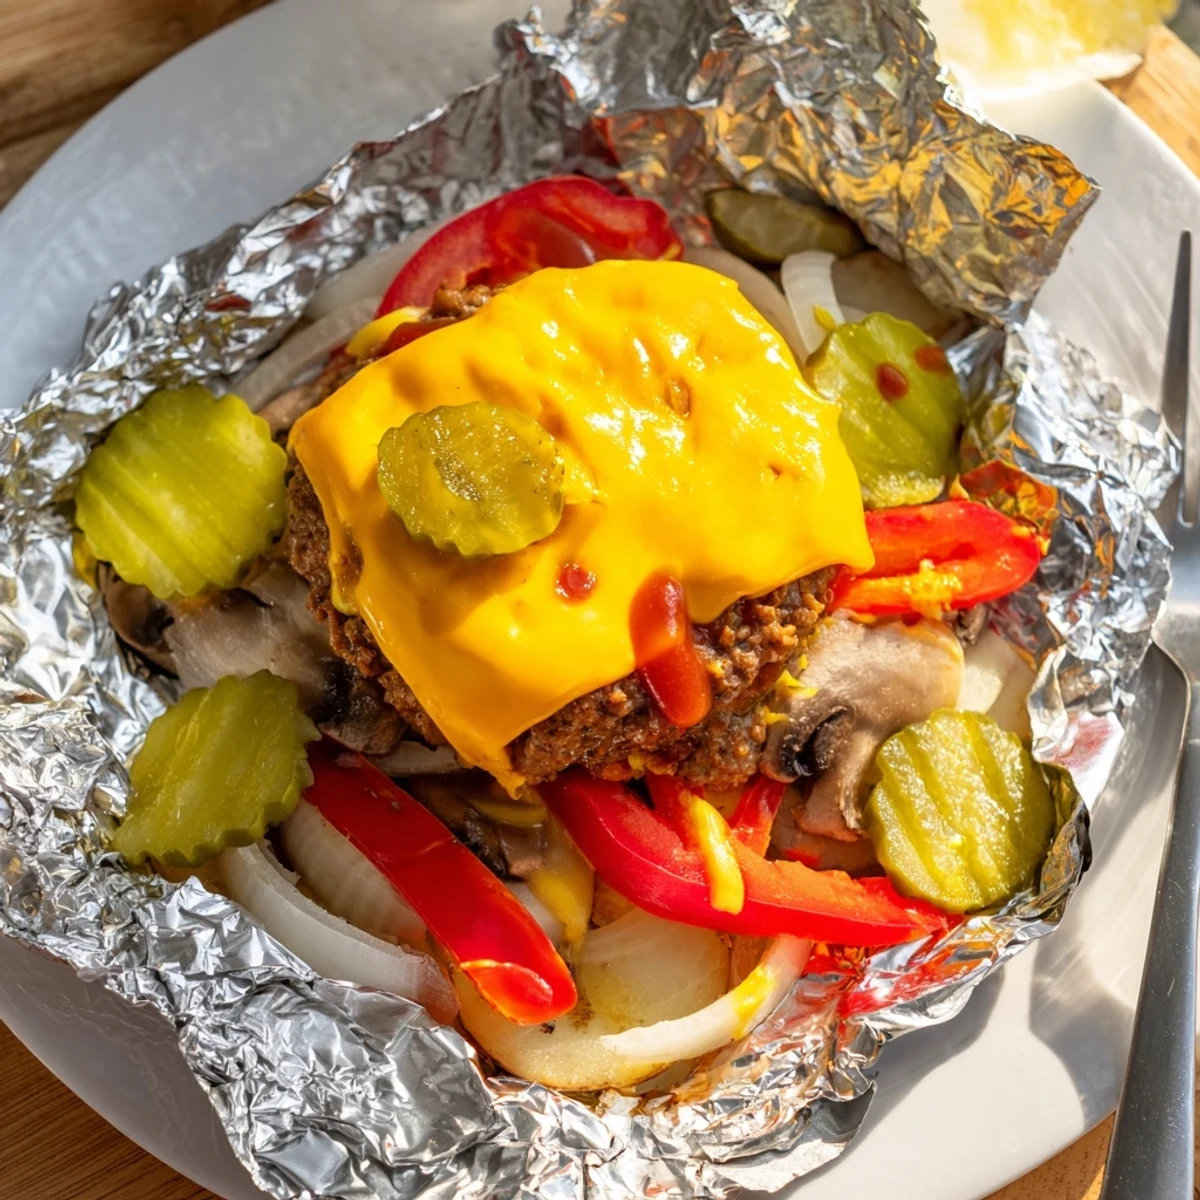
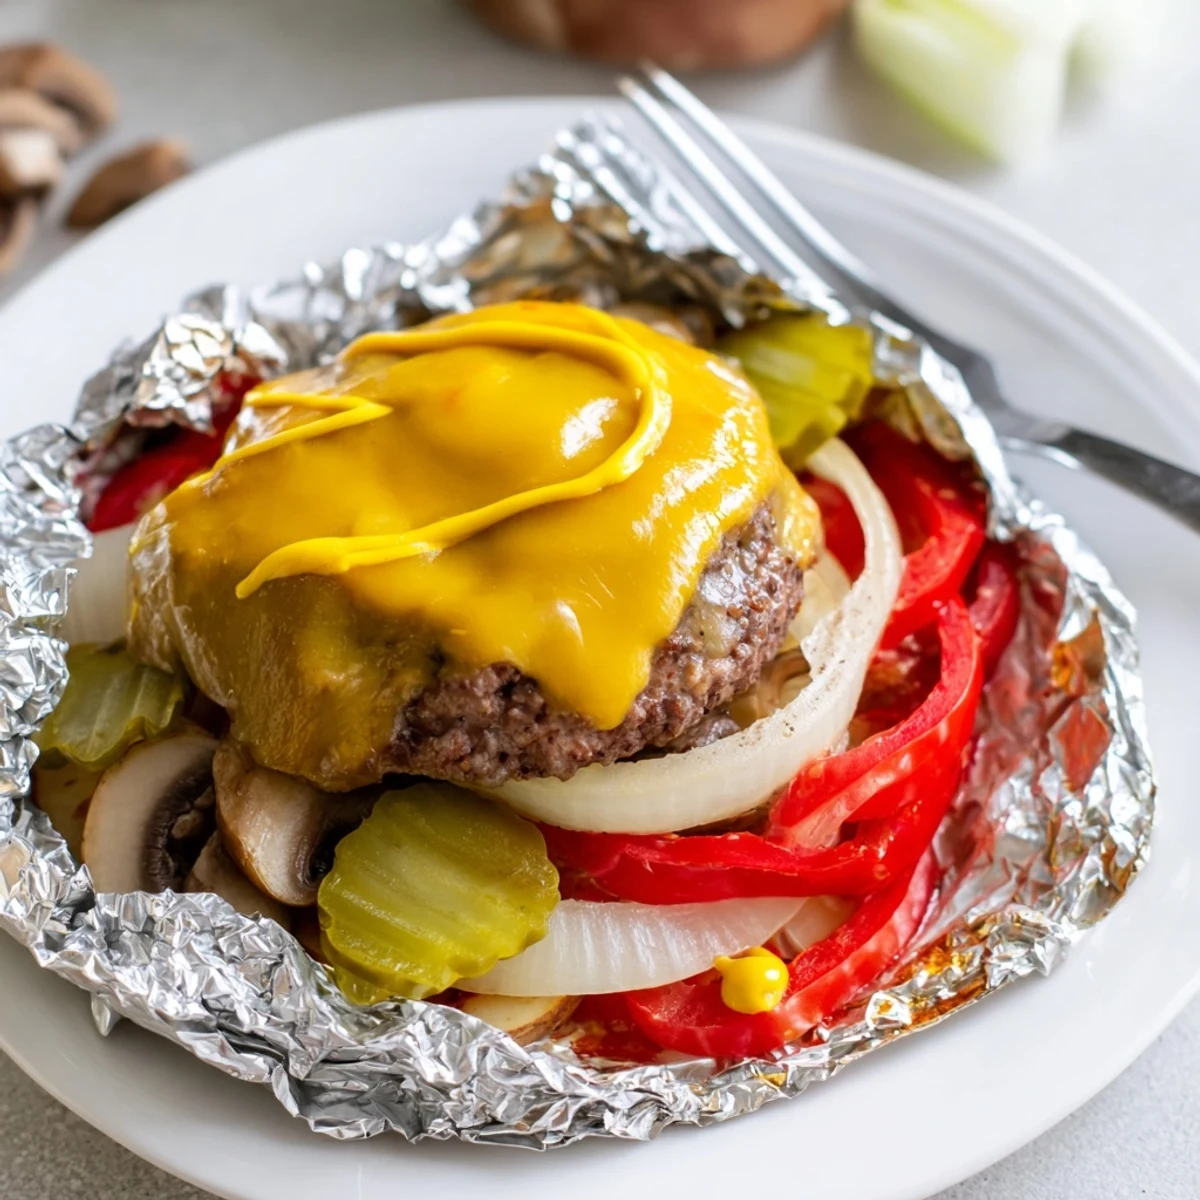
Seasoned ground beef patties are layered over sliced potatoes, onions, bell peppers, and mushrooms, then sealed in heavy-duty foil and cooked over an open flame or grill until tender and juicy.
Topped with melted cheddar cheese and finished with pickles, lettuce, and your favorite condiments, each packet is a complete, no-fuss meal that's ready in under an hour with barely any cleanup.
There is something deeply satisfying about eating a cheeseburger with a fork while sitting on a log next to a crackling fire. The foil packet hisses when you peel it open, and suddenly you are hit with the smell of smoky beef, melted cheddar, and softened onions all steaming together in one glorious pile. My buddy Jake introduced me to this method on a fishing trip years ago, and I have never looked at camp food the same way since. It turned out that the best burger I ever had did not come from a restaurant or even a backyard grill.
That fishing trip, Jake handed me a foil square and a handful of raw ingredients with zero instructions, just a grin and a comment about trusting the process. I skeptically layered potatoes and beef, fully expecting a soggy disaster, but twenty five minutes later I was eating the most flavorful camp dinner of my life. Now I make these at home in the oven during winter when I want to pretend I am somewhere with trees and a sky full of stars.
Ingredients
- 500 g ground beef (80/20): The fat ratio is critical here because lean beef dries out inside a foil packet where there is no sear to lock in moisture.
- 1 large russet potato, thinly sliced: Slice these as thin as you can manage because thick potato pieces will not cook through in time with the beef.
- 1 medium onion, thinly sliced: Onion becomes sweet and jammy under the patty, acting like a built in flavor base for everything above it.
- 1 red bell pepper, thinly sliced: Color and crunch that softens just enough to remind you of a real burger topping.
- 100 g button mushrooms, sliced: Mushrooms absorb the beef drippings and become tiny umami bombs scattered through the packet.
- 2 dill pickles, sliced (optional): I always include them because that tangy bite cuts through the richness perfectly.
- 4 slices cheddar cheese: Added at the very end so it melts into a gooey blanket over the patty without burning or separating.
- 2 tbsp ketchup and 1 tbsp yellow mustard: Drizzled directly on the raw patty so the flavors bake right into the beef rather than sitting on top.
- 1 tsp each garlic powder, onion powder, and smoked paprika: This trio mixed into the beef gives it that unmistakable cheeseburger seasoning without overpowering the natural flavors.
- Salt and black pepper to taste: Season the vegetables lightly and the beef generously for balanced flavor throughout.
- 2 tbsp olive oil: Brushed on the foil to prevent sticking and to help the bottom vegetables soften without drying out.
Instructions
- Get your heat source ready:
- Preheat your campfire grate, grill, or oven to medium high heat around 200 degrees Celsius. The coals should be glowing but not flaming when you put the packets on.
- Season the beef:
- In a mixing bowl, gently combine the ground beef with garlic powder, onion powder, smoked paprika, salt, and pepper. Use your hands but do not overwork the meat or it will become tough and dense.
- Portion and prep the foil:
- Divide the seasoned beef into four equal portions and tear four large sheets of heavy duty aluminum foil. Brush the center of each foil sheet with olive oil so nothing sticks when it cooks.
- Build the layers:
- Arrange potato slices in the center of each foil sheet, then layer onion, bell pepper, and mushrooms on top. Season the vegetables with a pinch of salt and pepper before pressing a beef patty flat over each pile.
- Add the condiments and seal:
- Drizzle half a tablespoon of ketchup and a squeeze of mustard over each patty. Fold the foil edges together tightly, crimping them so no steam escapes during cooking.
- Cook the packets:
- Place the sealed packets on the heat source and cook for 20 to 25 minutes, flipping once halfway through. You will smell the beef juices hitting the foil when it is almost done.
- Melt the cheese and serve:
- Carefully open each packet watching for hot steam, lay a slice of cheddar on each patty, and reseal for two minutes. Garnish with pickles, lettuce, tomato, and extra condiments before eating straight from the packet.
 Save to everydaypinmeals
 One rainy evening I made these in the kitchen oven and my neighbor knocked on the door asking what smelled so incredible. We ended up splitting a packet at the counter, standing up, talking about camping trips we had not taken yet.
Making These Your Own
Once you understand the basic layering method, the packet becomes a canvas for any burger variation you can imagine. I have swapped cheddar for pepper jack, added bacon bits, and even crumbled blue cheese over the top with wildly good results. The beef seasoning is flexible too, so try a splash of Worcestershire sauce or a pinch of chili flakes if you want heat.
Cooking Without a Campfire
An oven at 200 degrees Celsius works perfectly and gives you more consistent results than an open flame ever could. A backyard grill with the lid closed also does the job beautifully, and you get a hint of smokiness that the oven cannot replicate. Just resist the urge to peek inside the packets before the full cooking time is up because every opening lets steam escape and slows everything down.
What to Serve Alongside
These packets are a complete meal on their own but a few extras make the experience feel like a real cookout. I always bring buns or thick toast for soaking up the concentrated juices that pool at the bottom of each packet.
- Toast hamburger buns with butter on a skillet or over the fire for a minute until golden.
- A simple side of coleslaw adds crunch and acidity that balances the rich beef and cheese.
- Remember that the packets stay hot for a surprisingly long time, so warn everyone before they dig in.
 Save to everydaypinmeals
 Some of the best meals are the simplest ones, eaten outdoors with dirty hands and good company. These packets capture that feeling whether you are three miles into the woods or standing at your kitchen stove on a Tuesday night.
Recipe FAQs
- → Can I make these hobo packets in the oven instead of over a campfire?
-
Yes, simply preheat your oven to 200°C (400°F) and place the sealed foil packets on a baking sheet. Cook for 20 to 25 minutes, flipping once halfway through, until the beef is cooked through and the vegetables are tender.
- → What type of ground beef works best for foil packets?
-
An 80/20 blend of ground beef is ideal because it provides enough fat to keep the patties juicy while the vegetables cook. Leaner cuts can dry out during the cooking process.
- → How do I keep the vegetables from sticking to the foil?
-
Brush the center of each foil sheet with olive oil before layering the vegetables. This creates a barrier that prevents sticking and also helps the potatoes and peppers cook evenly.
- → Can I prepare the packets ahead of time?
-
You can assemble and seal the foil packets up to 24 hours in advance and store them in the refrigerator. This makes them perfect for camping trips — just pack them in a cooler and cook when you're ready.
- → What are good substitutions for a vegetarian version?
-
Swap the ground beef for plant-based crumbles and use vegan cheese slices instead of cheddar. The vegetables and seasonings remain the same, and the cooking time stays roughly identical.
- → How do I know when the packets are done cooking?
-
Carefully open one packet and check that the beef patty is no longer pink in the center and the potato slices are fork-tender. Total cooking time is typically 20 to 25 minutes over medium-high heat.